Mark Boehme's 1965 Imperial Windshield replacement


Imperial Home Page -> Imperials by Year -> 1965 -> Windshield Replacement
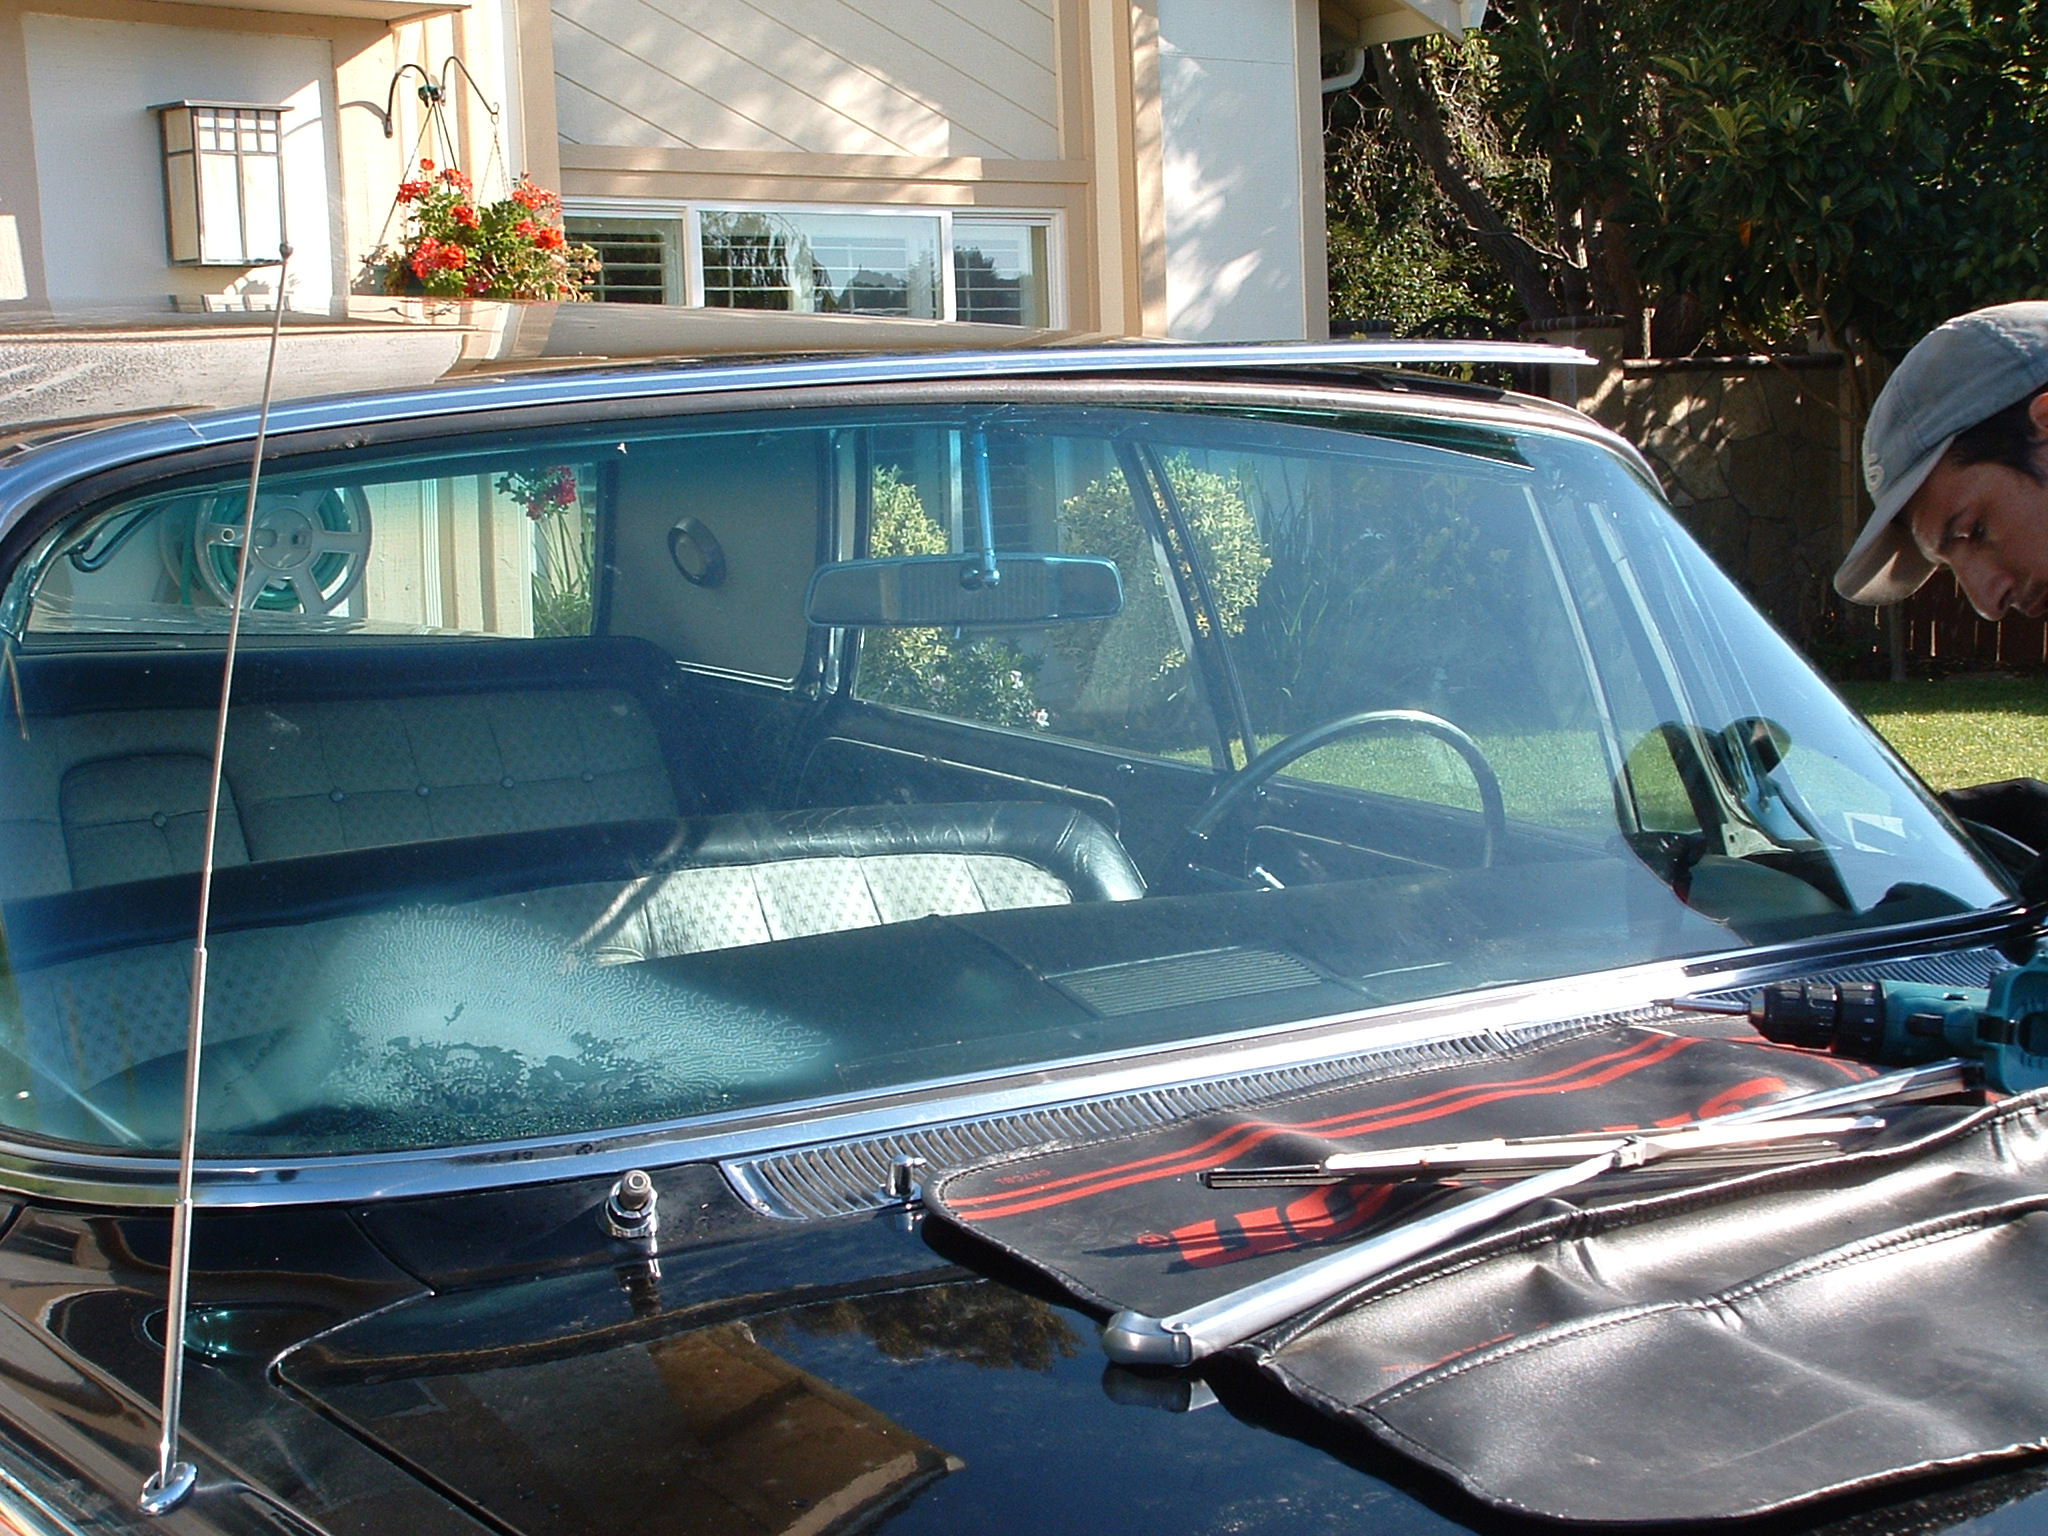
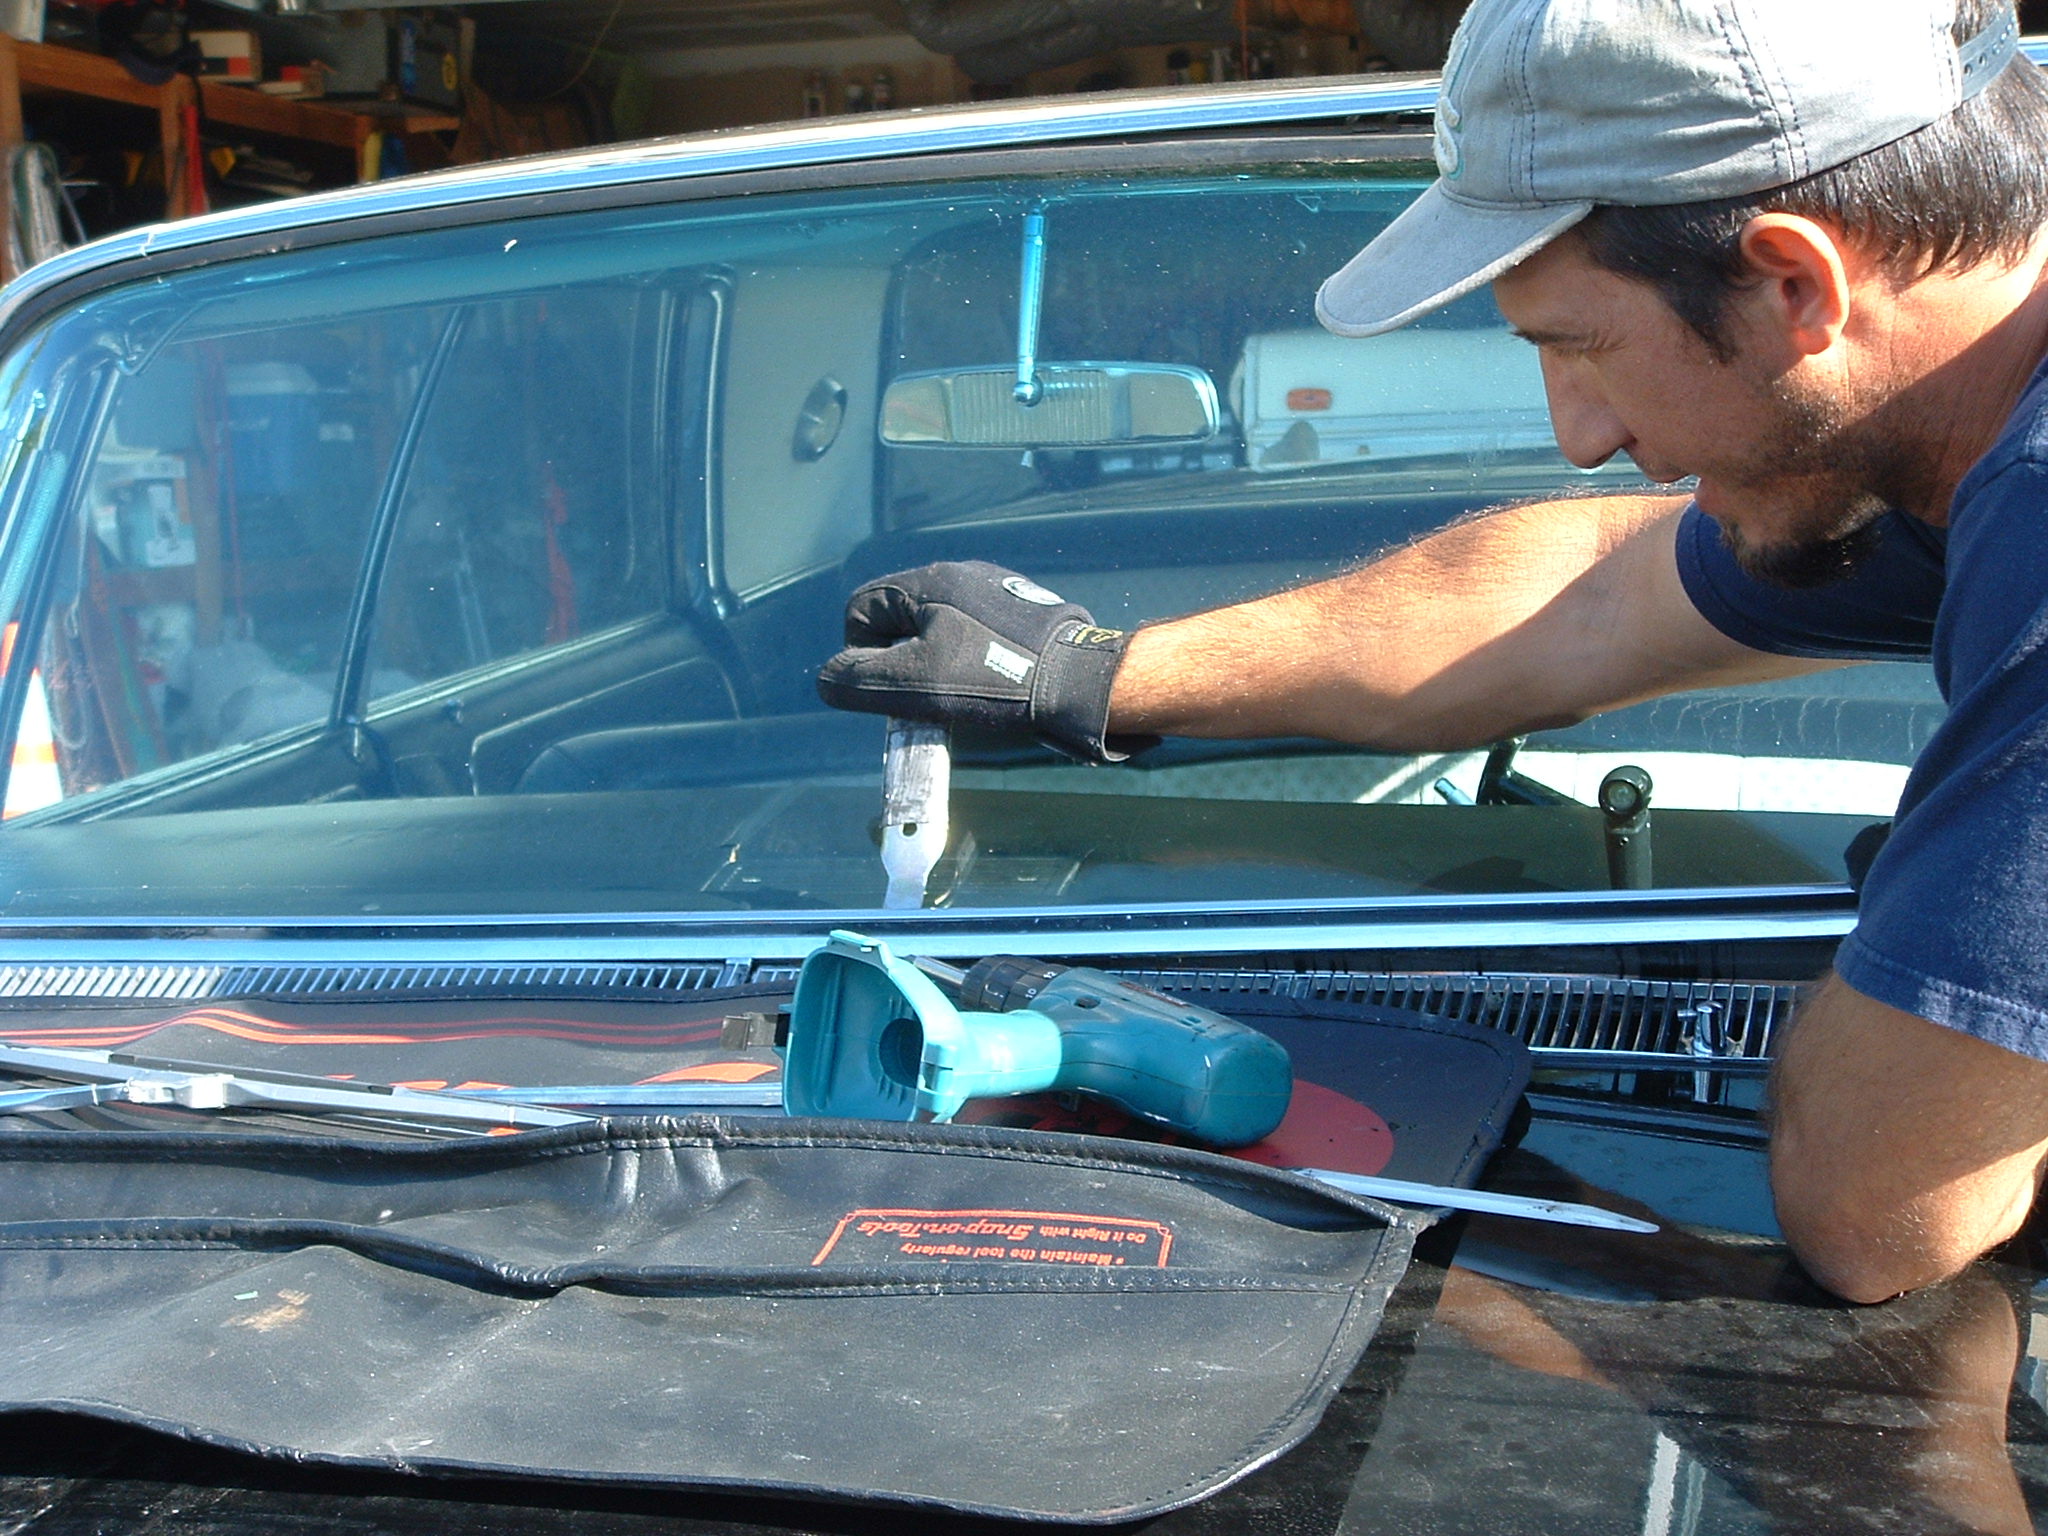
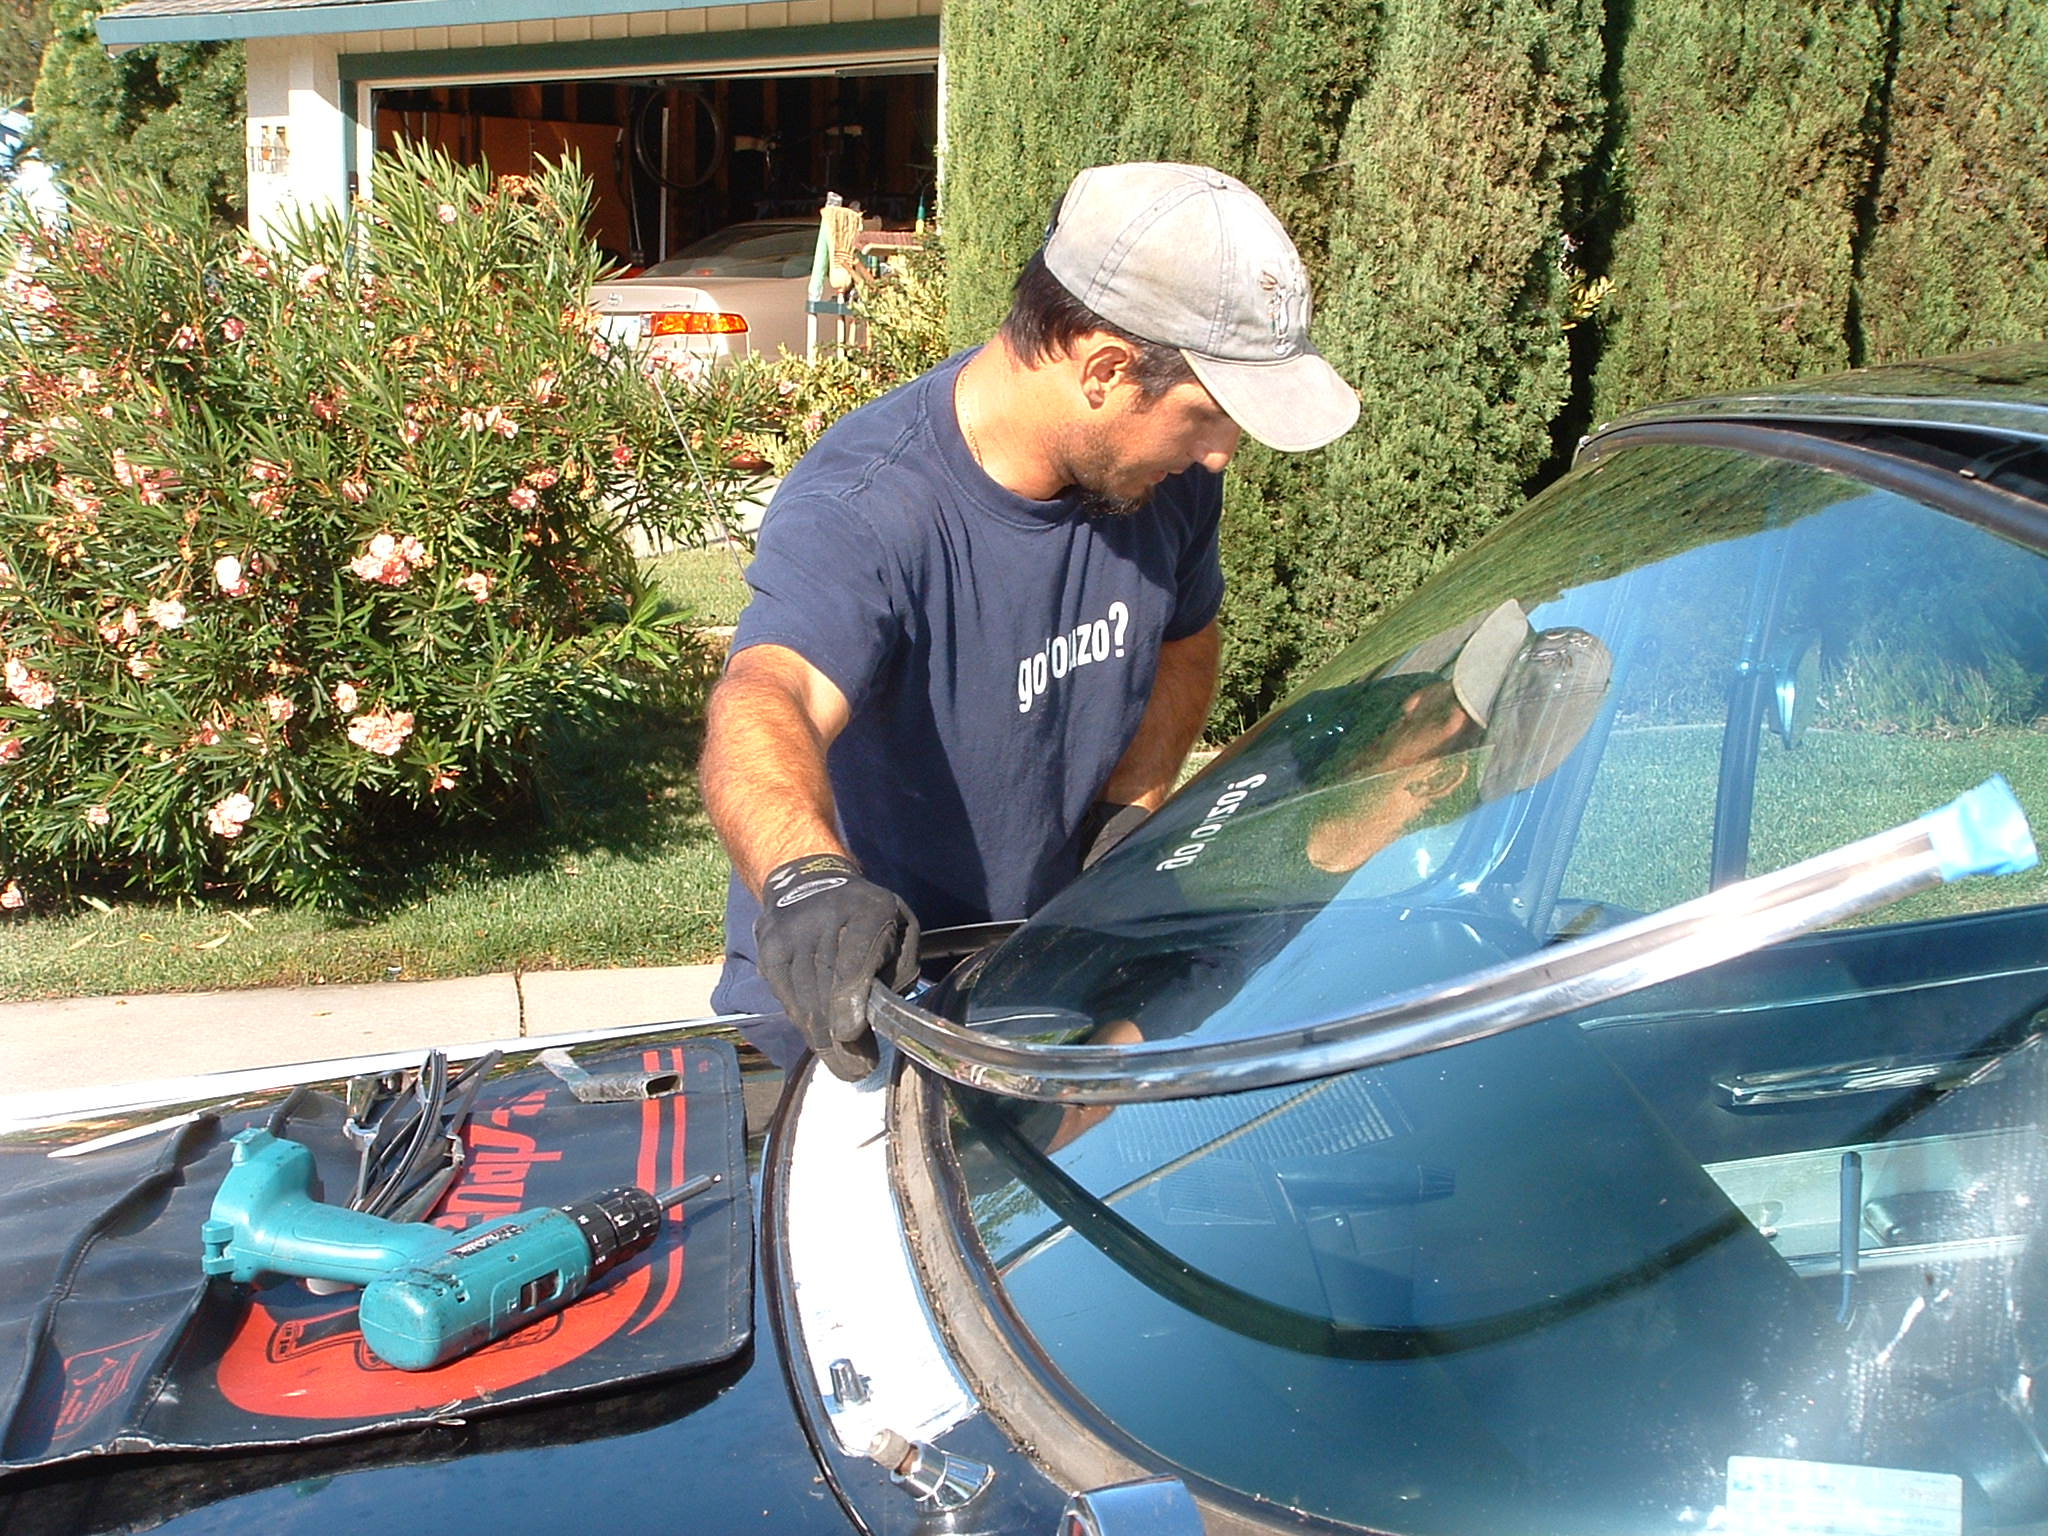
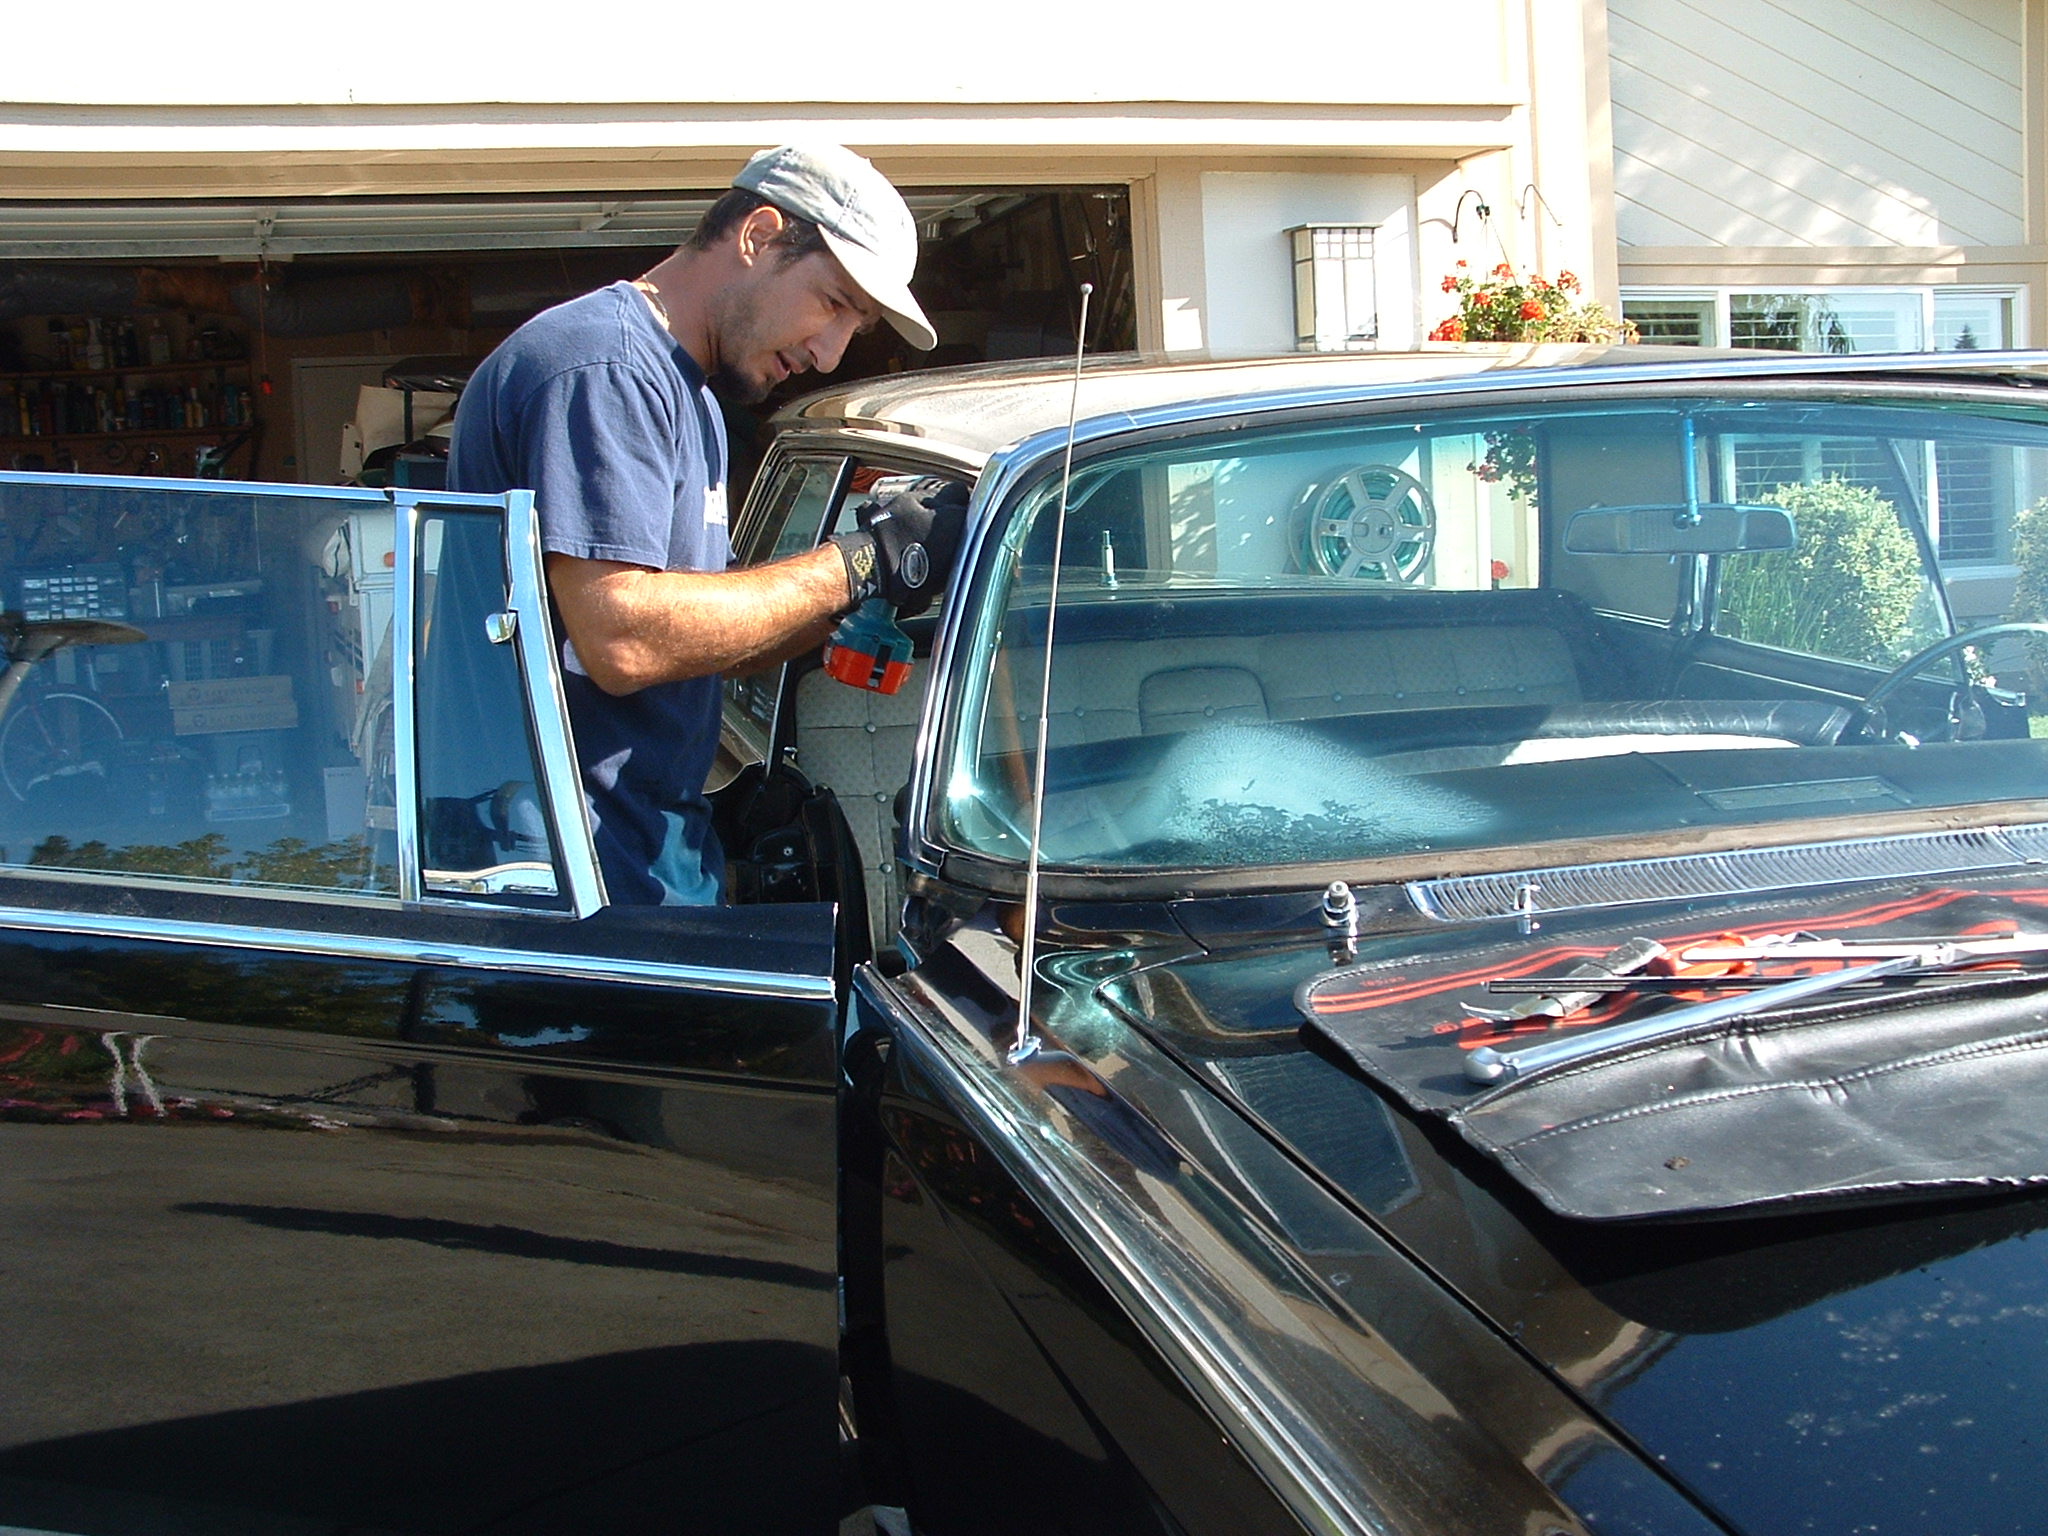
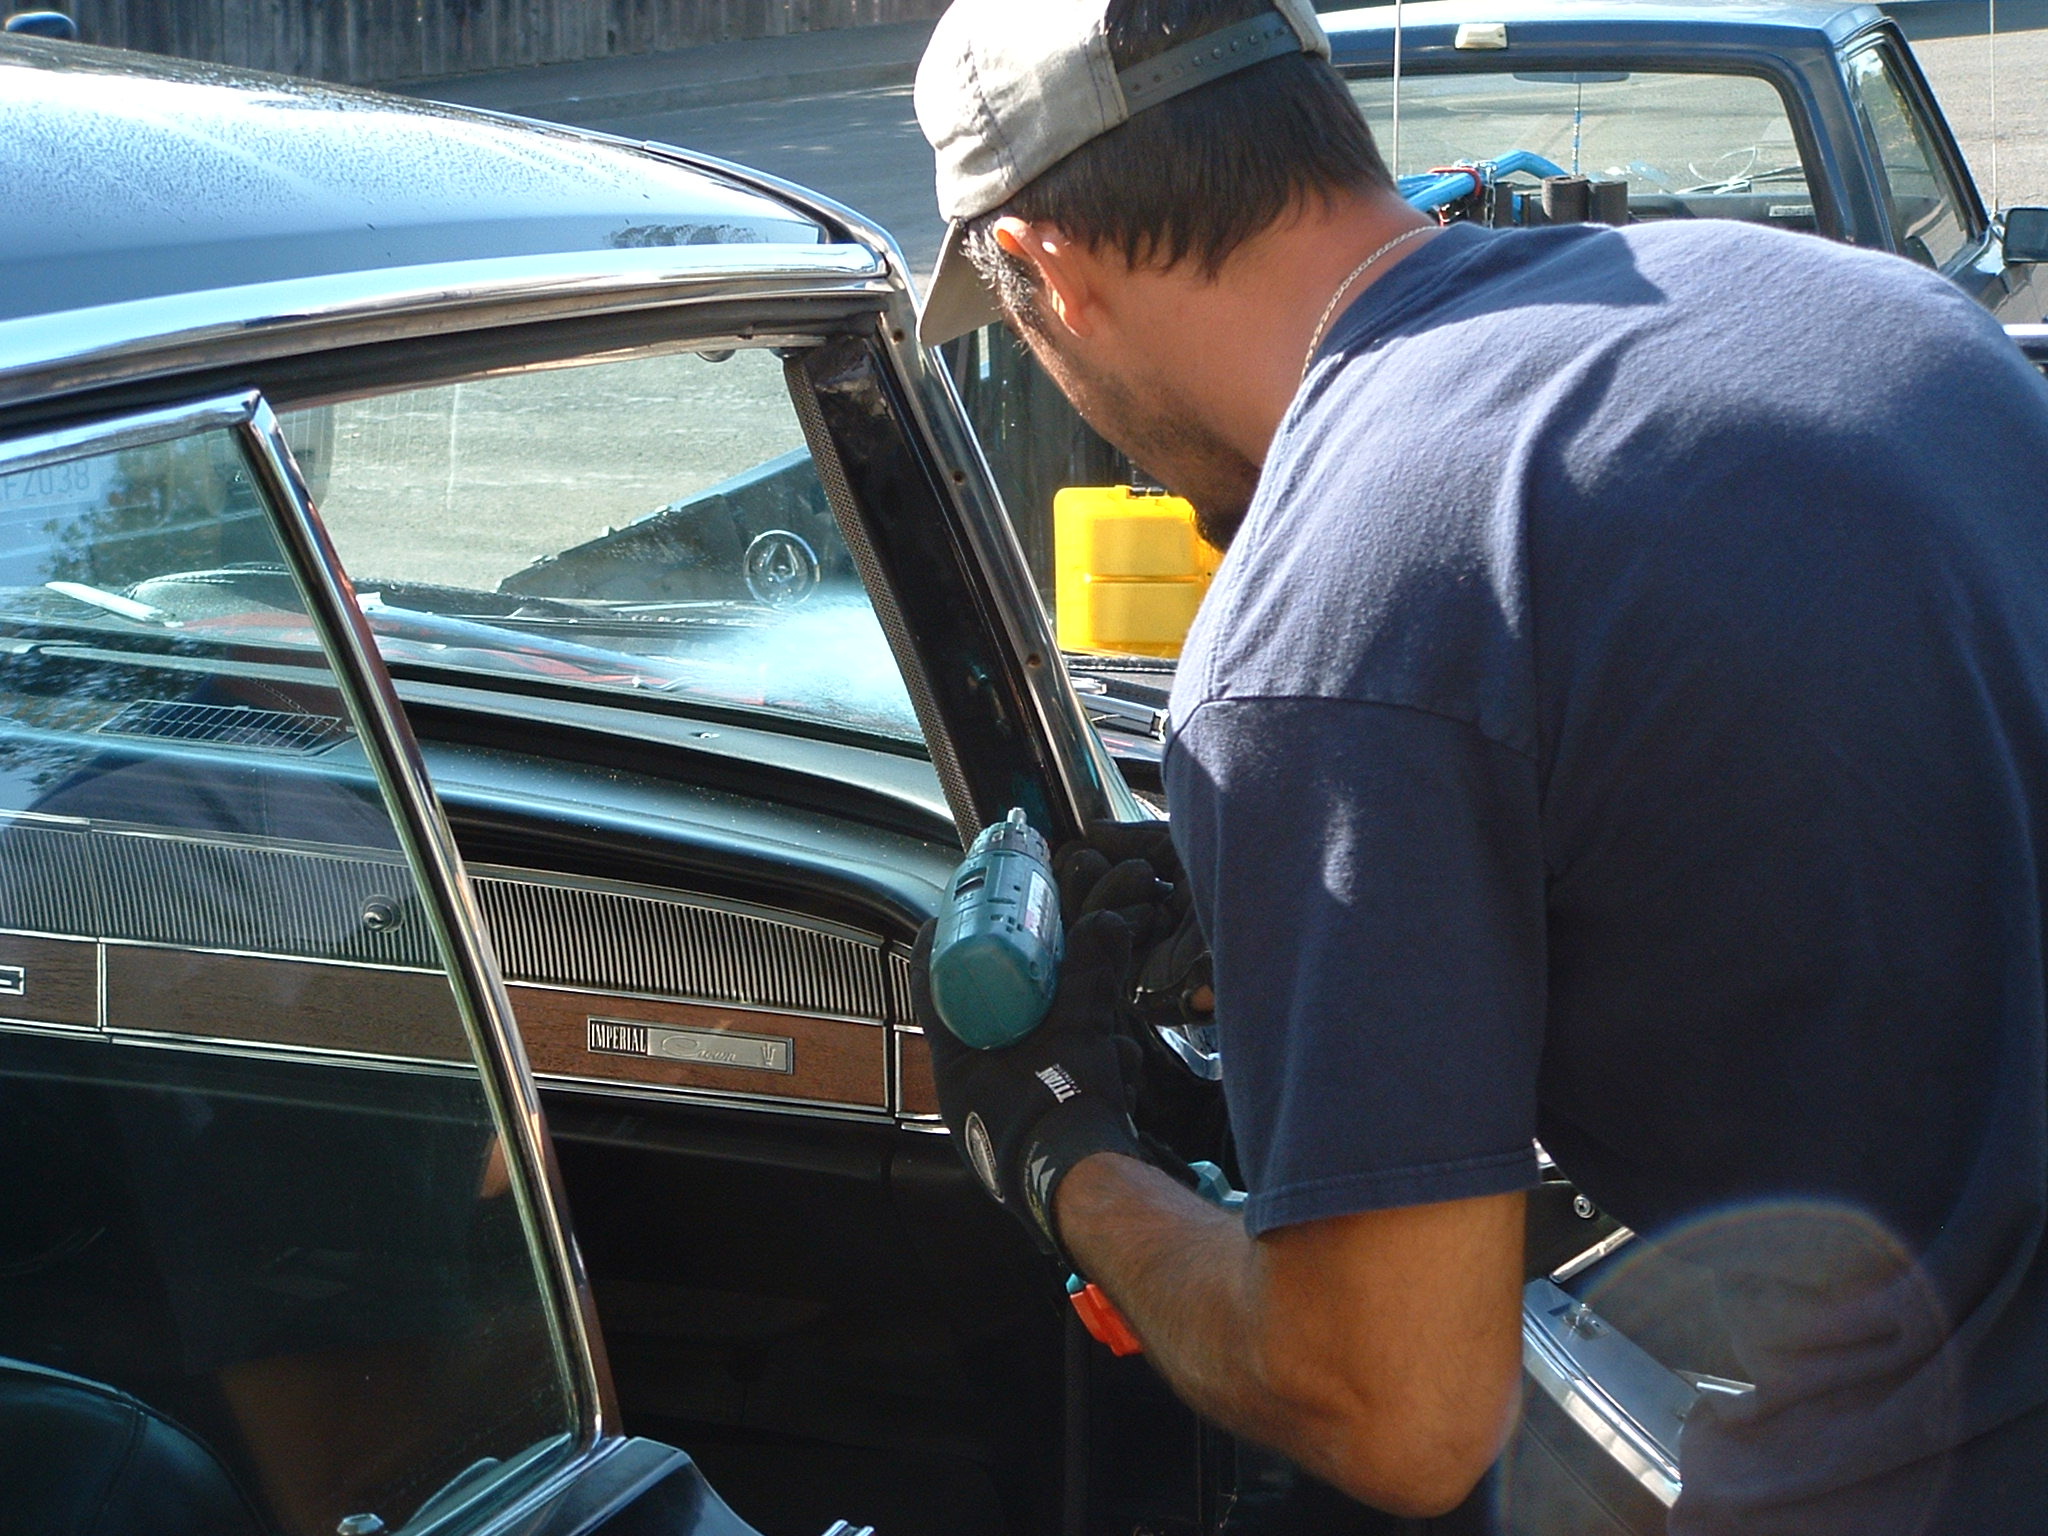
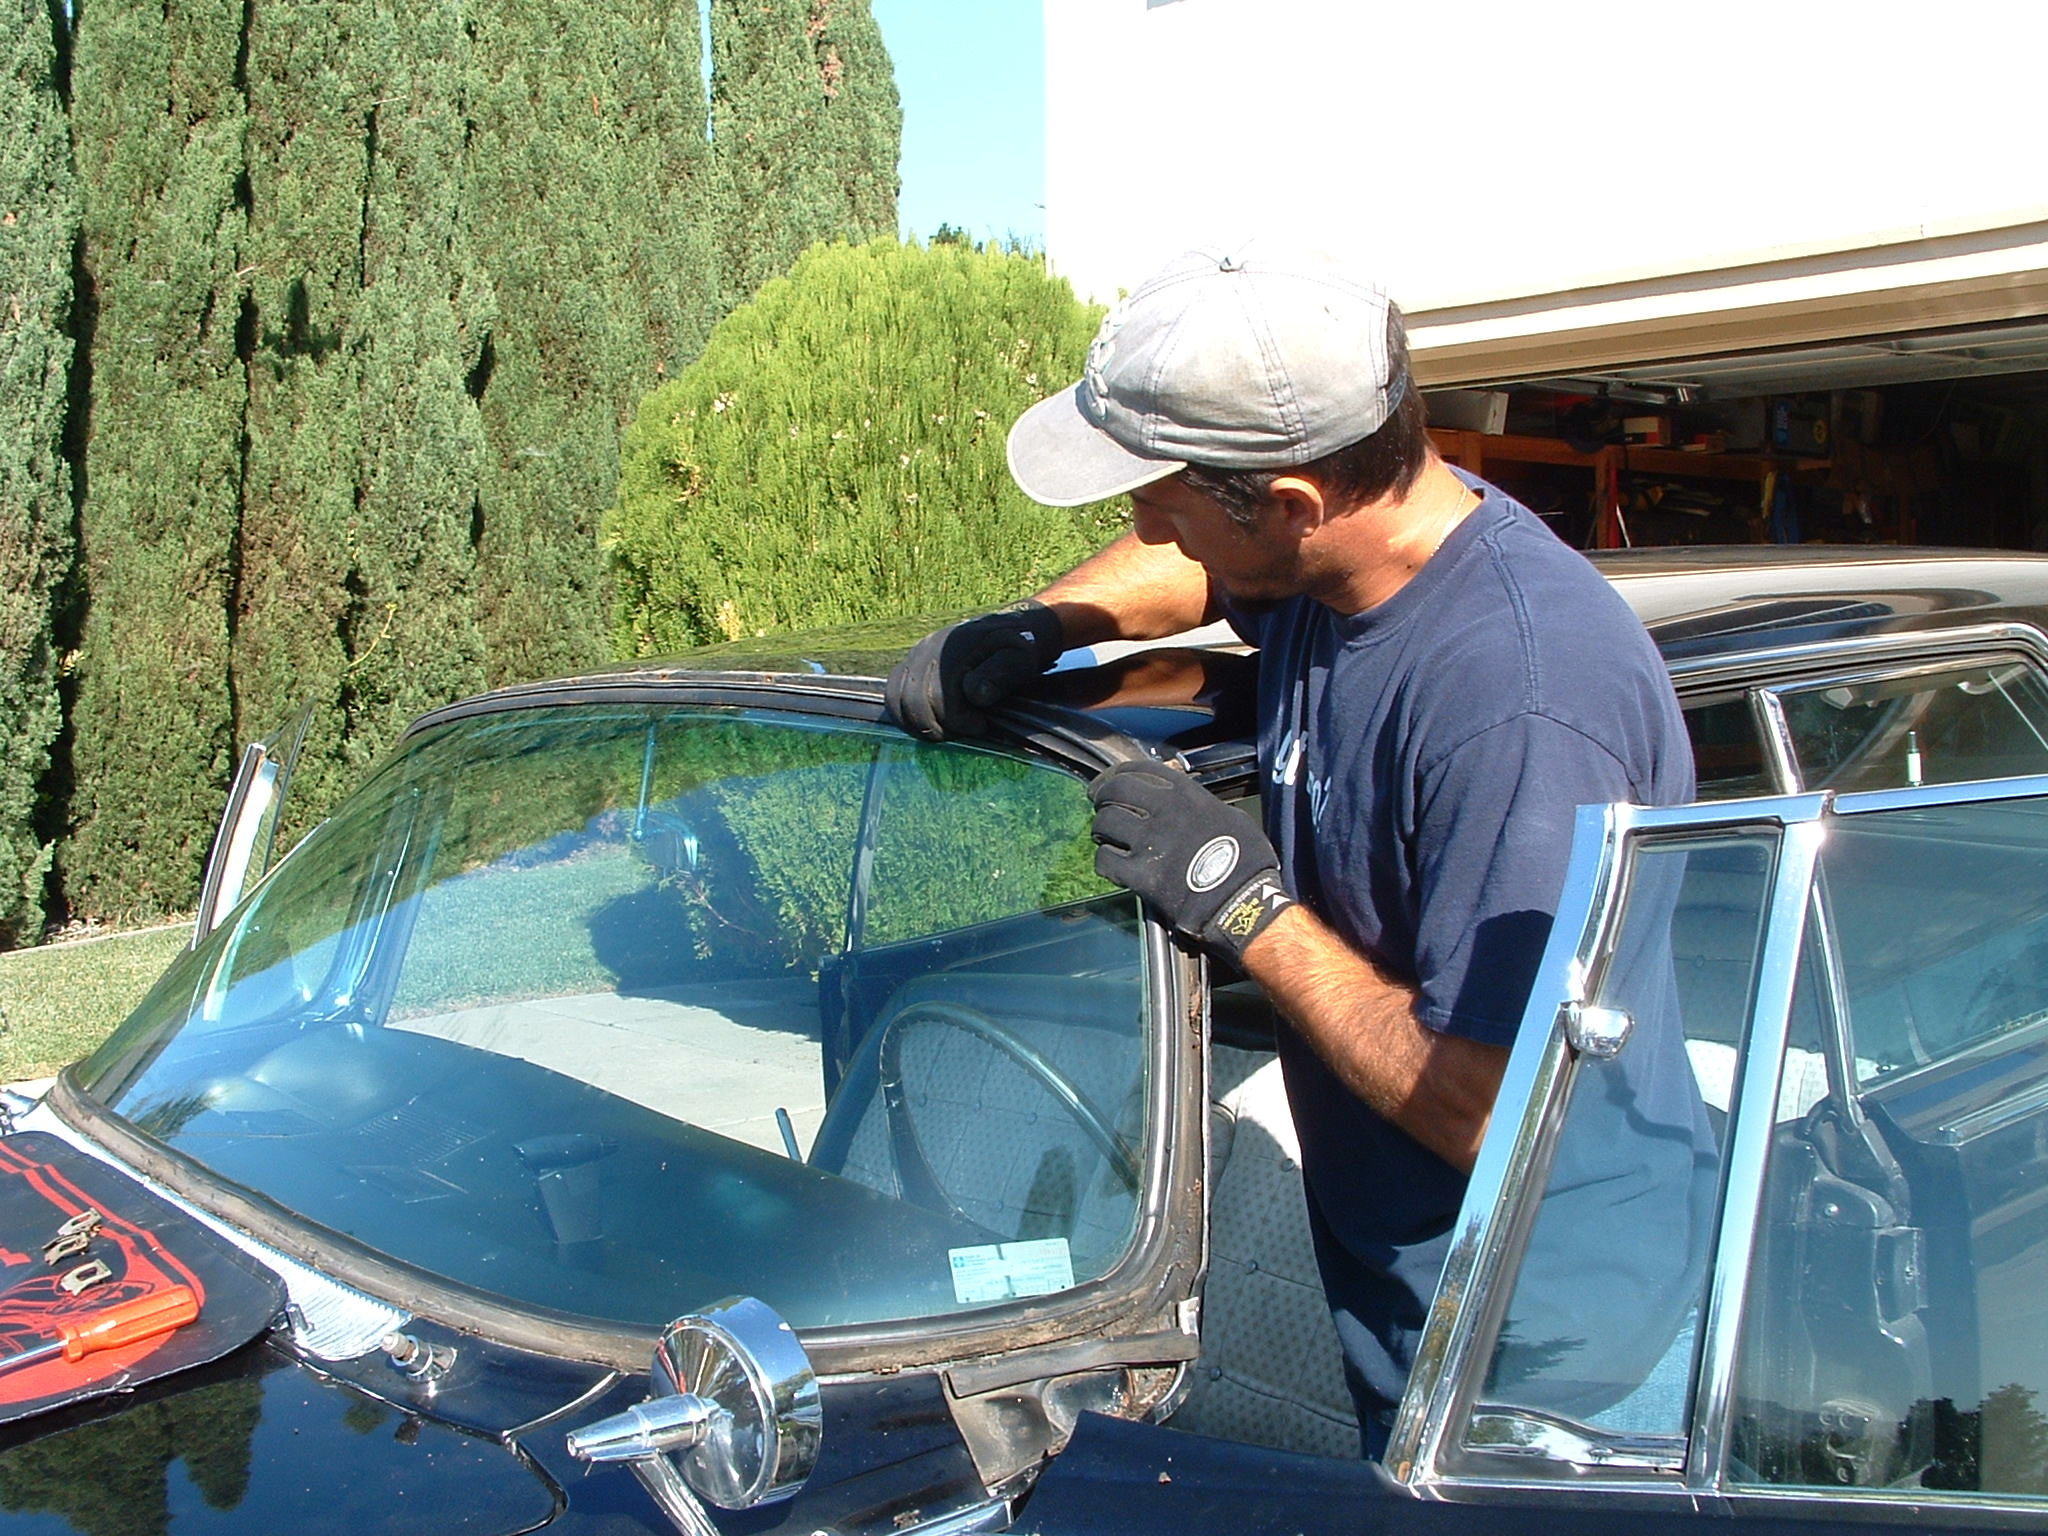
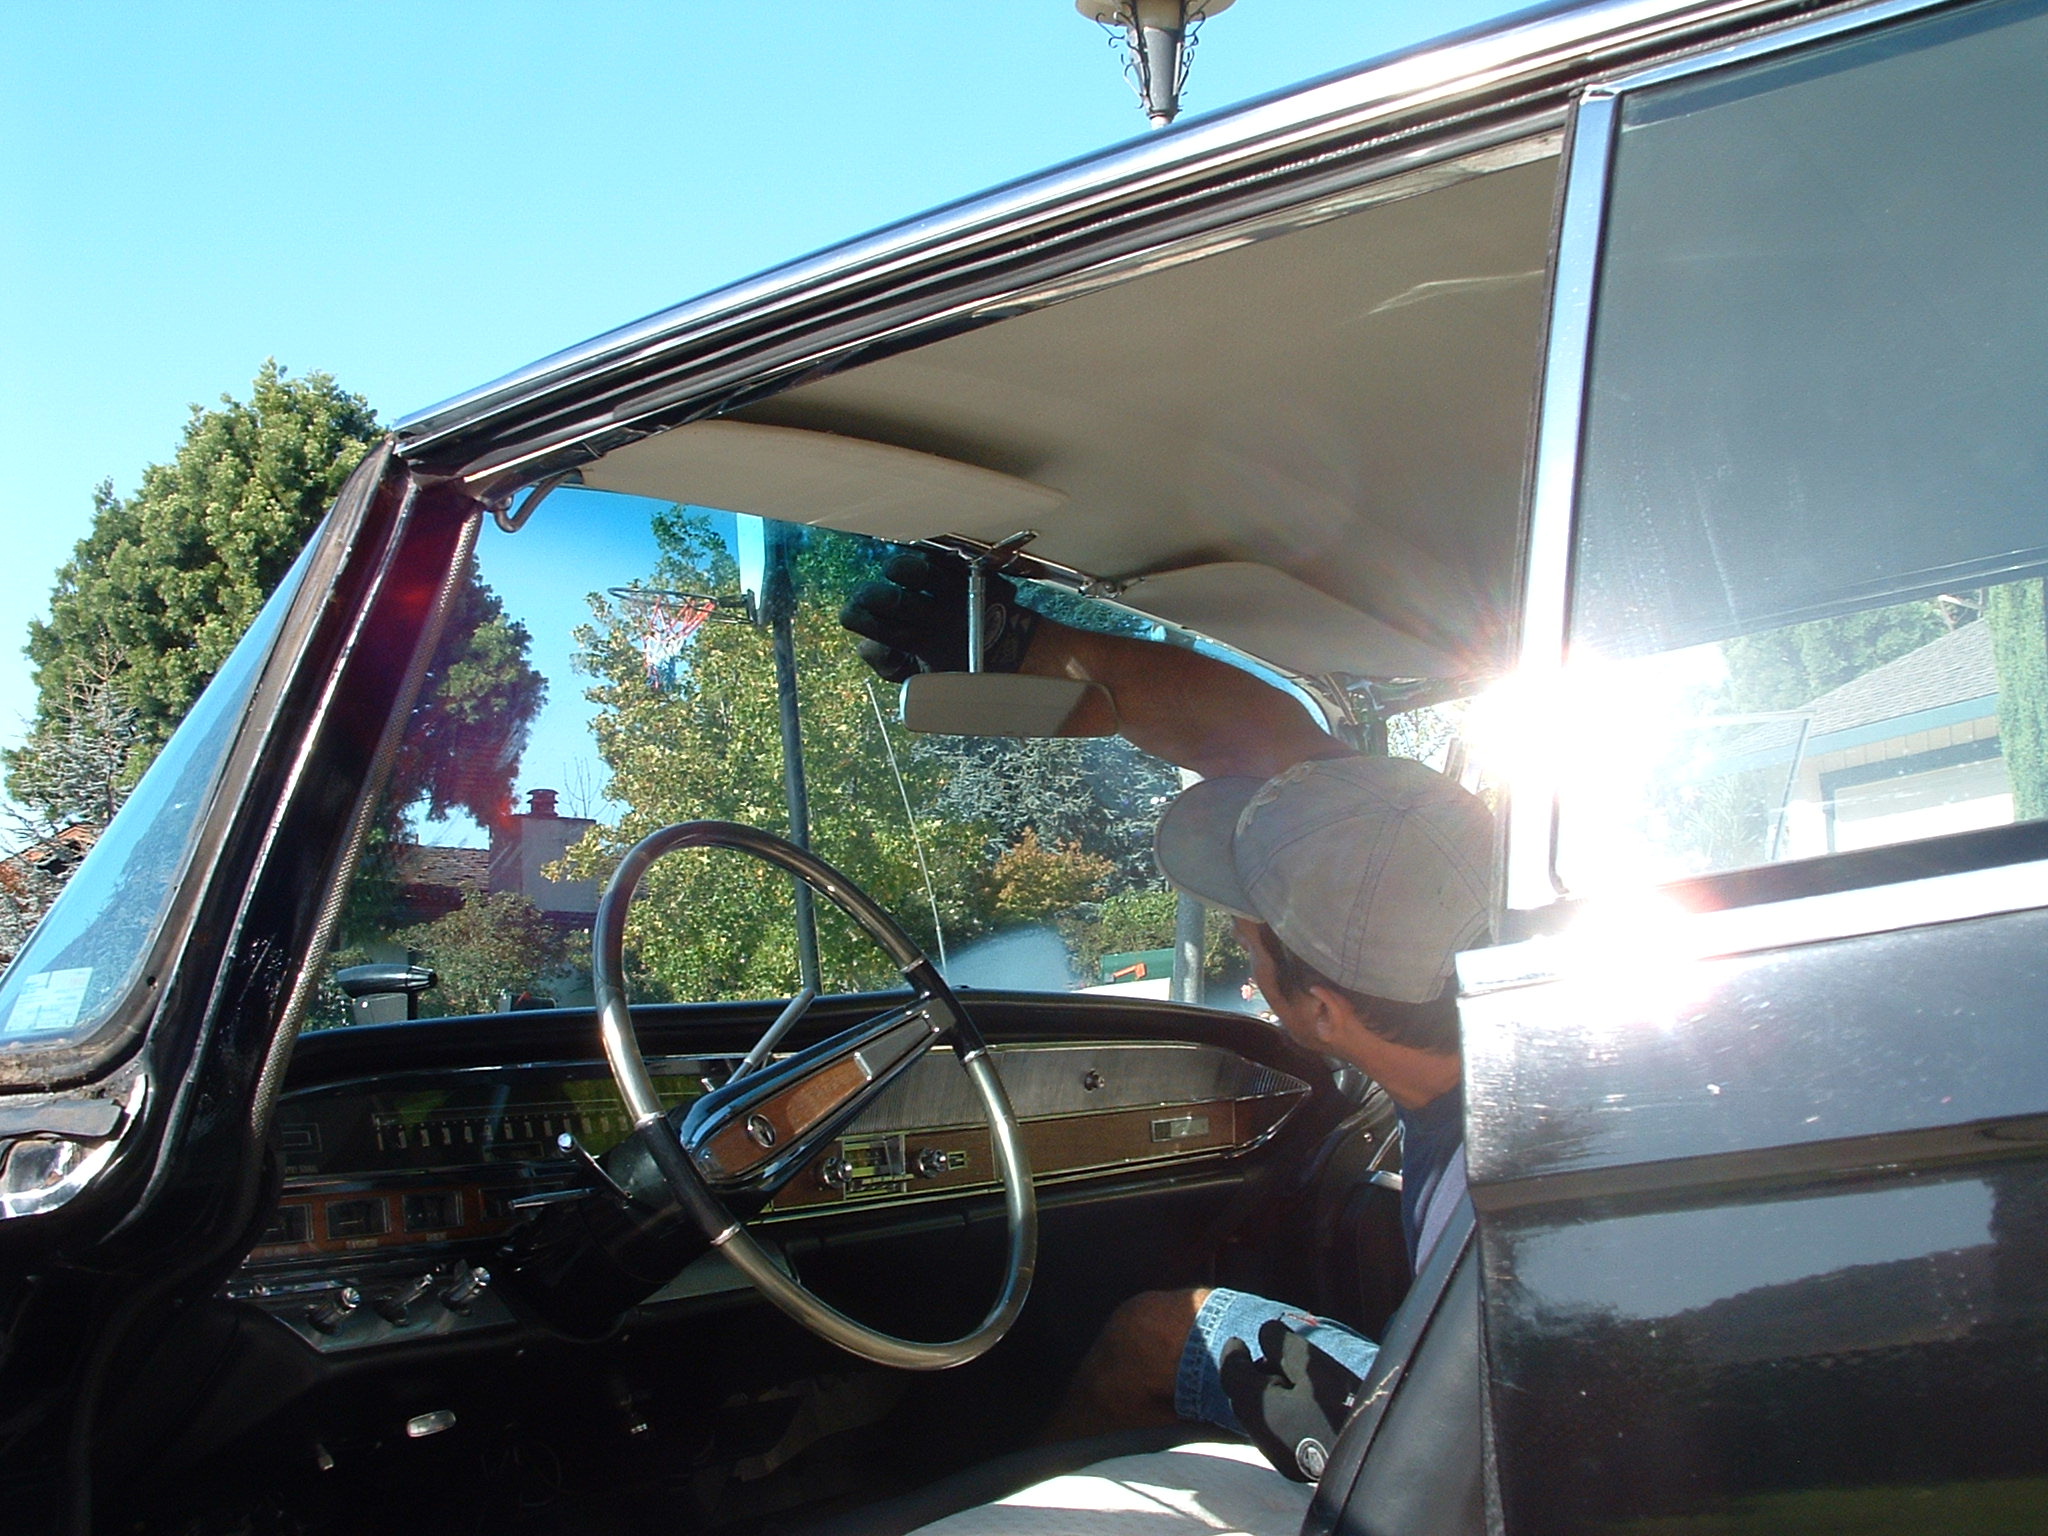
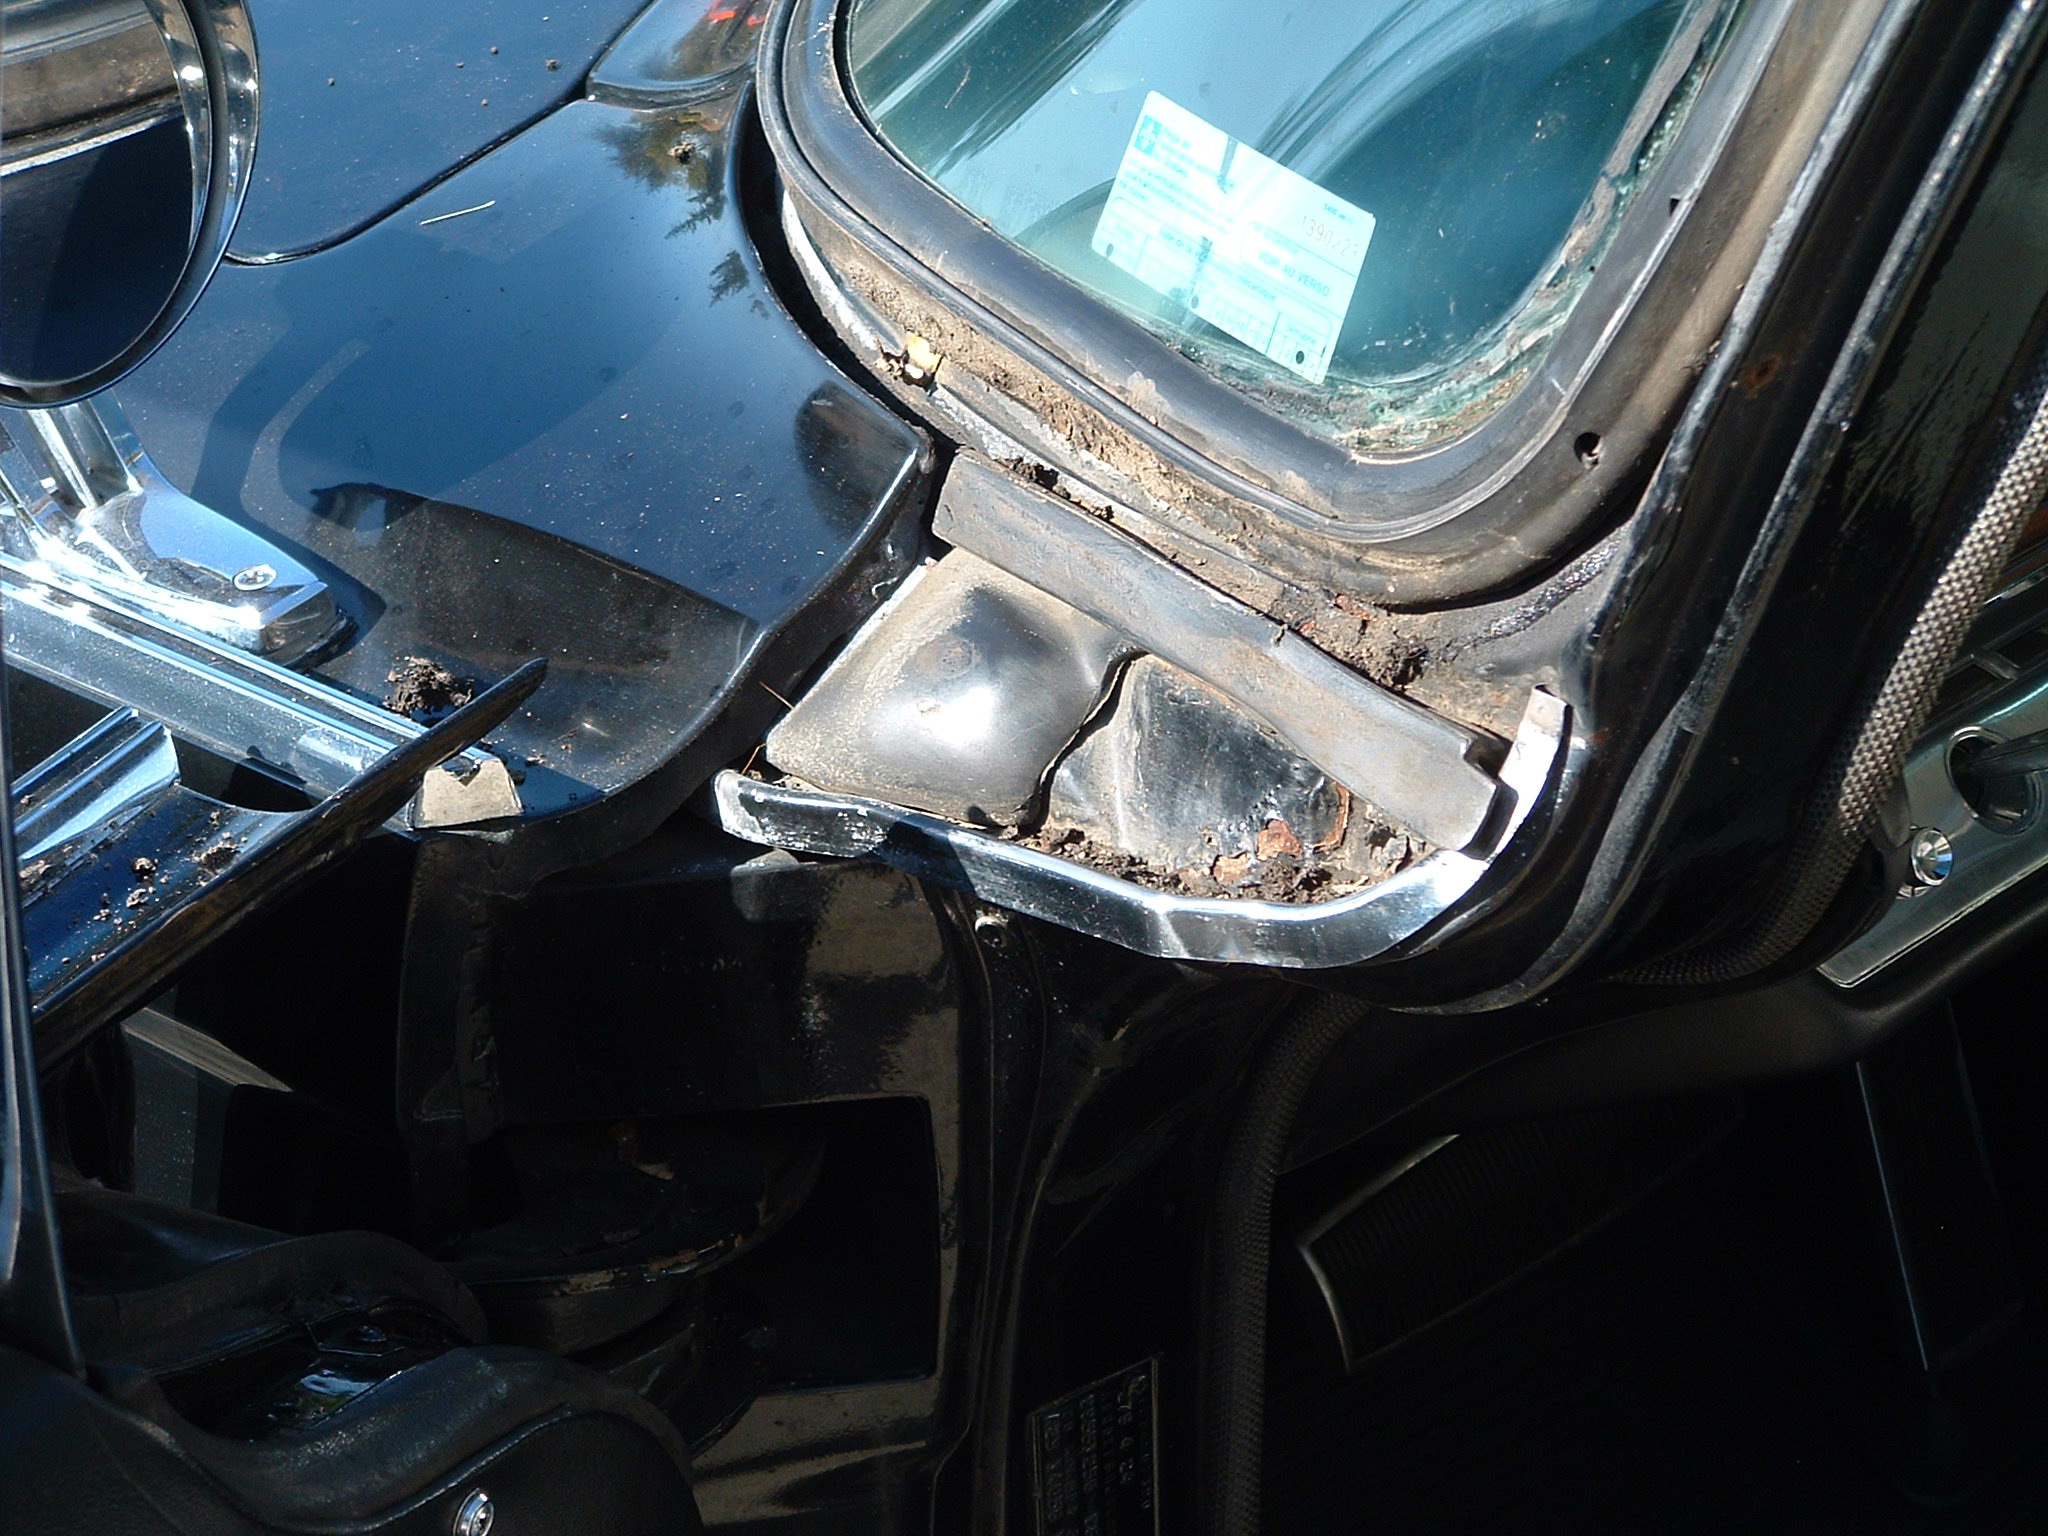
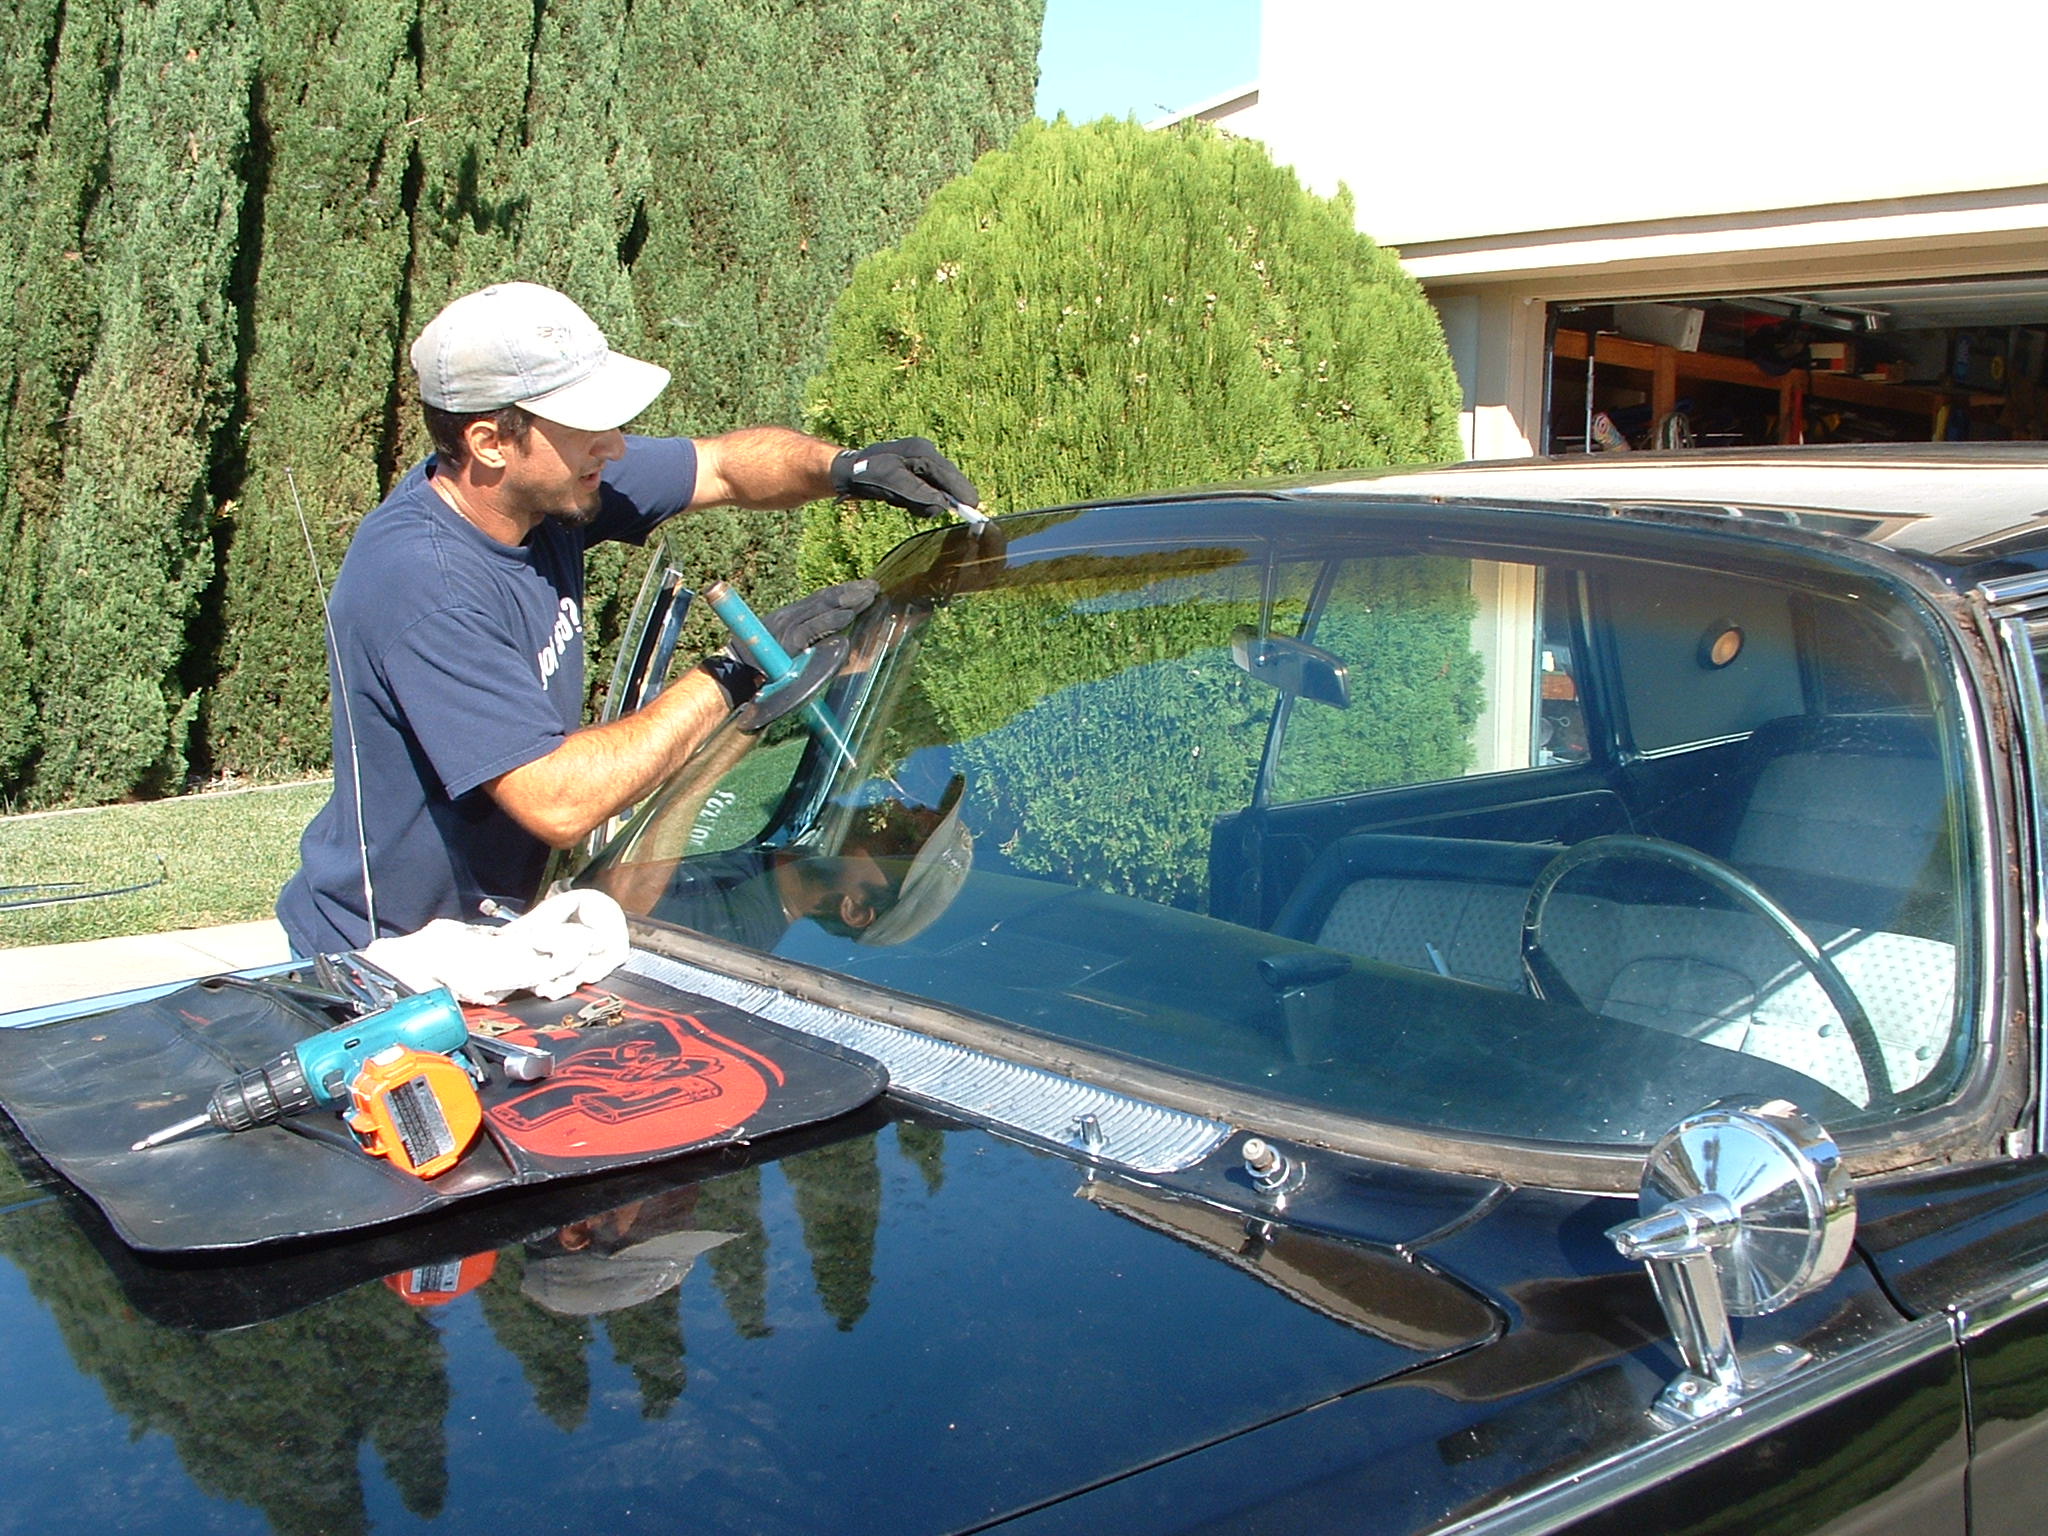
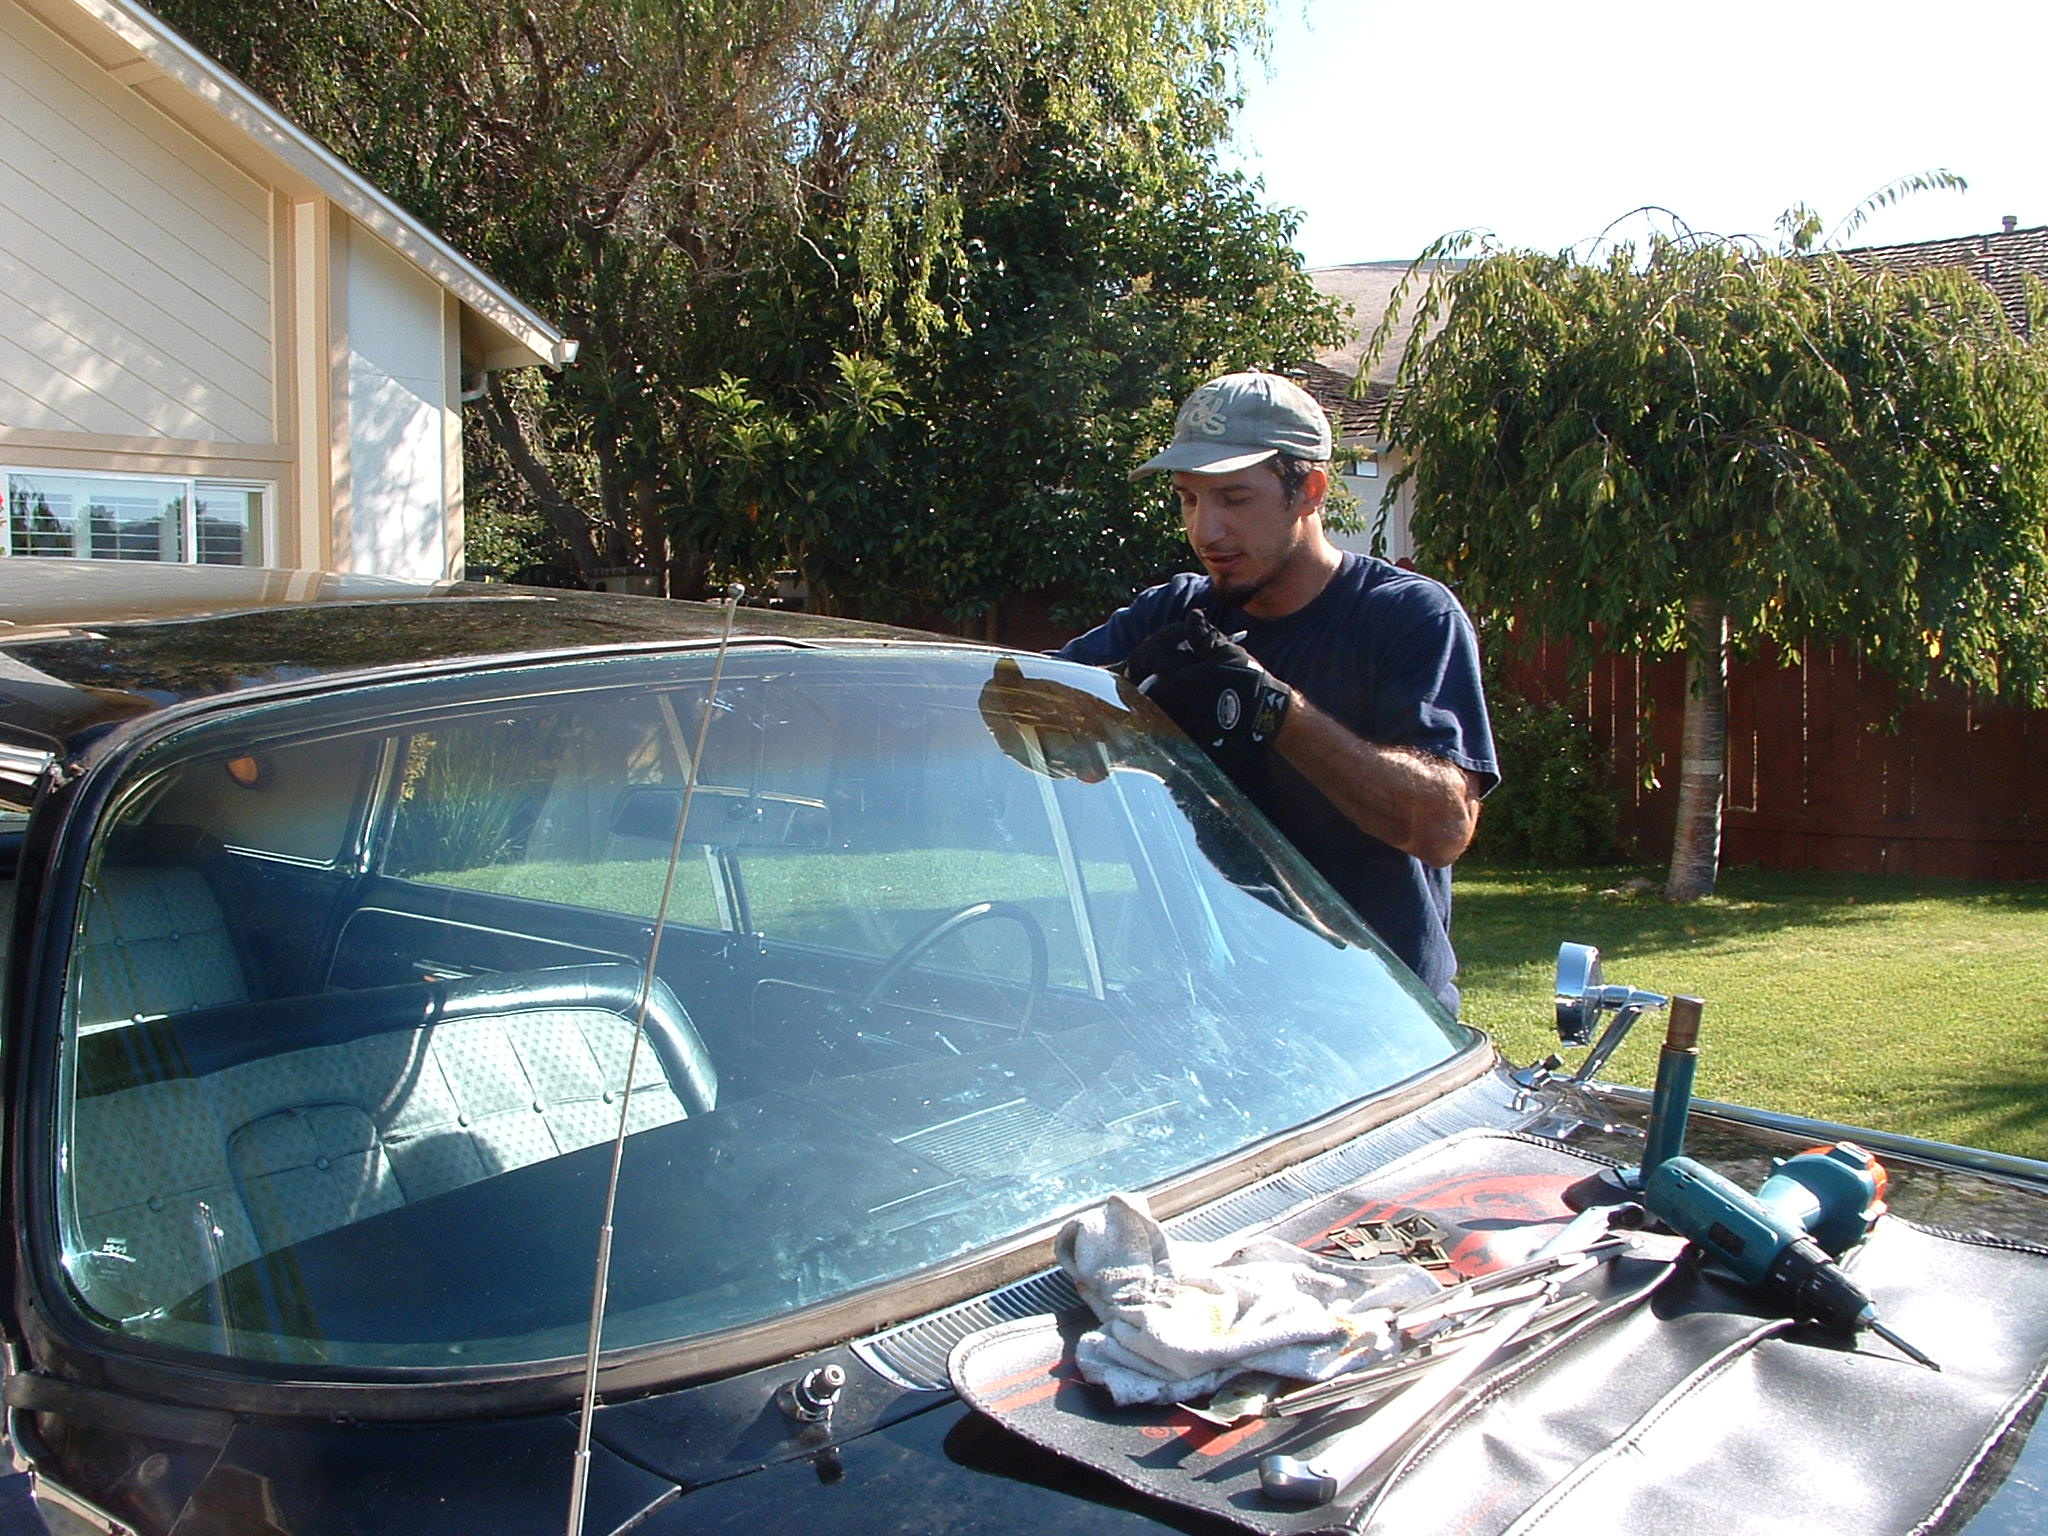
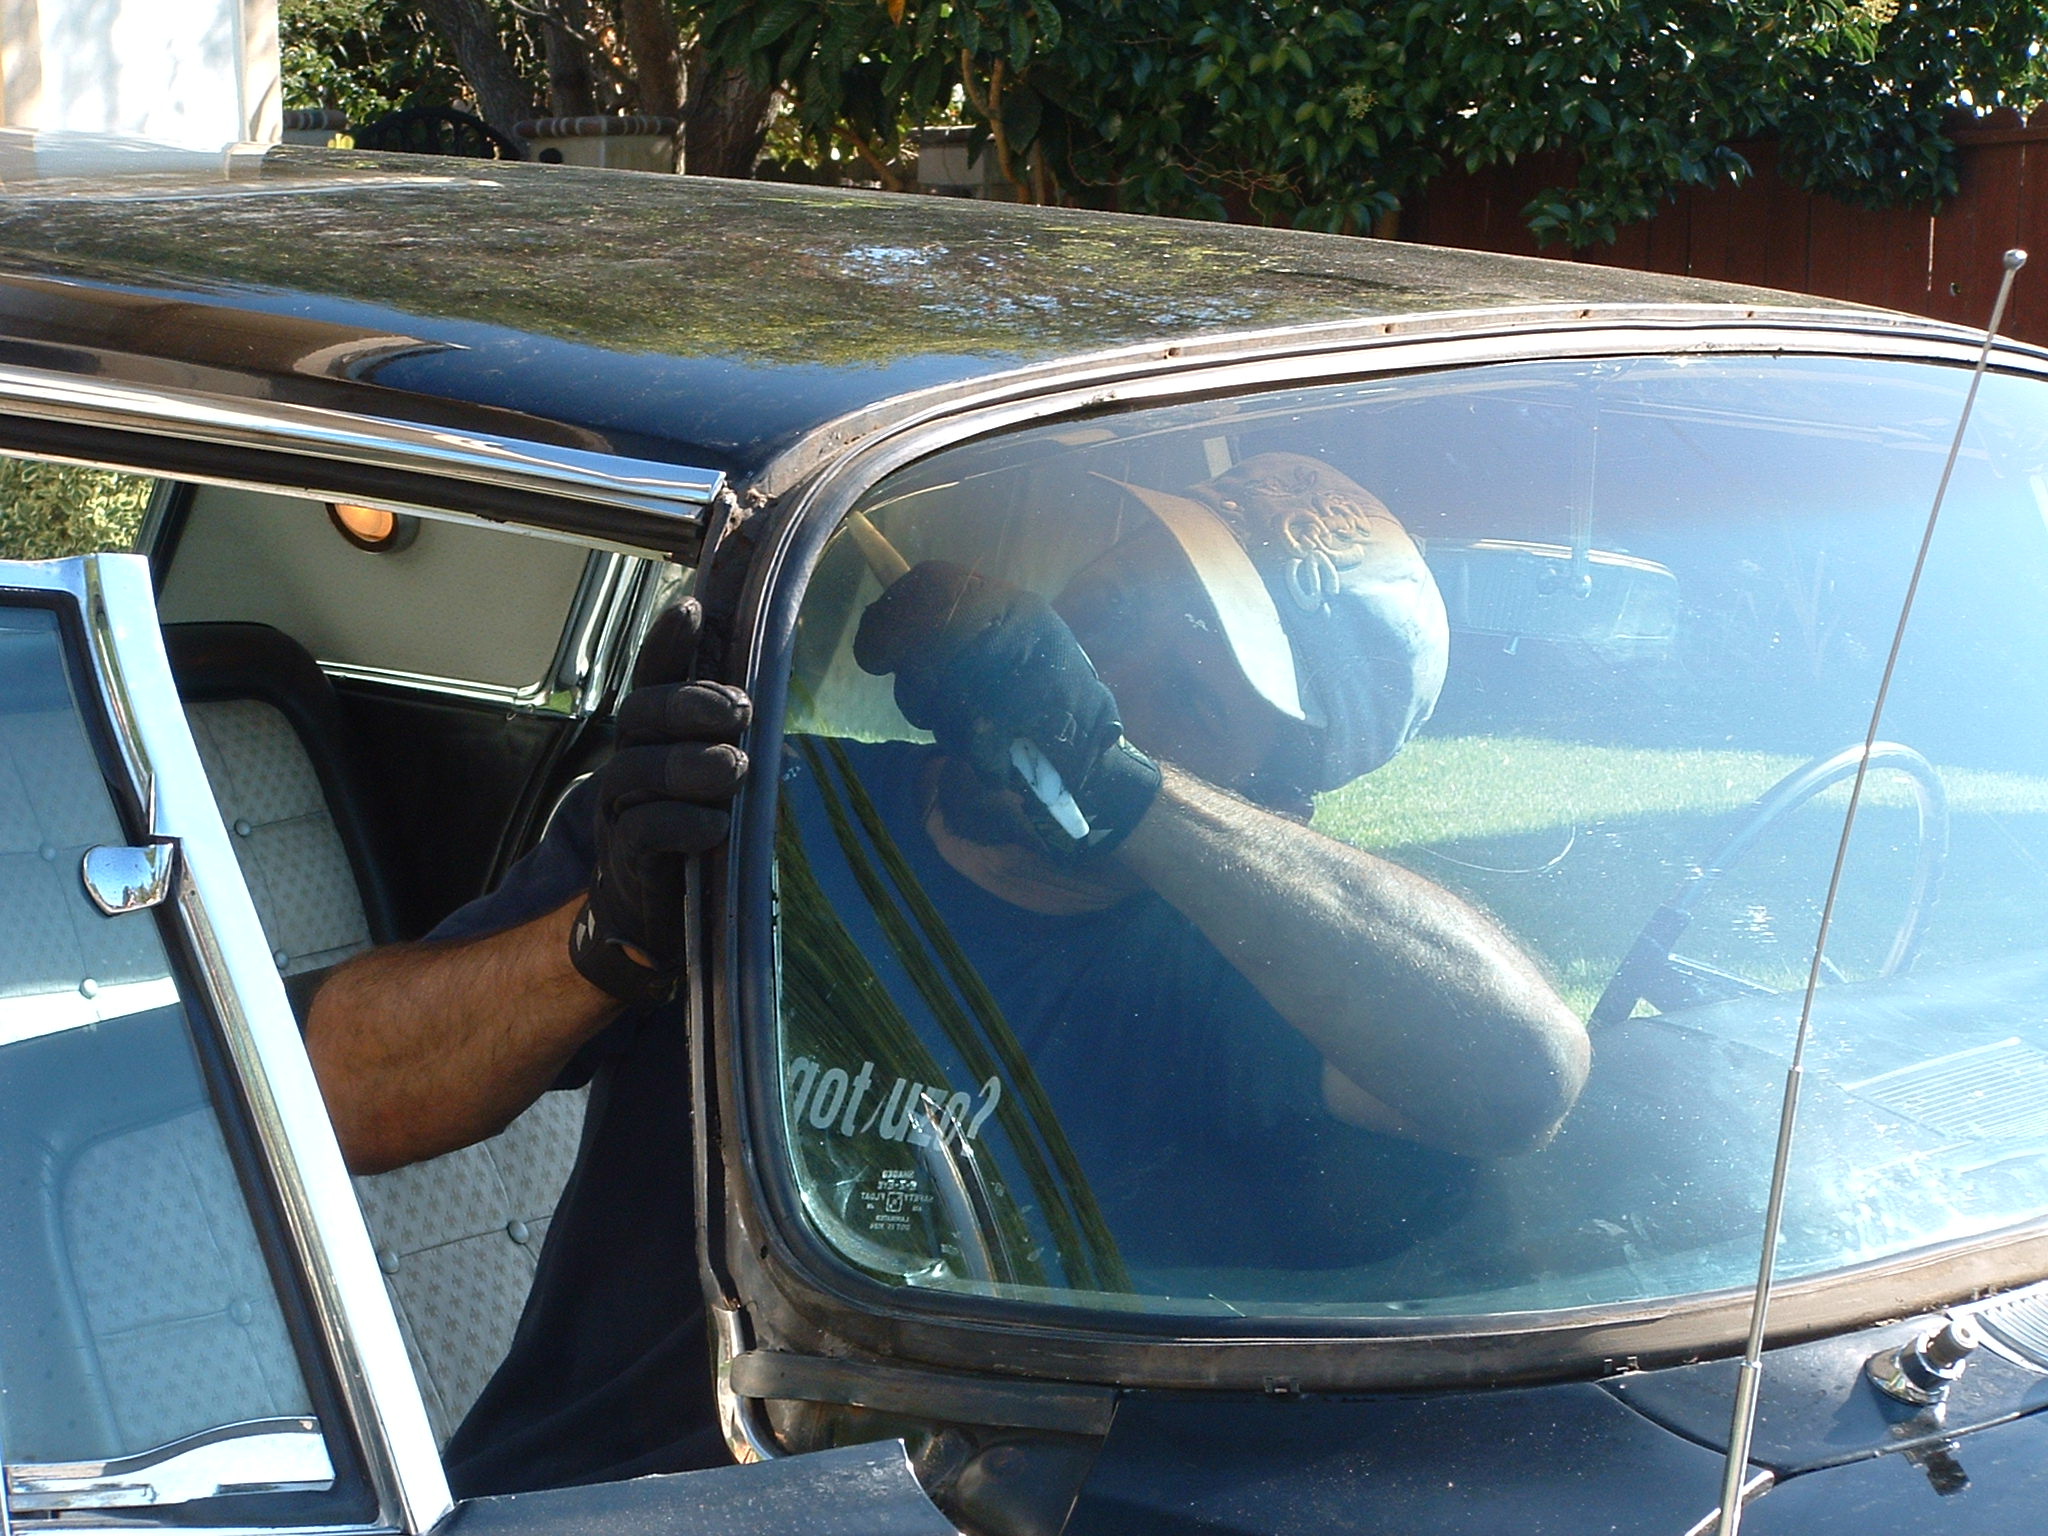
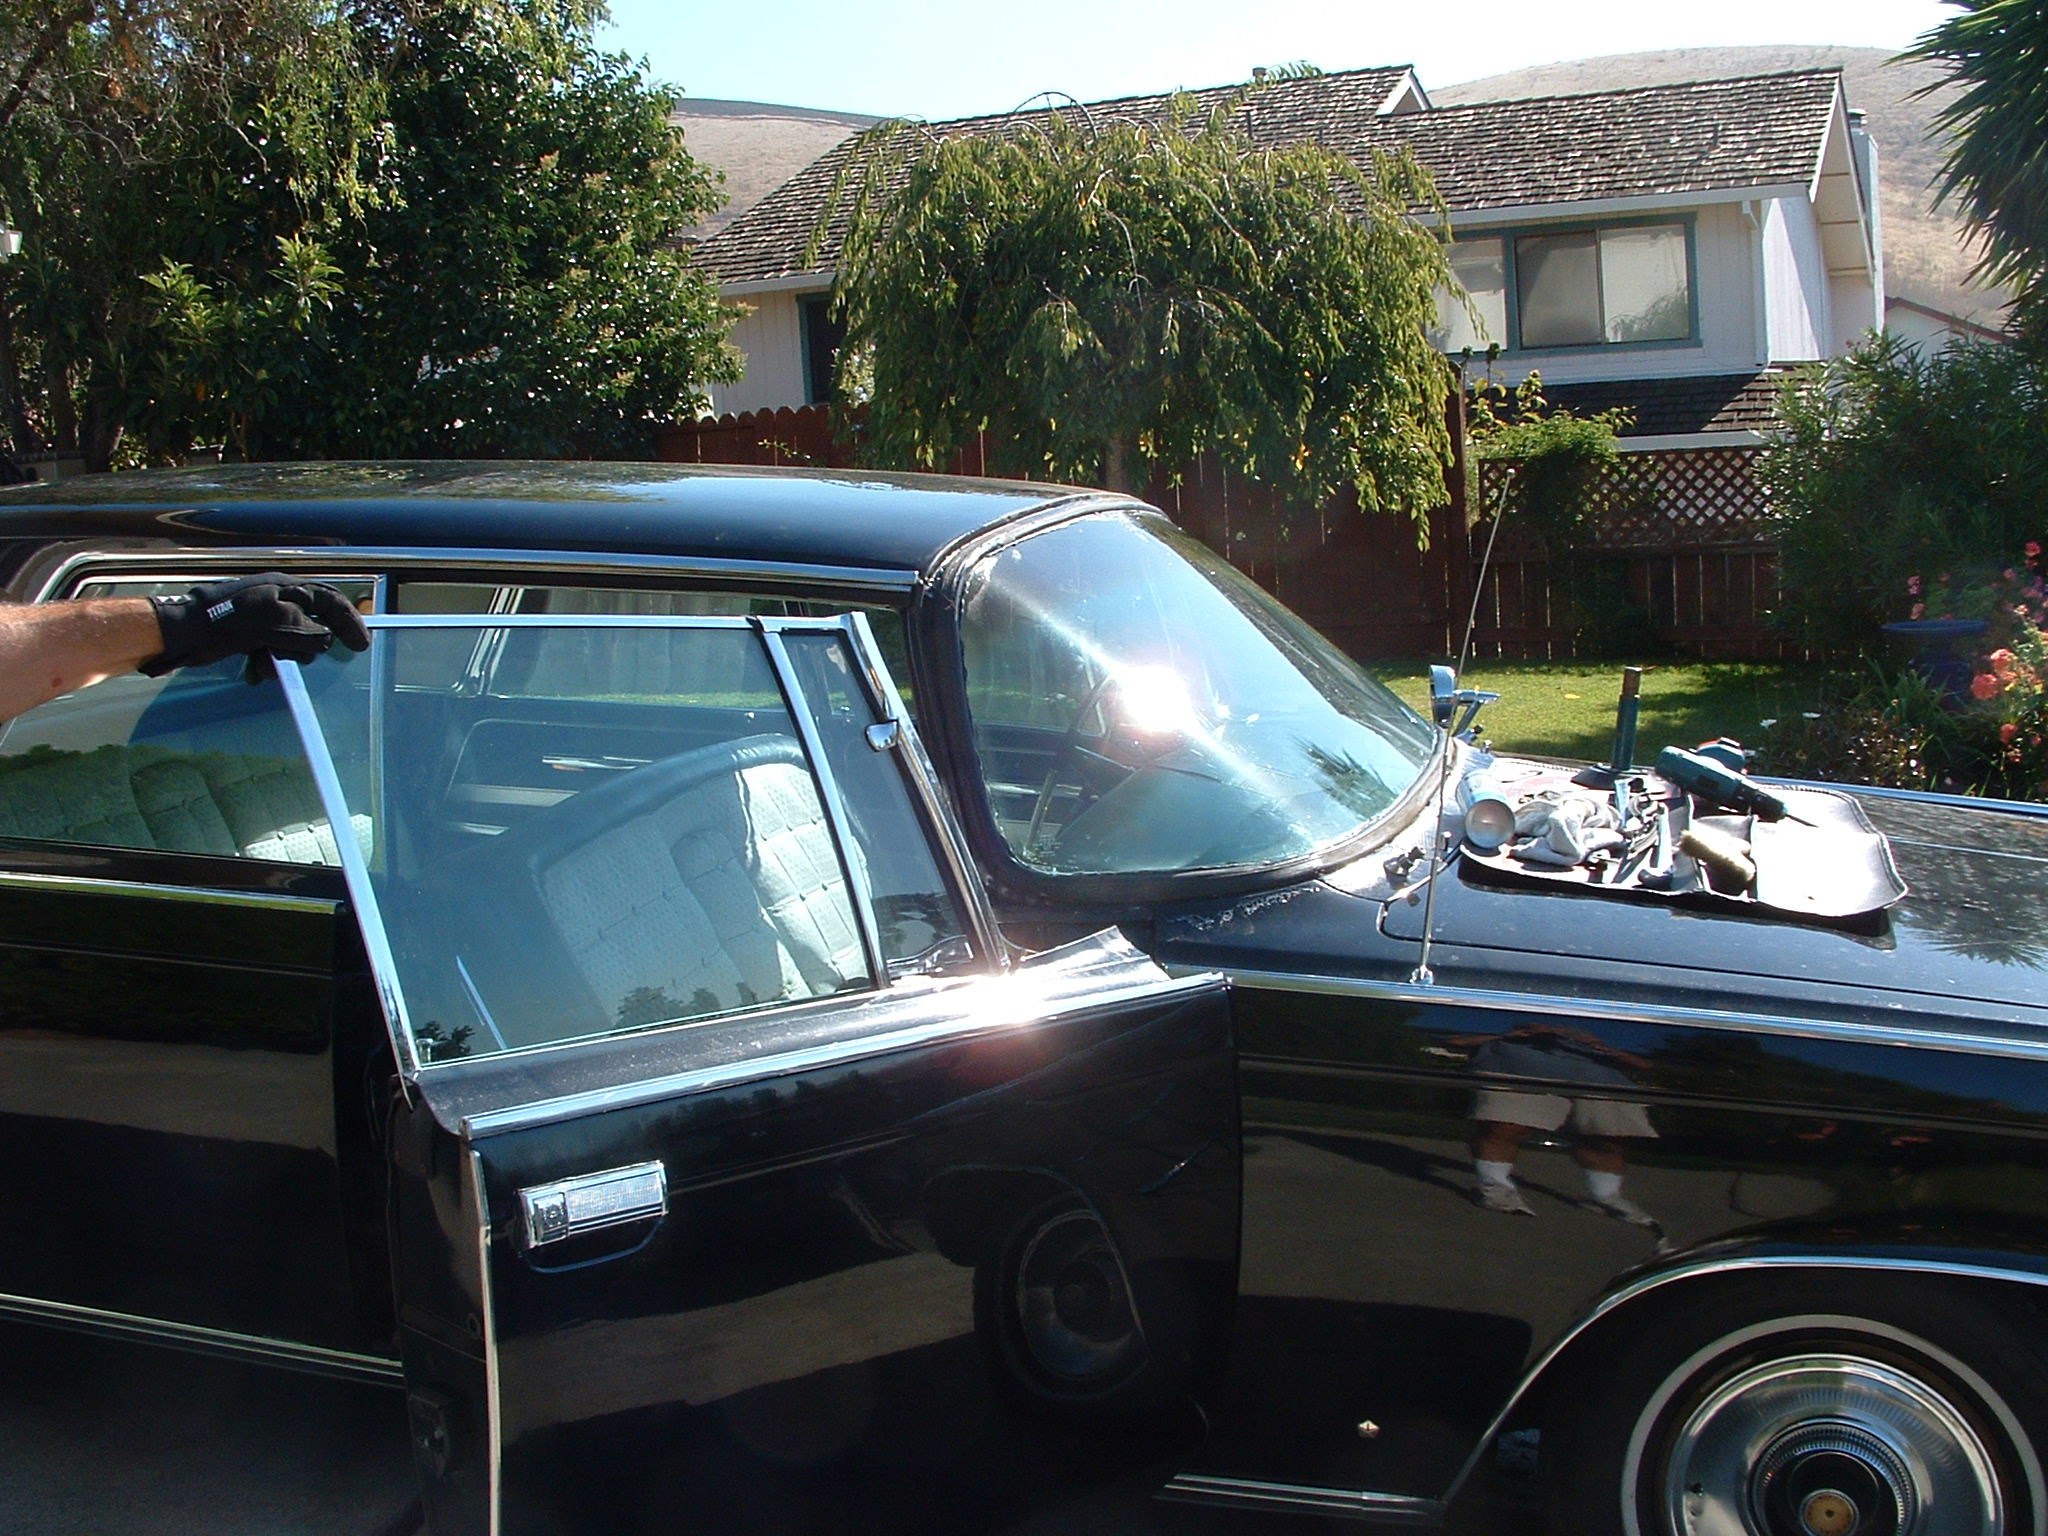
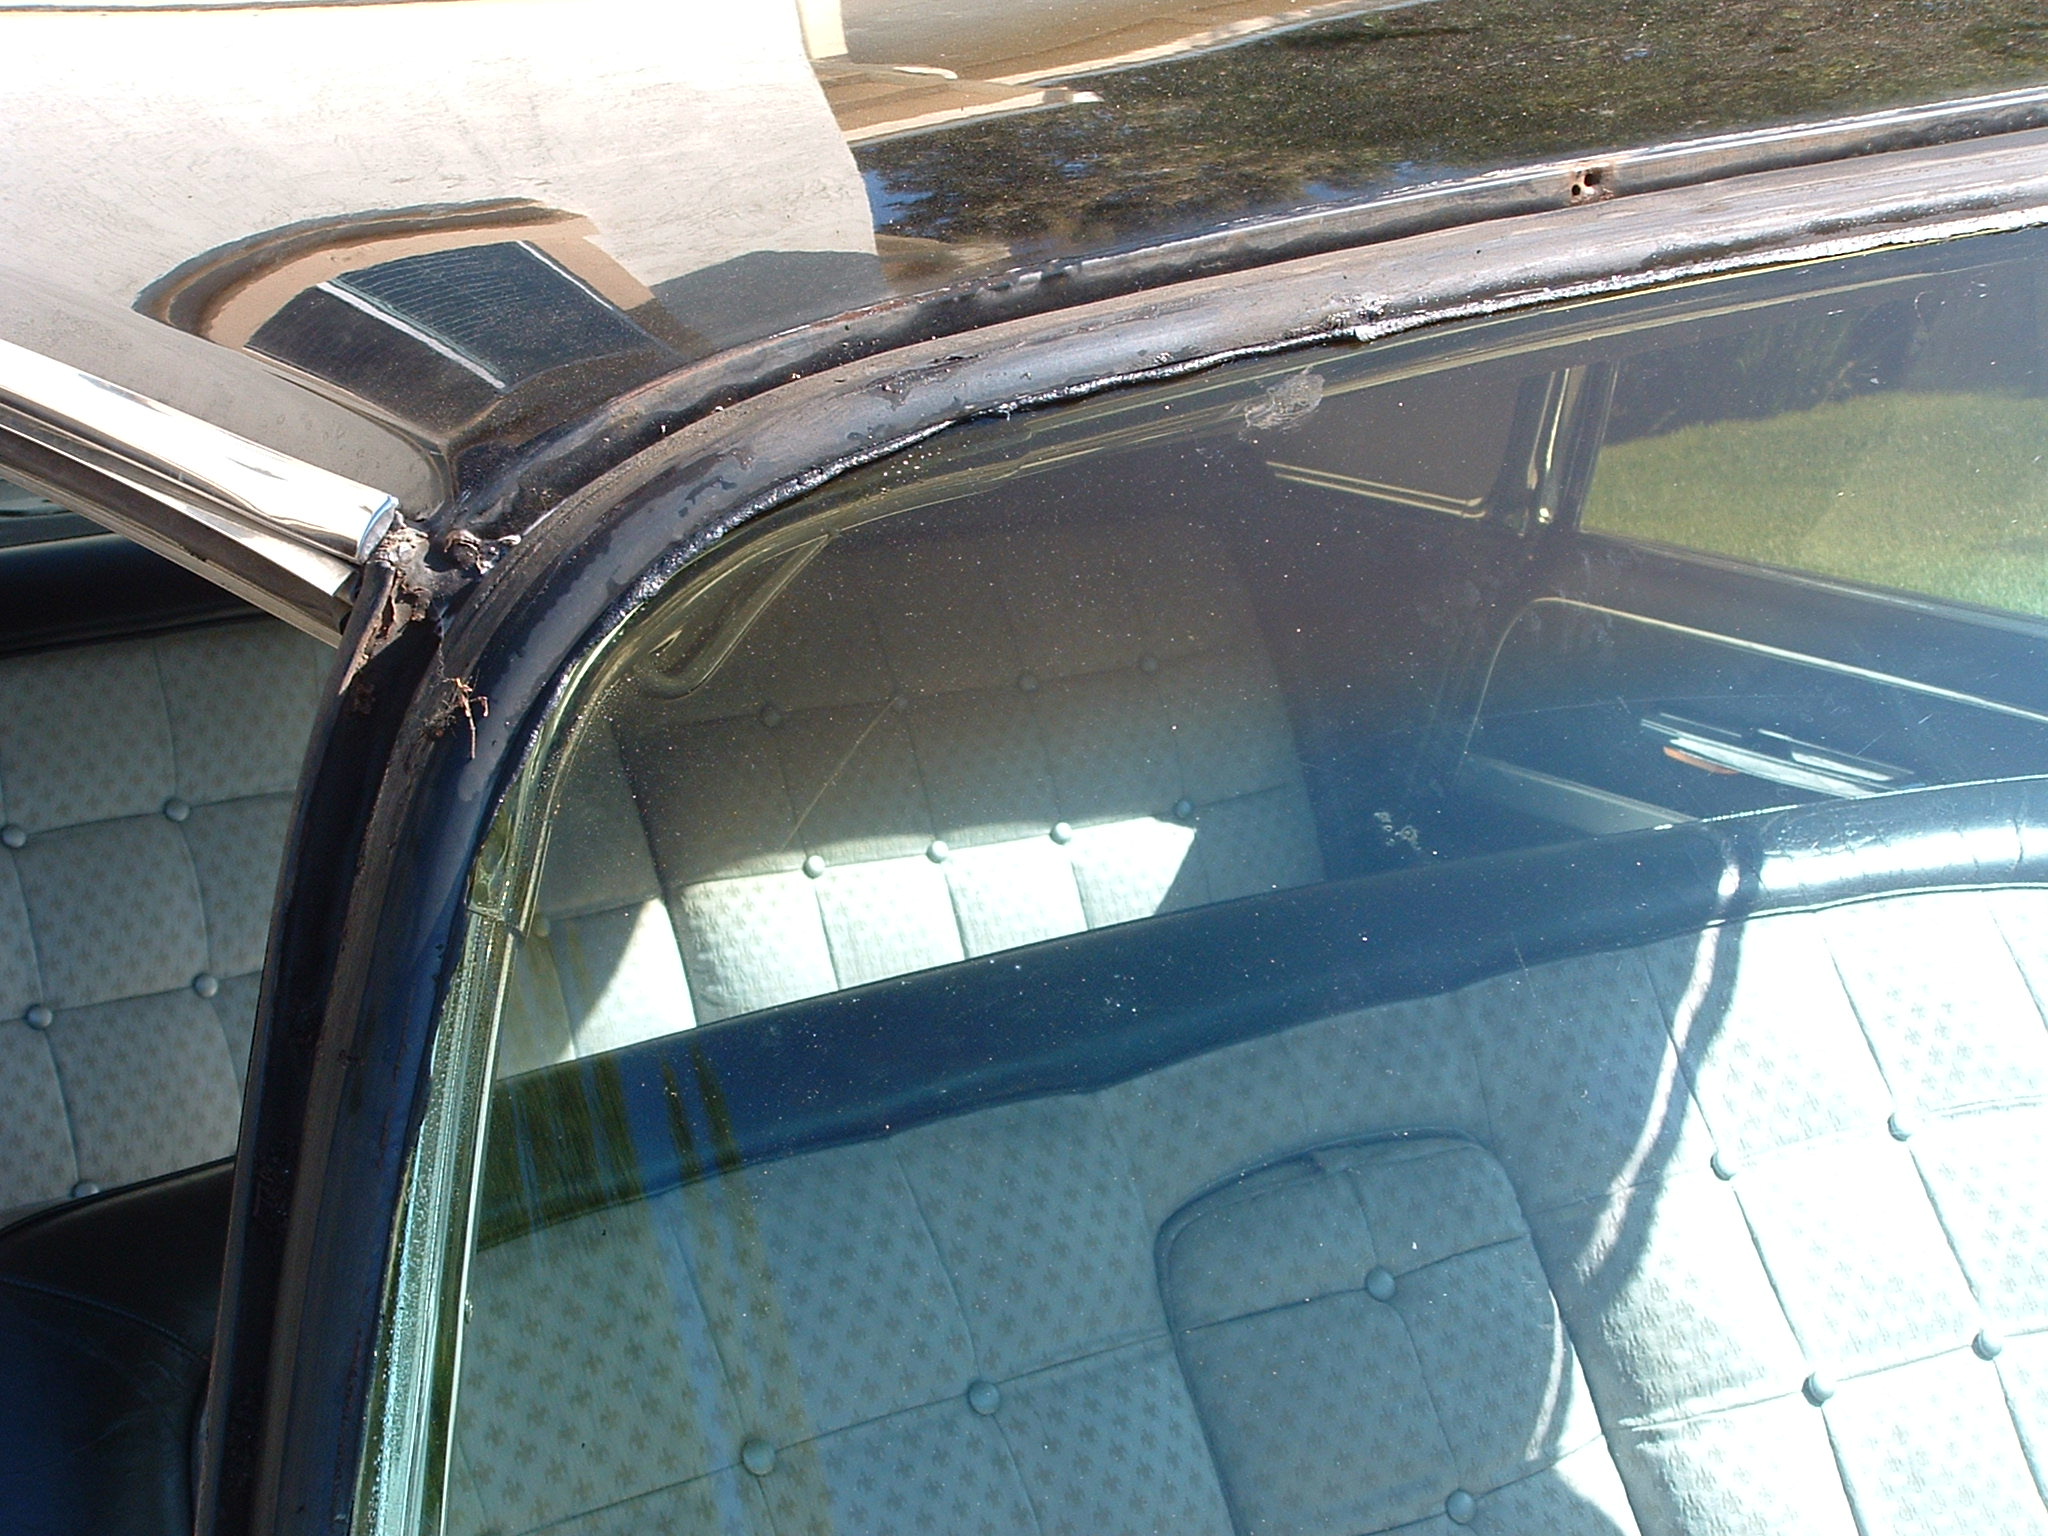
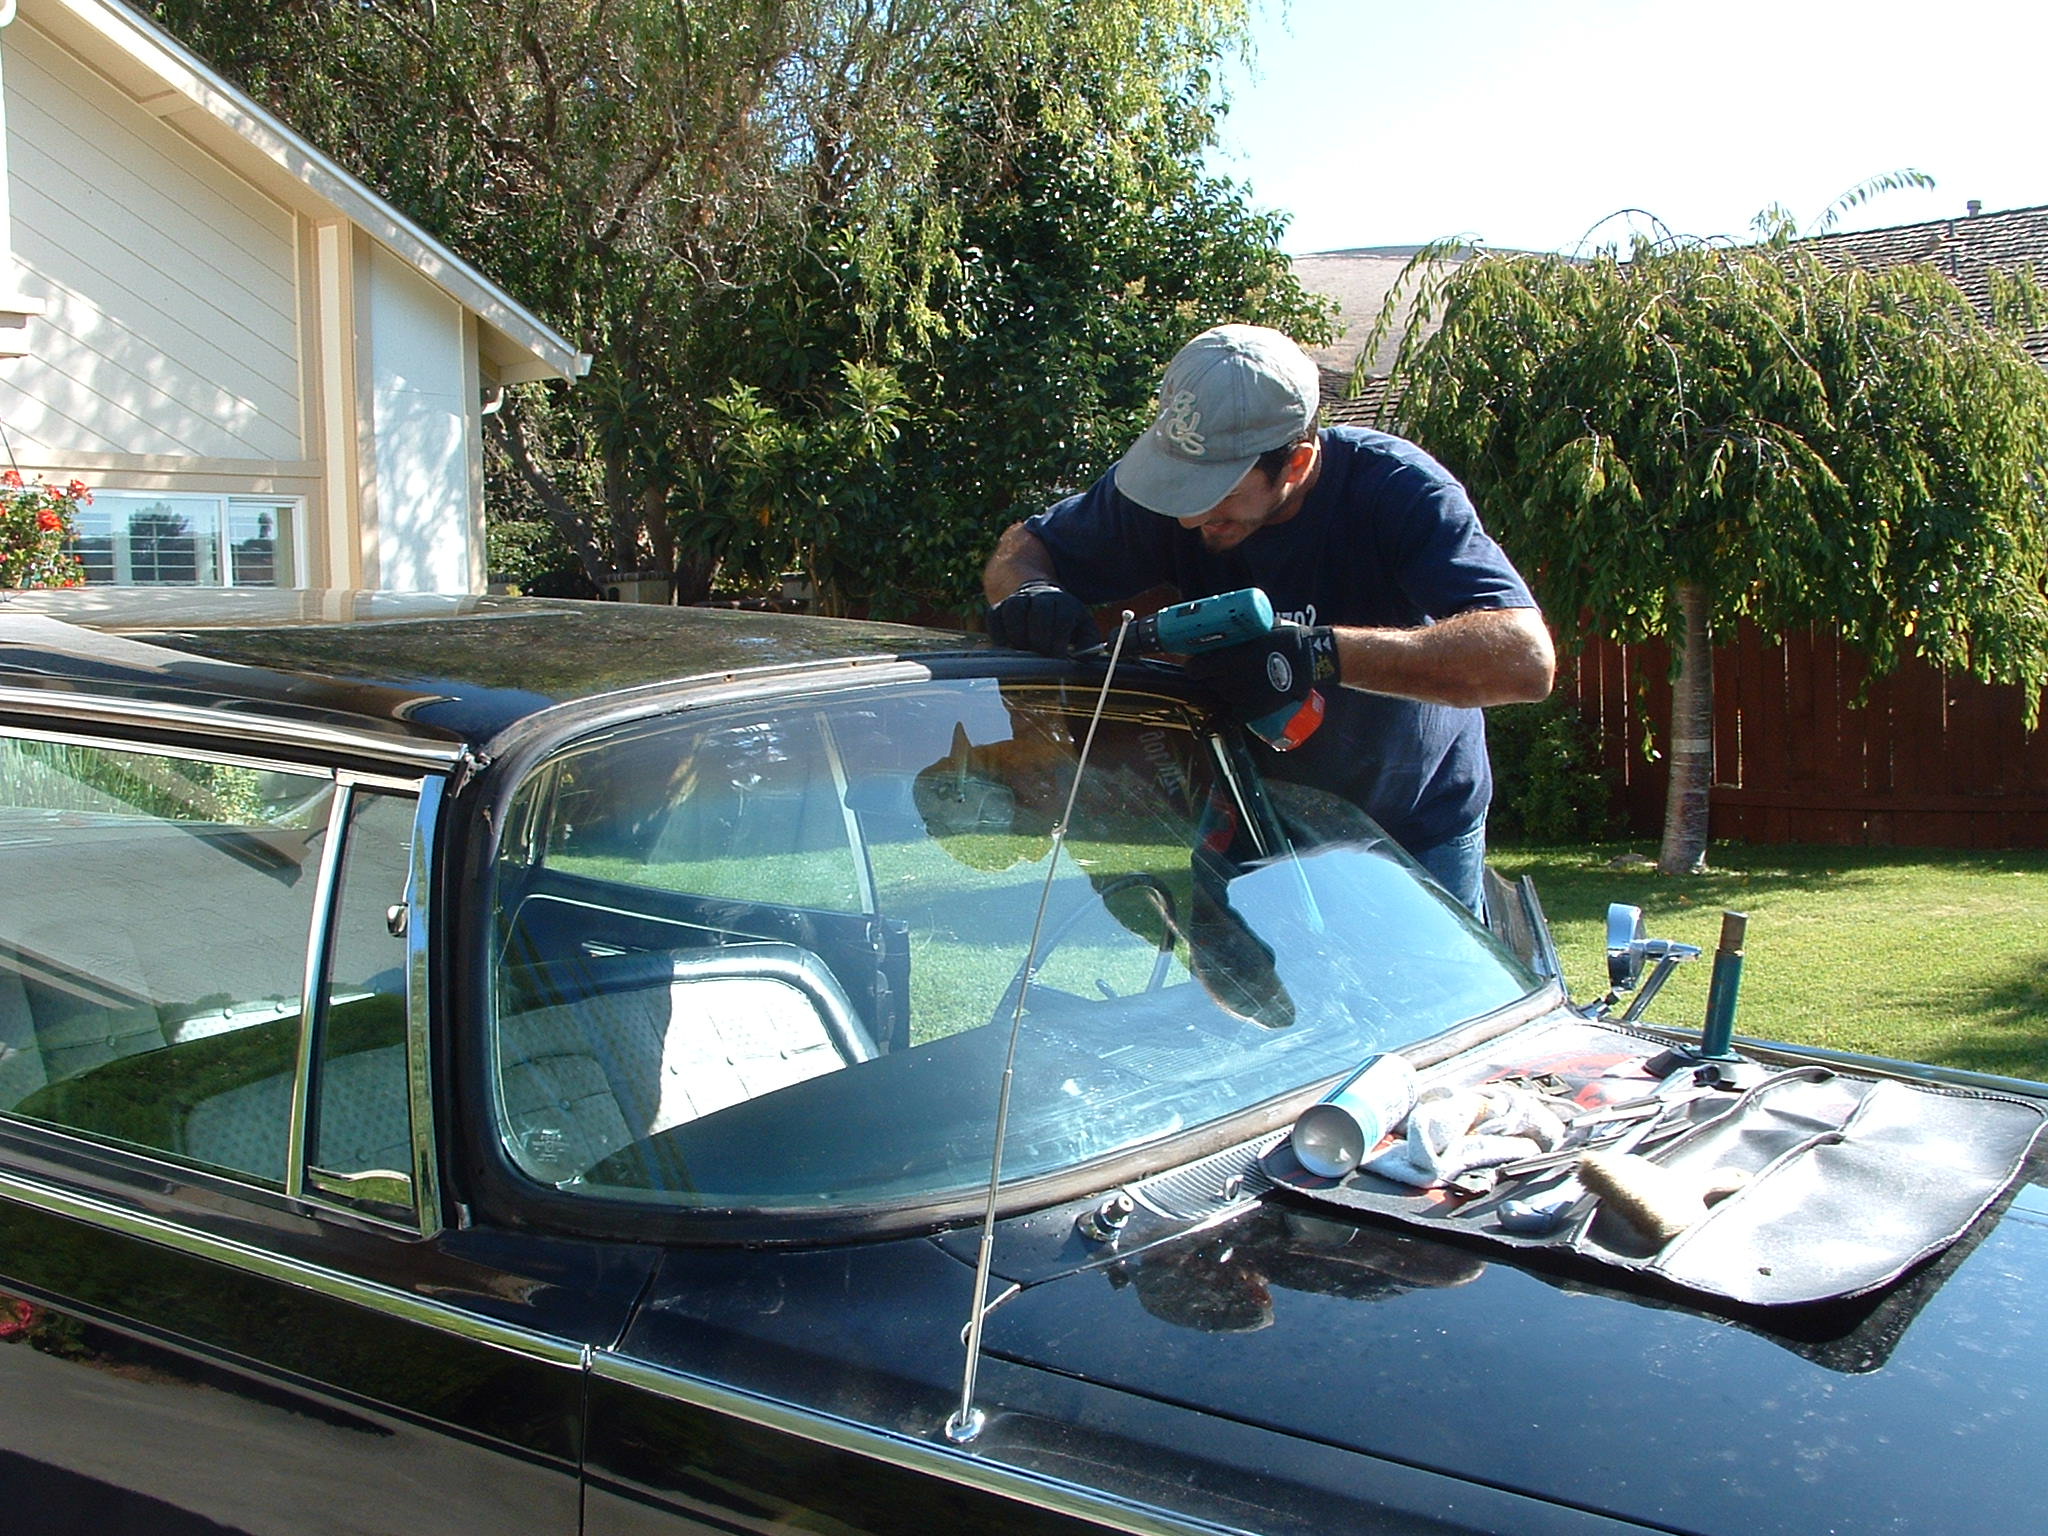
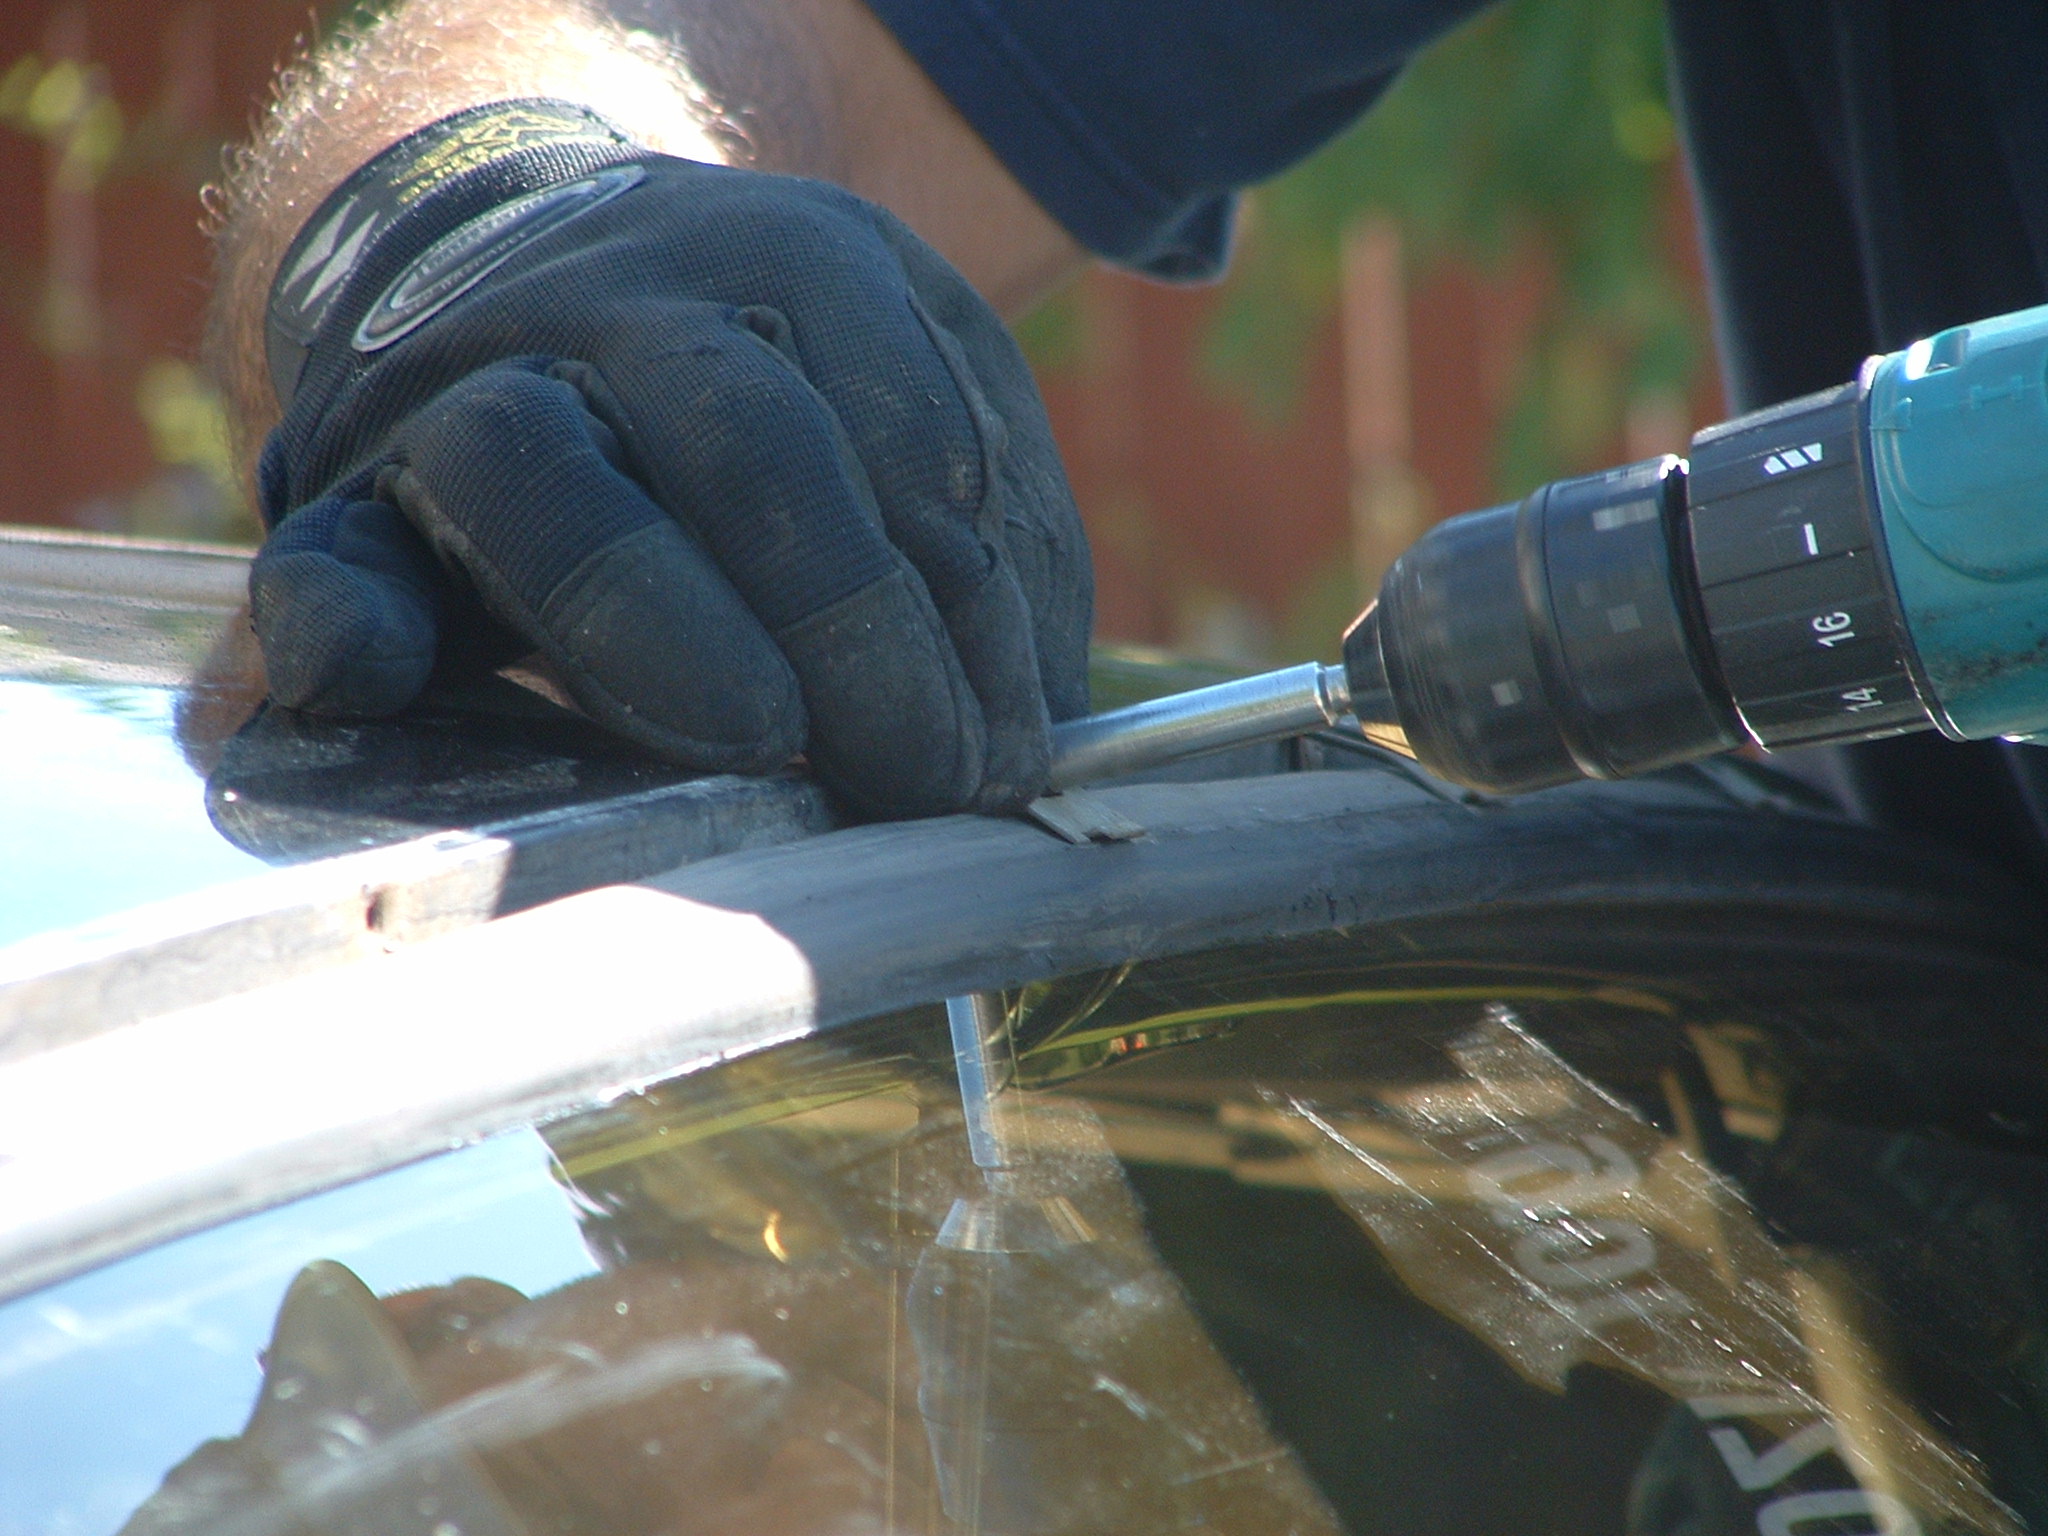
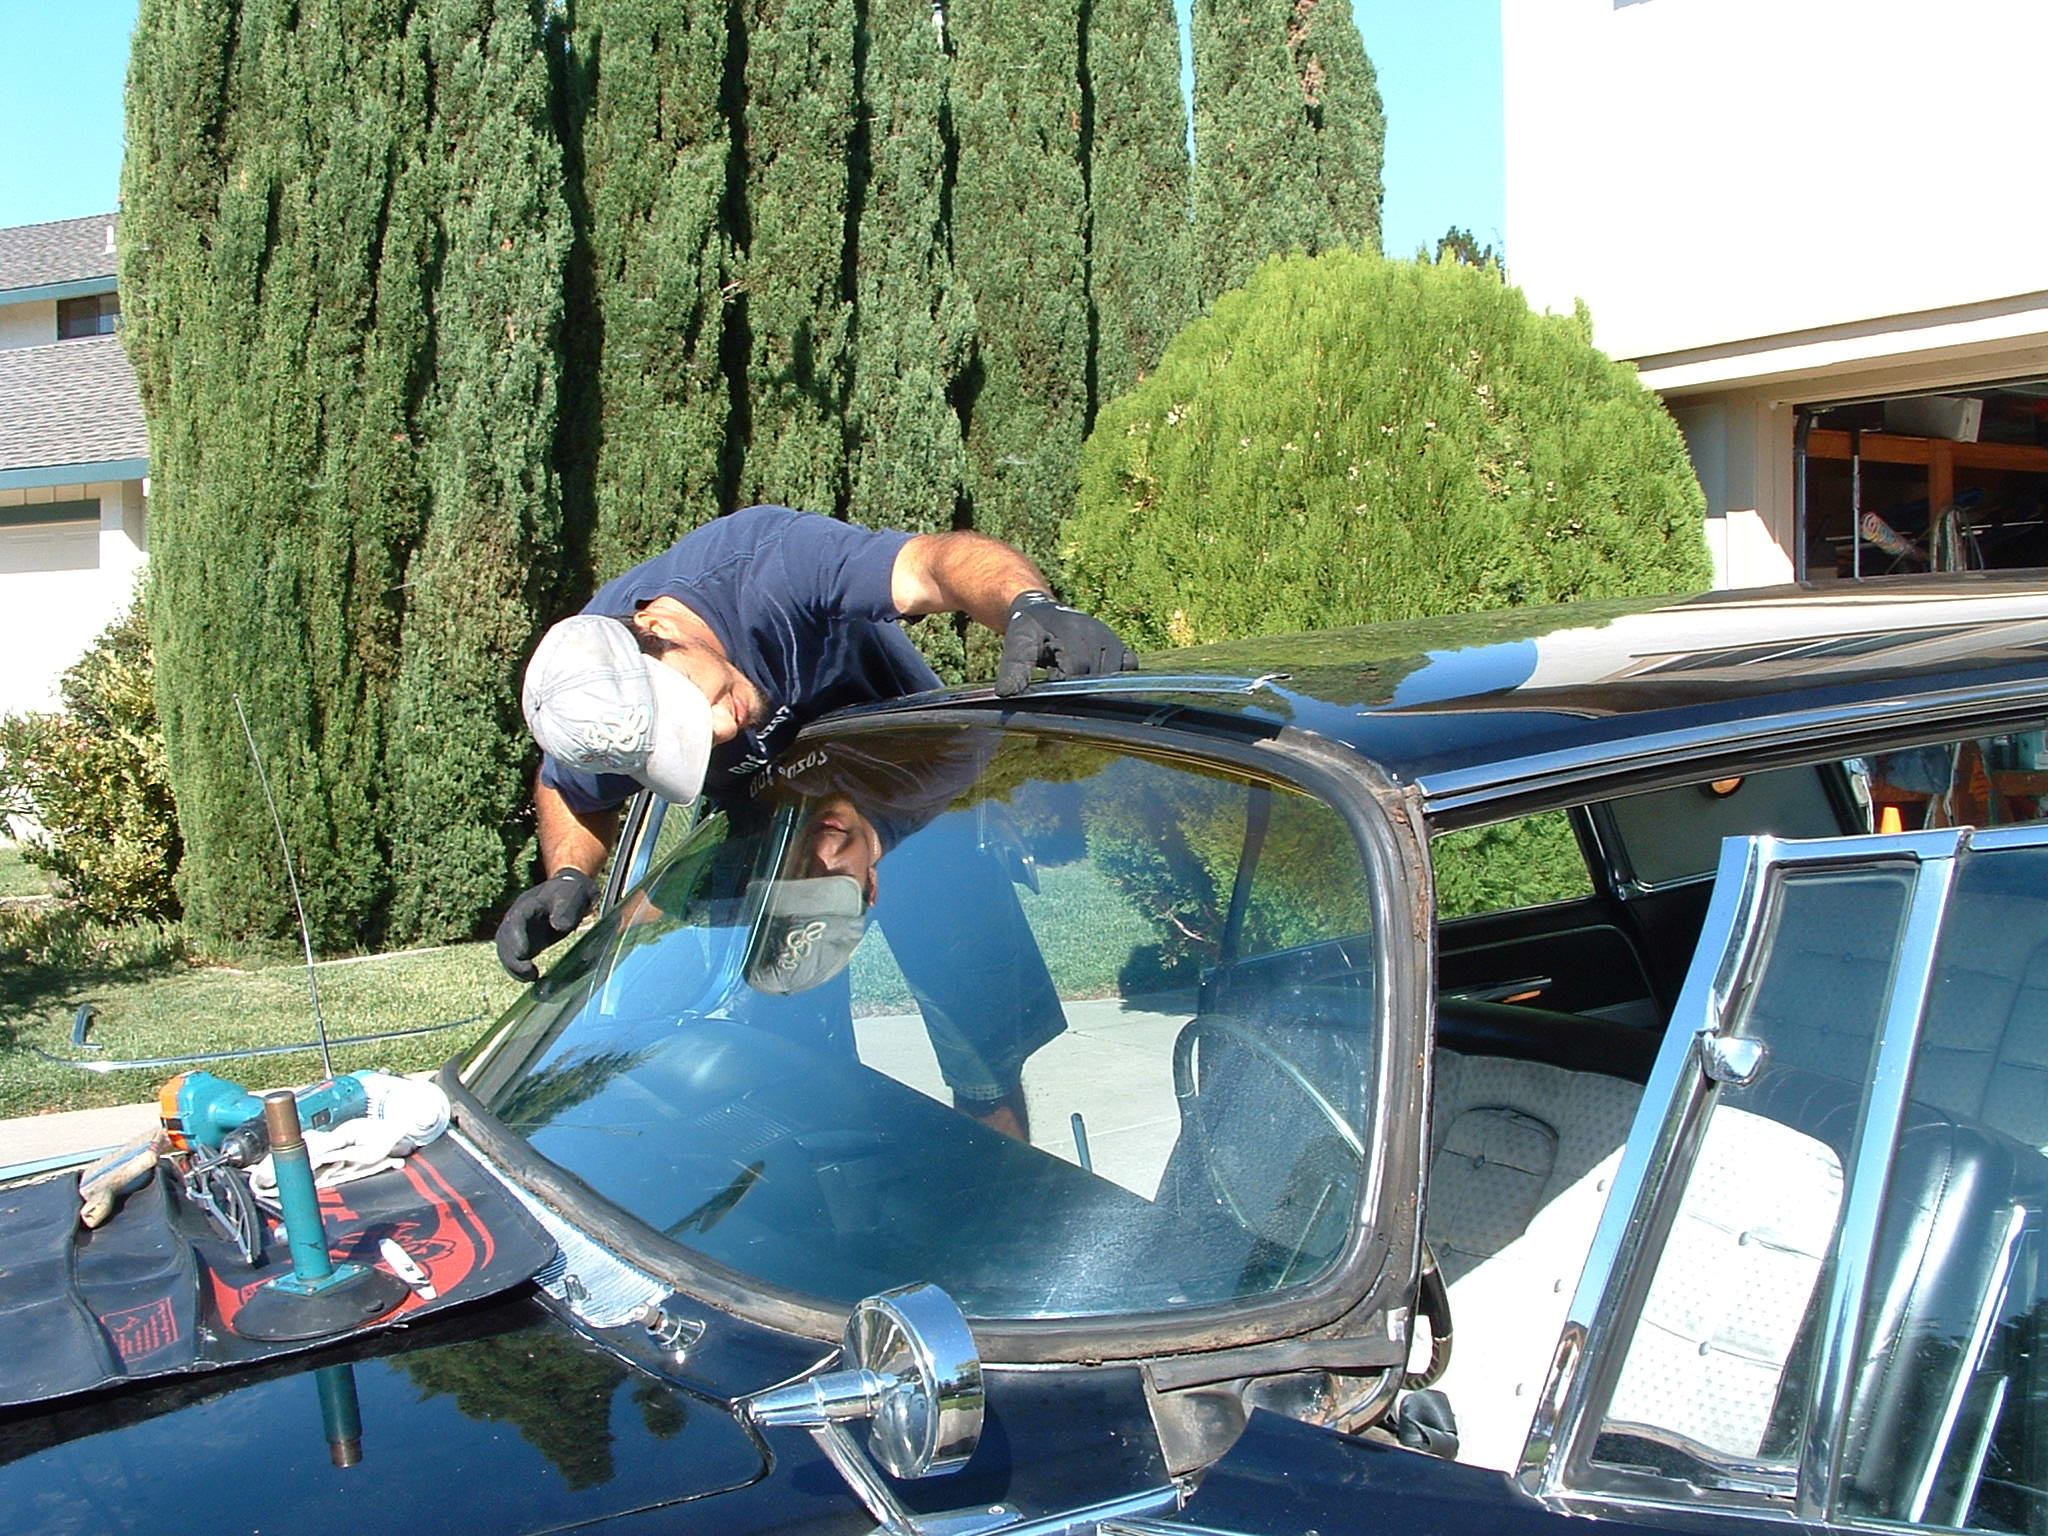
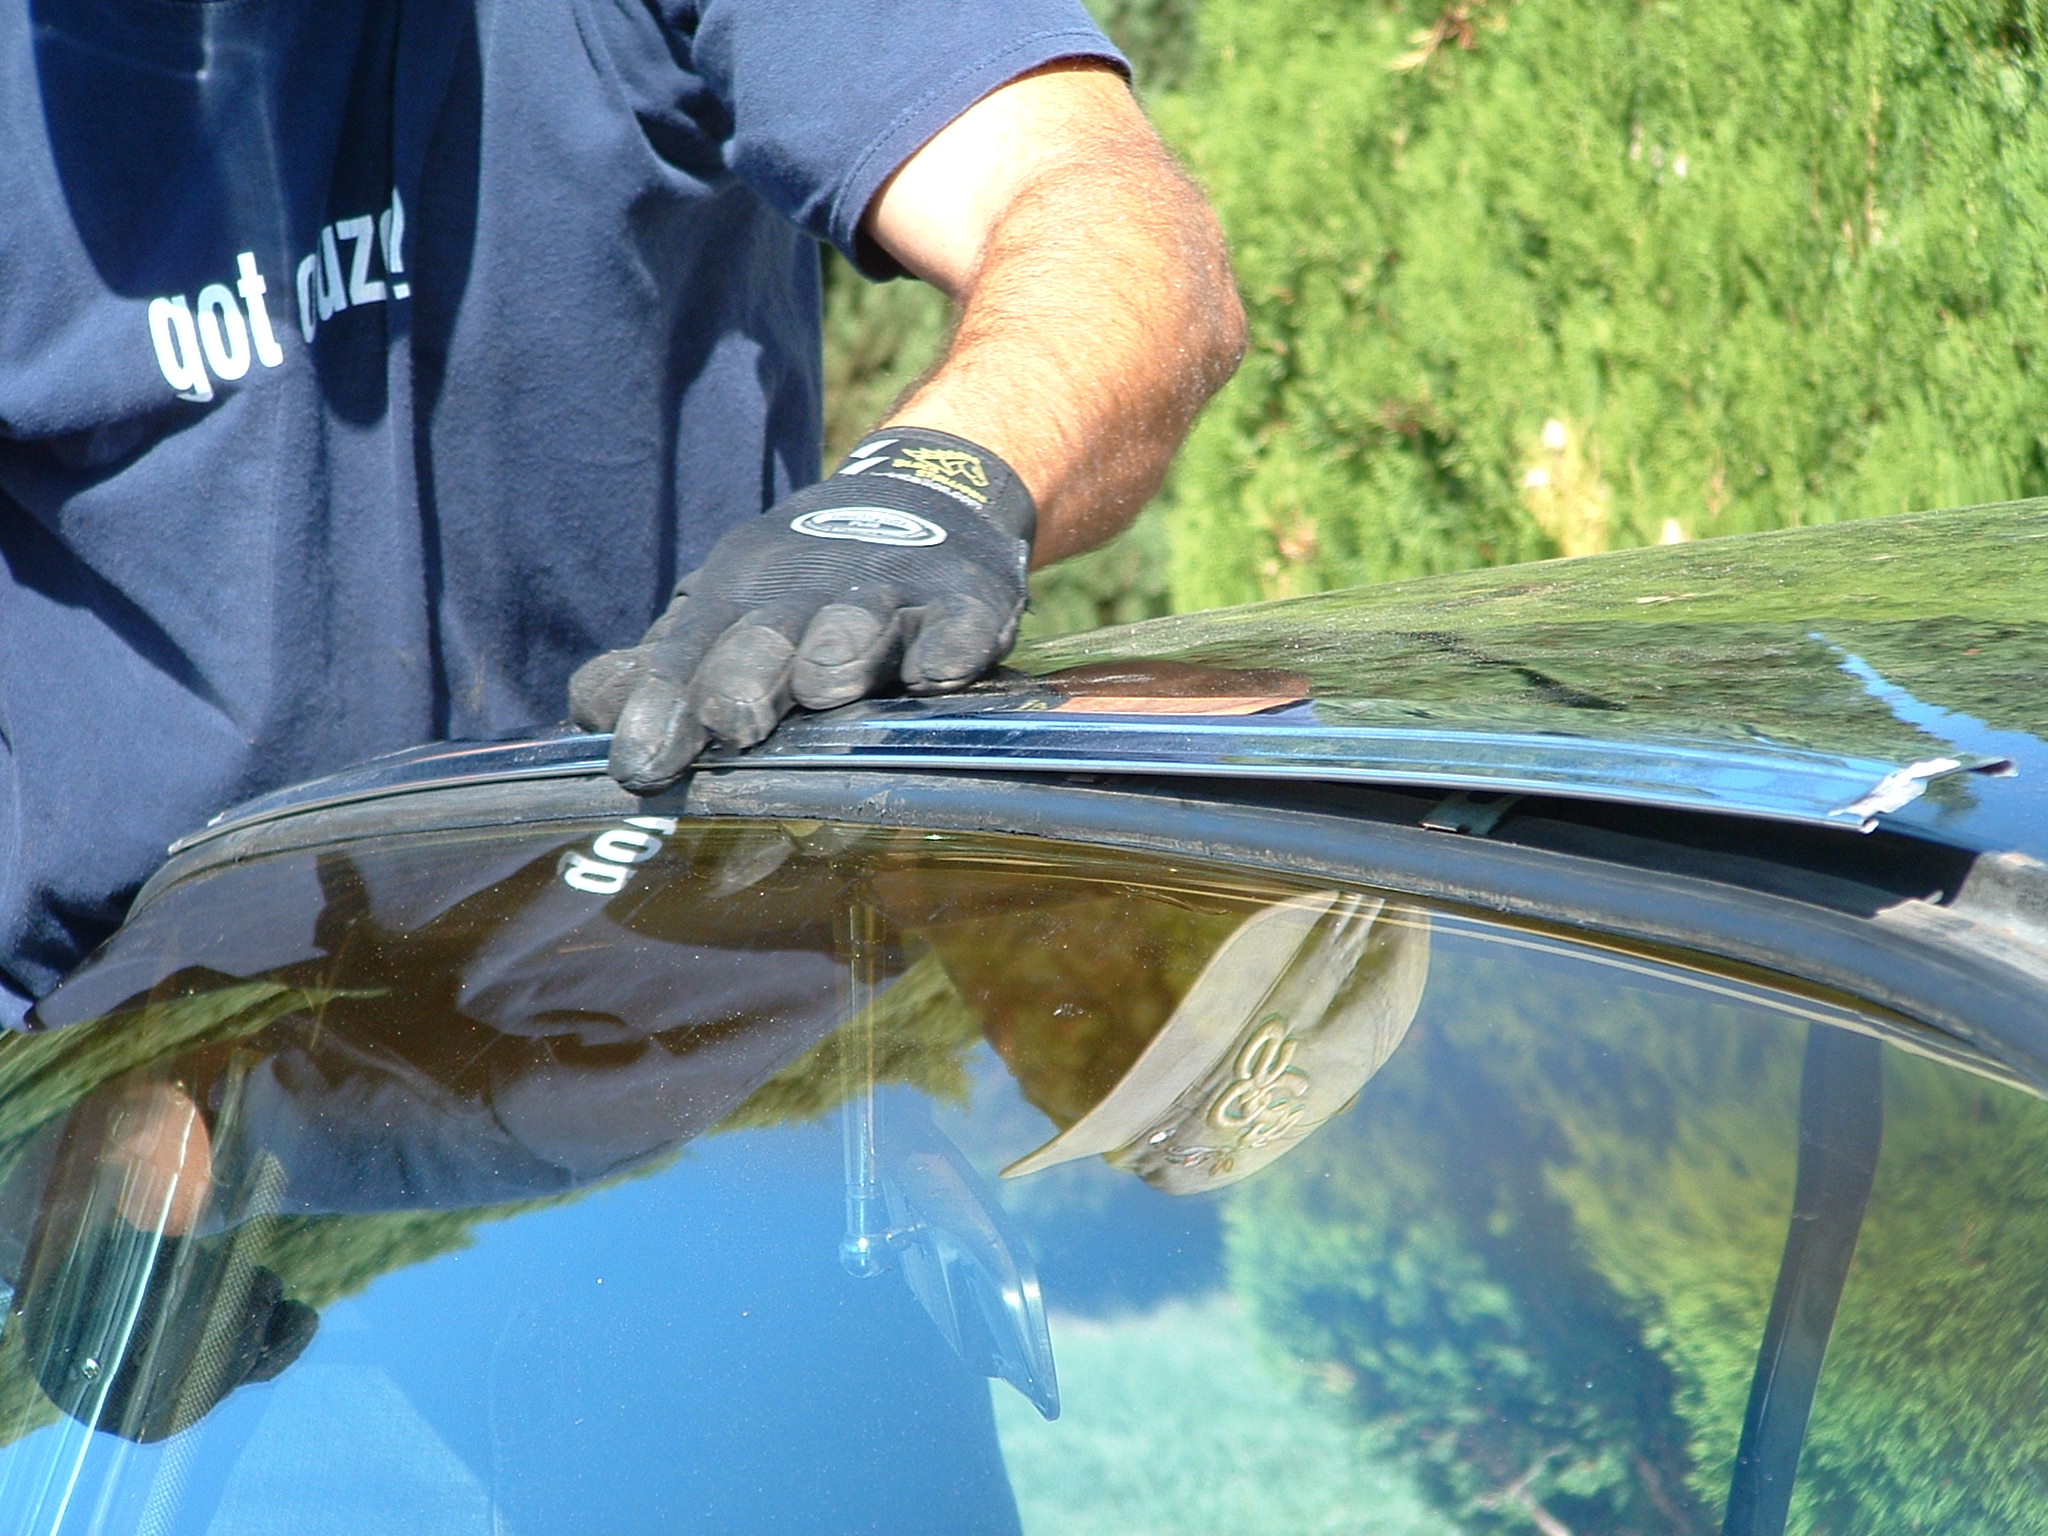
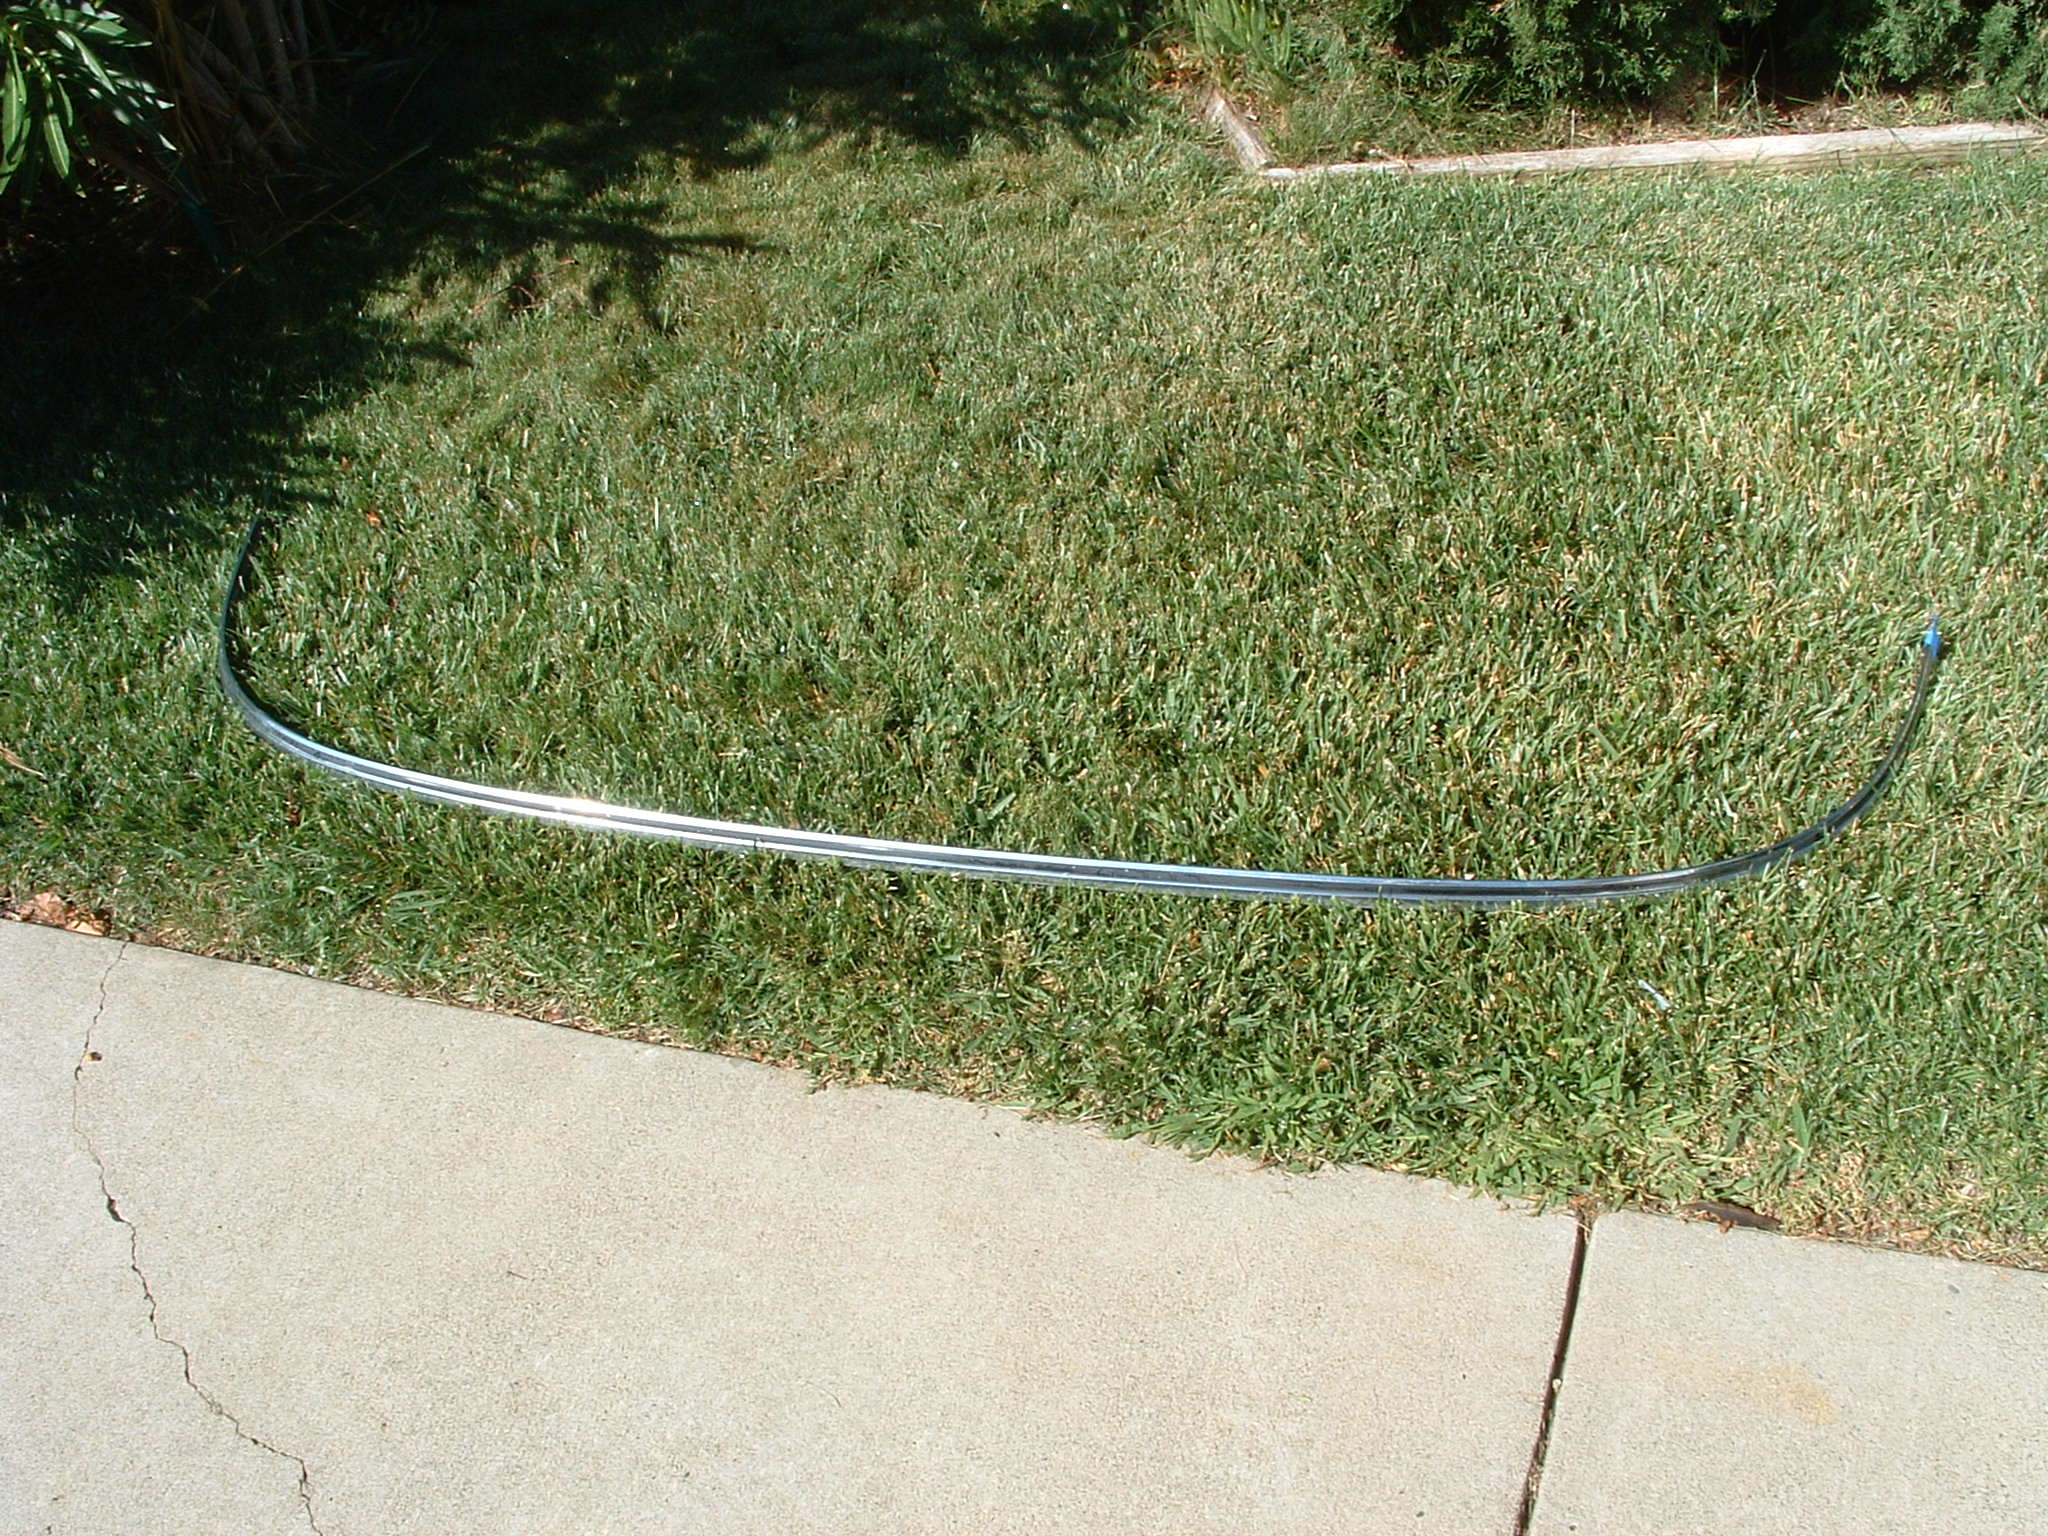
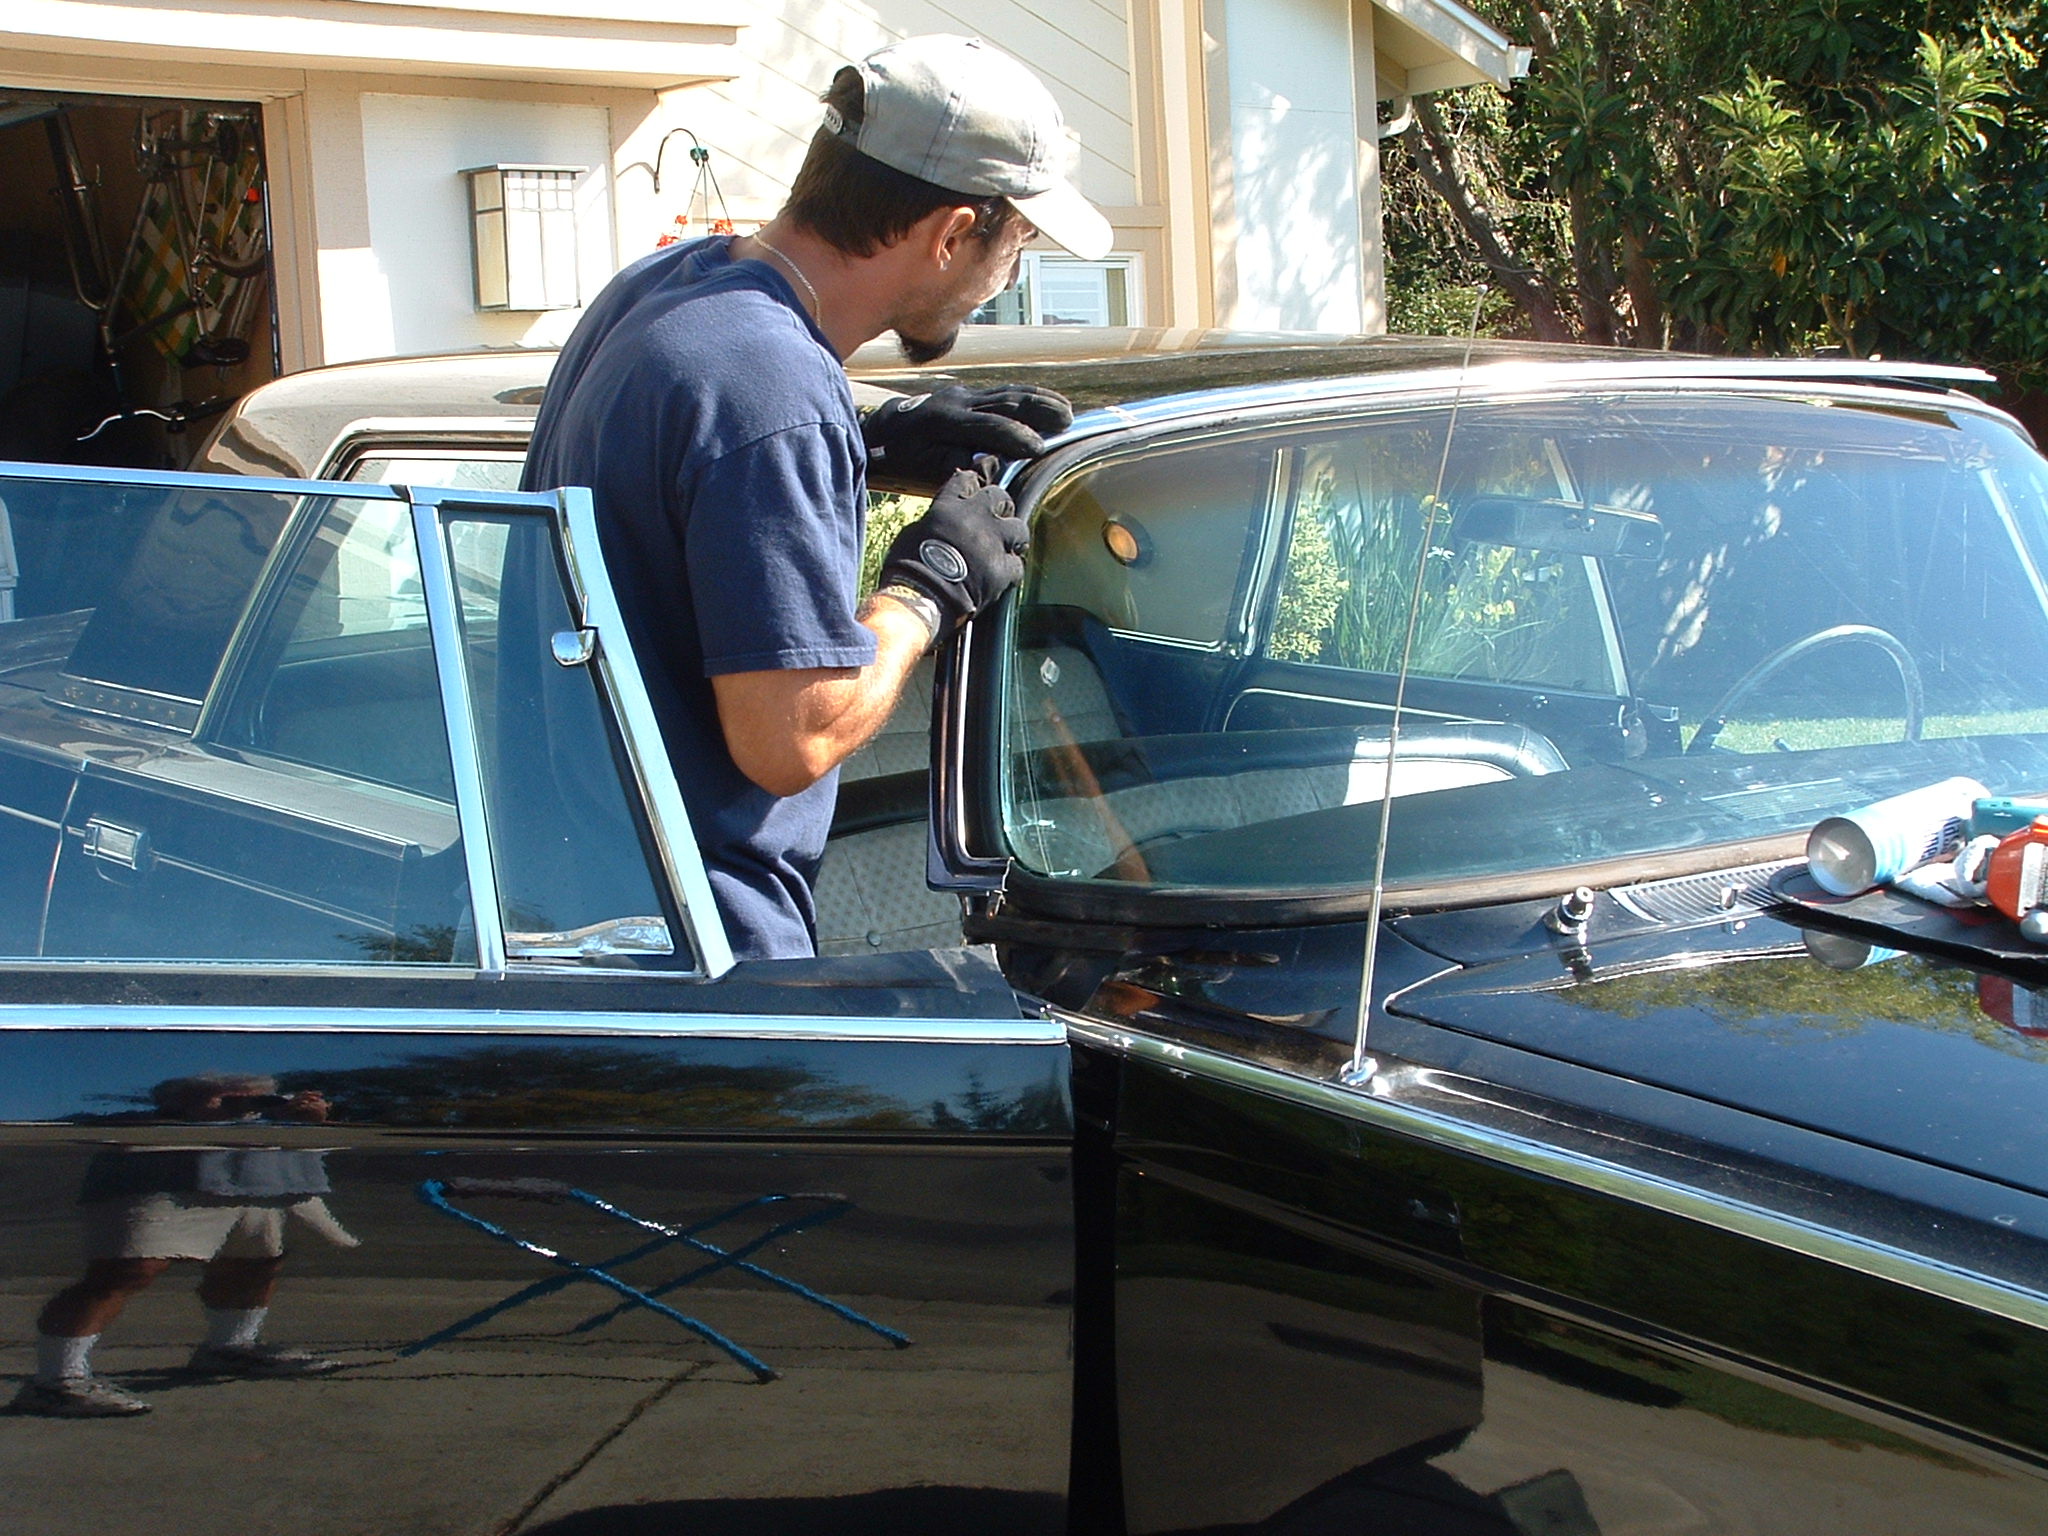
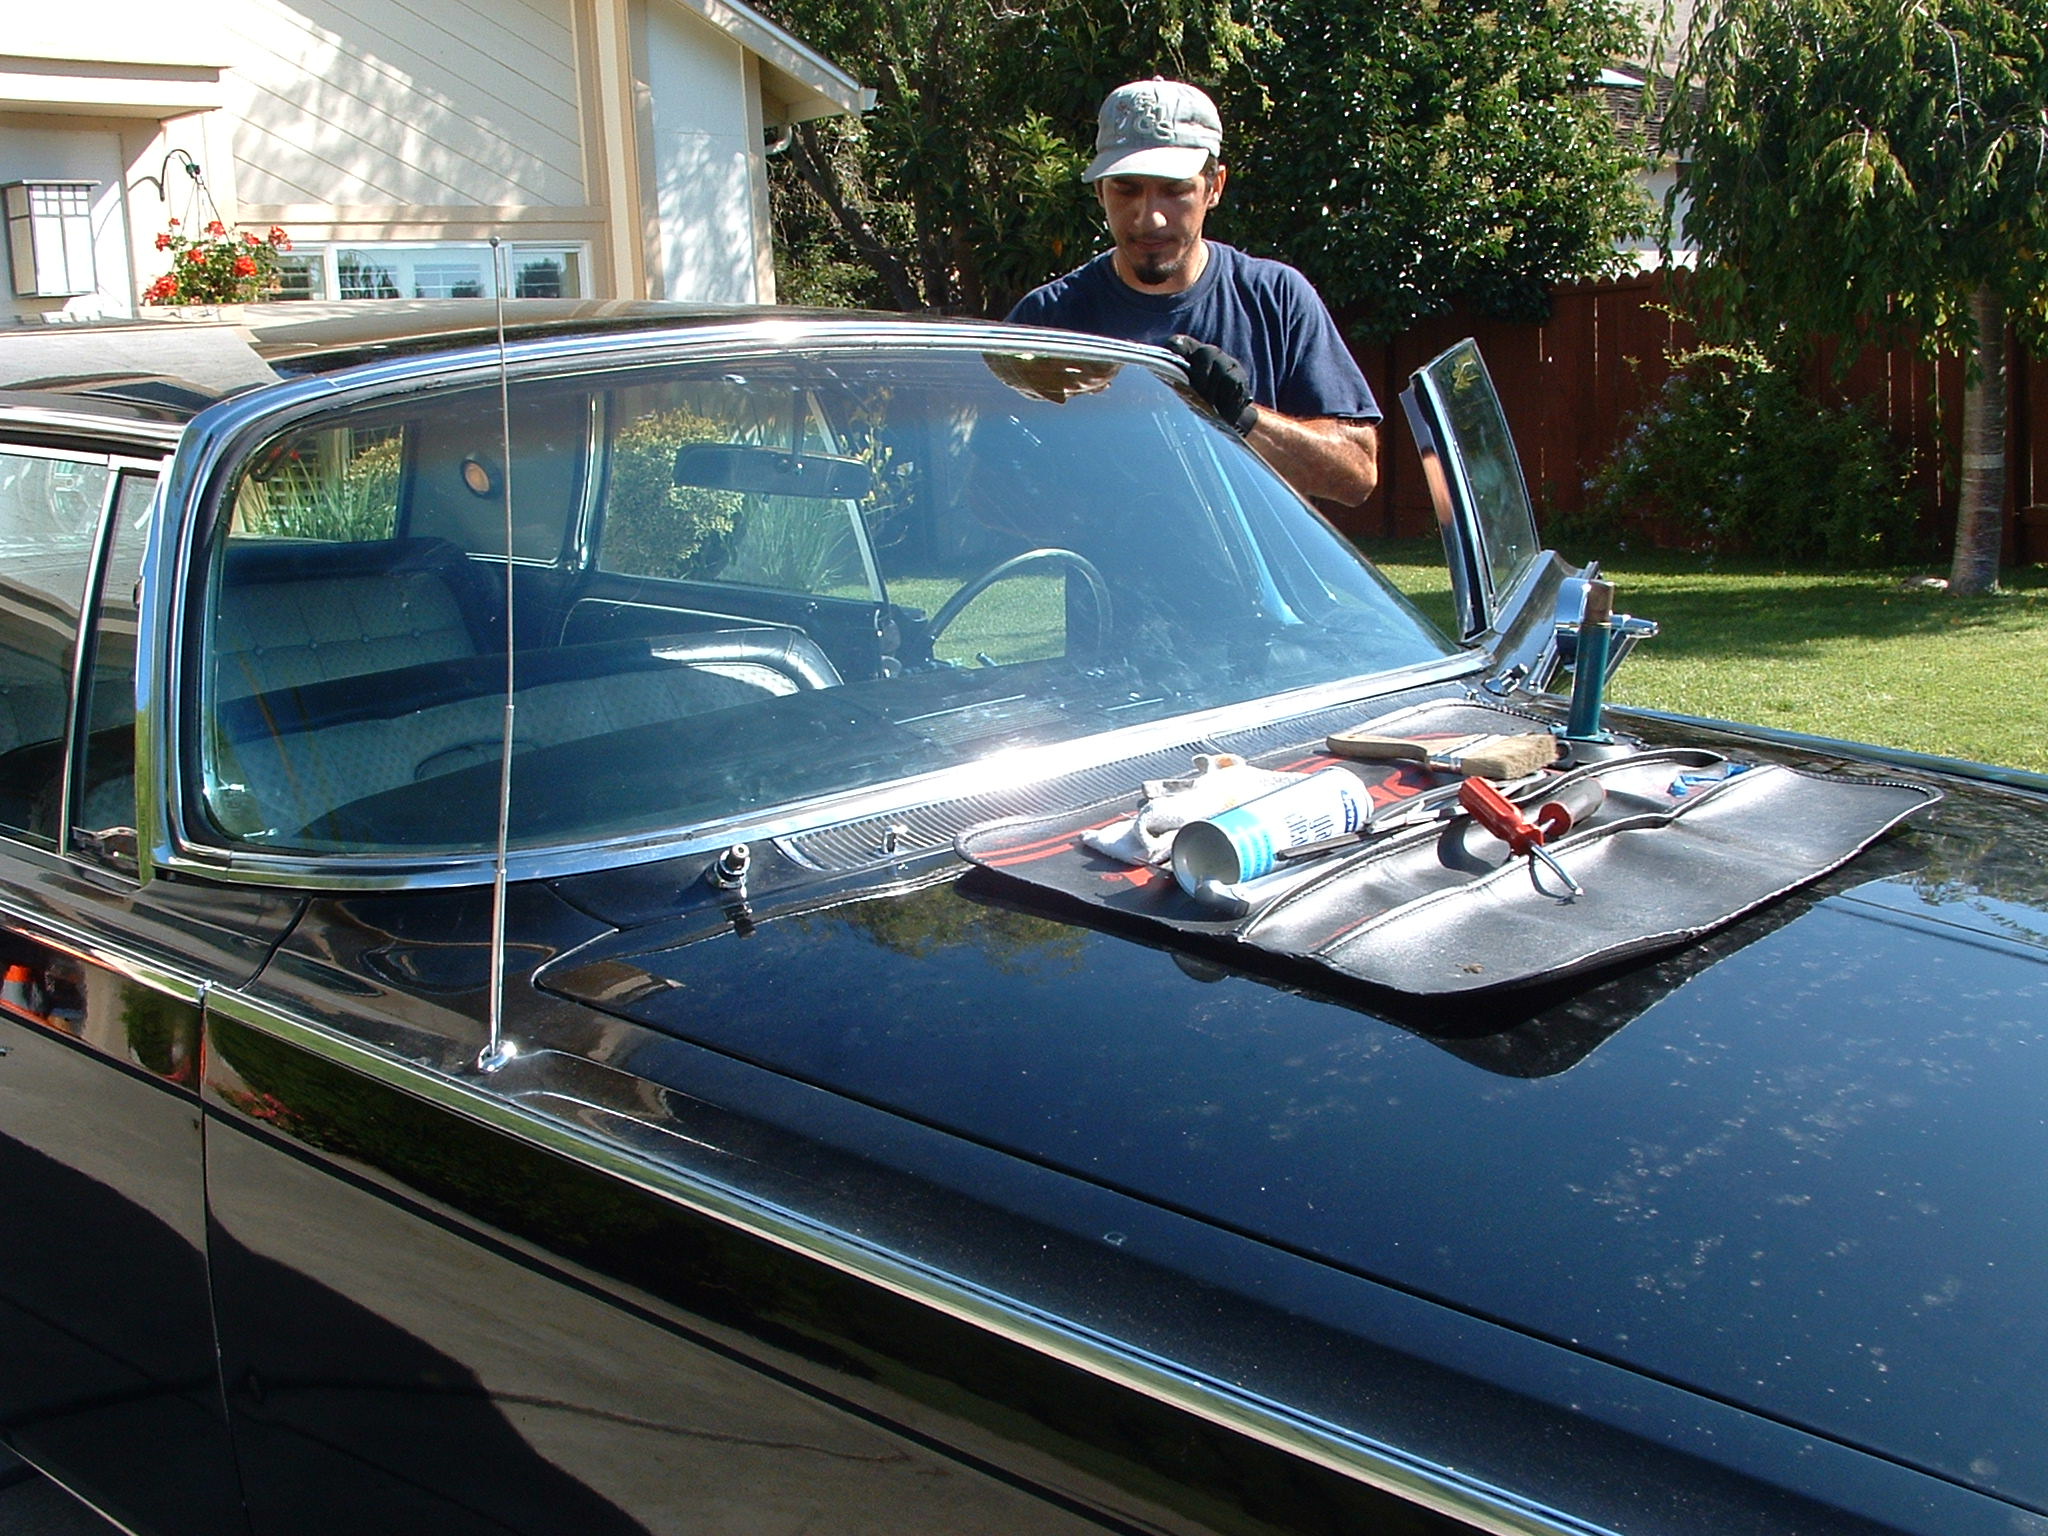
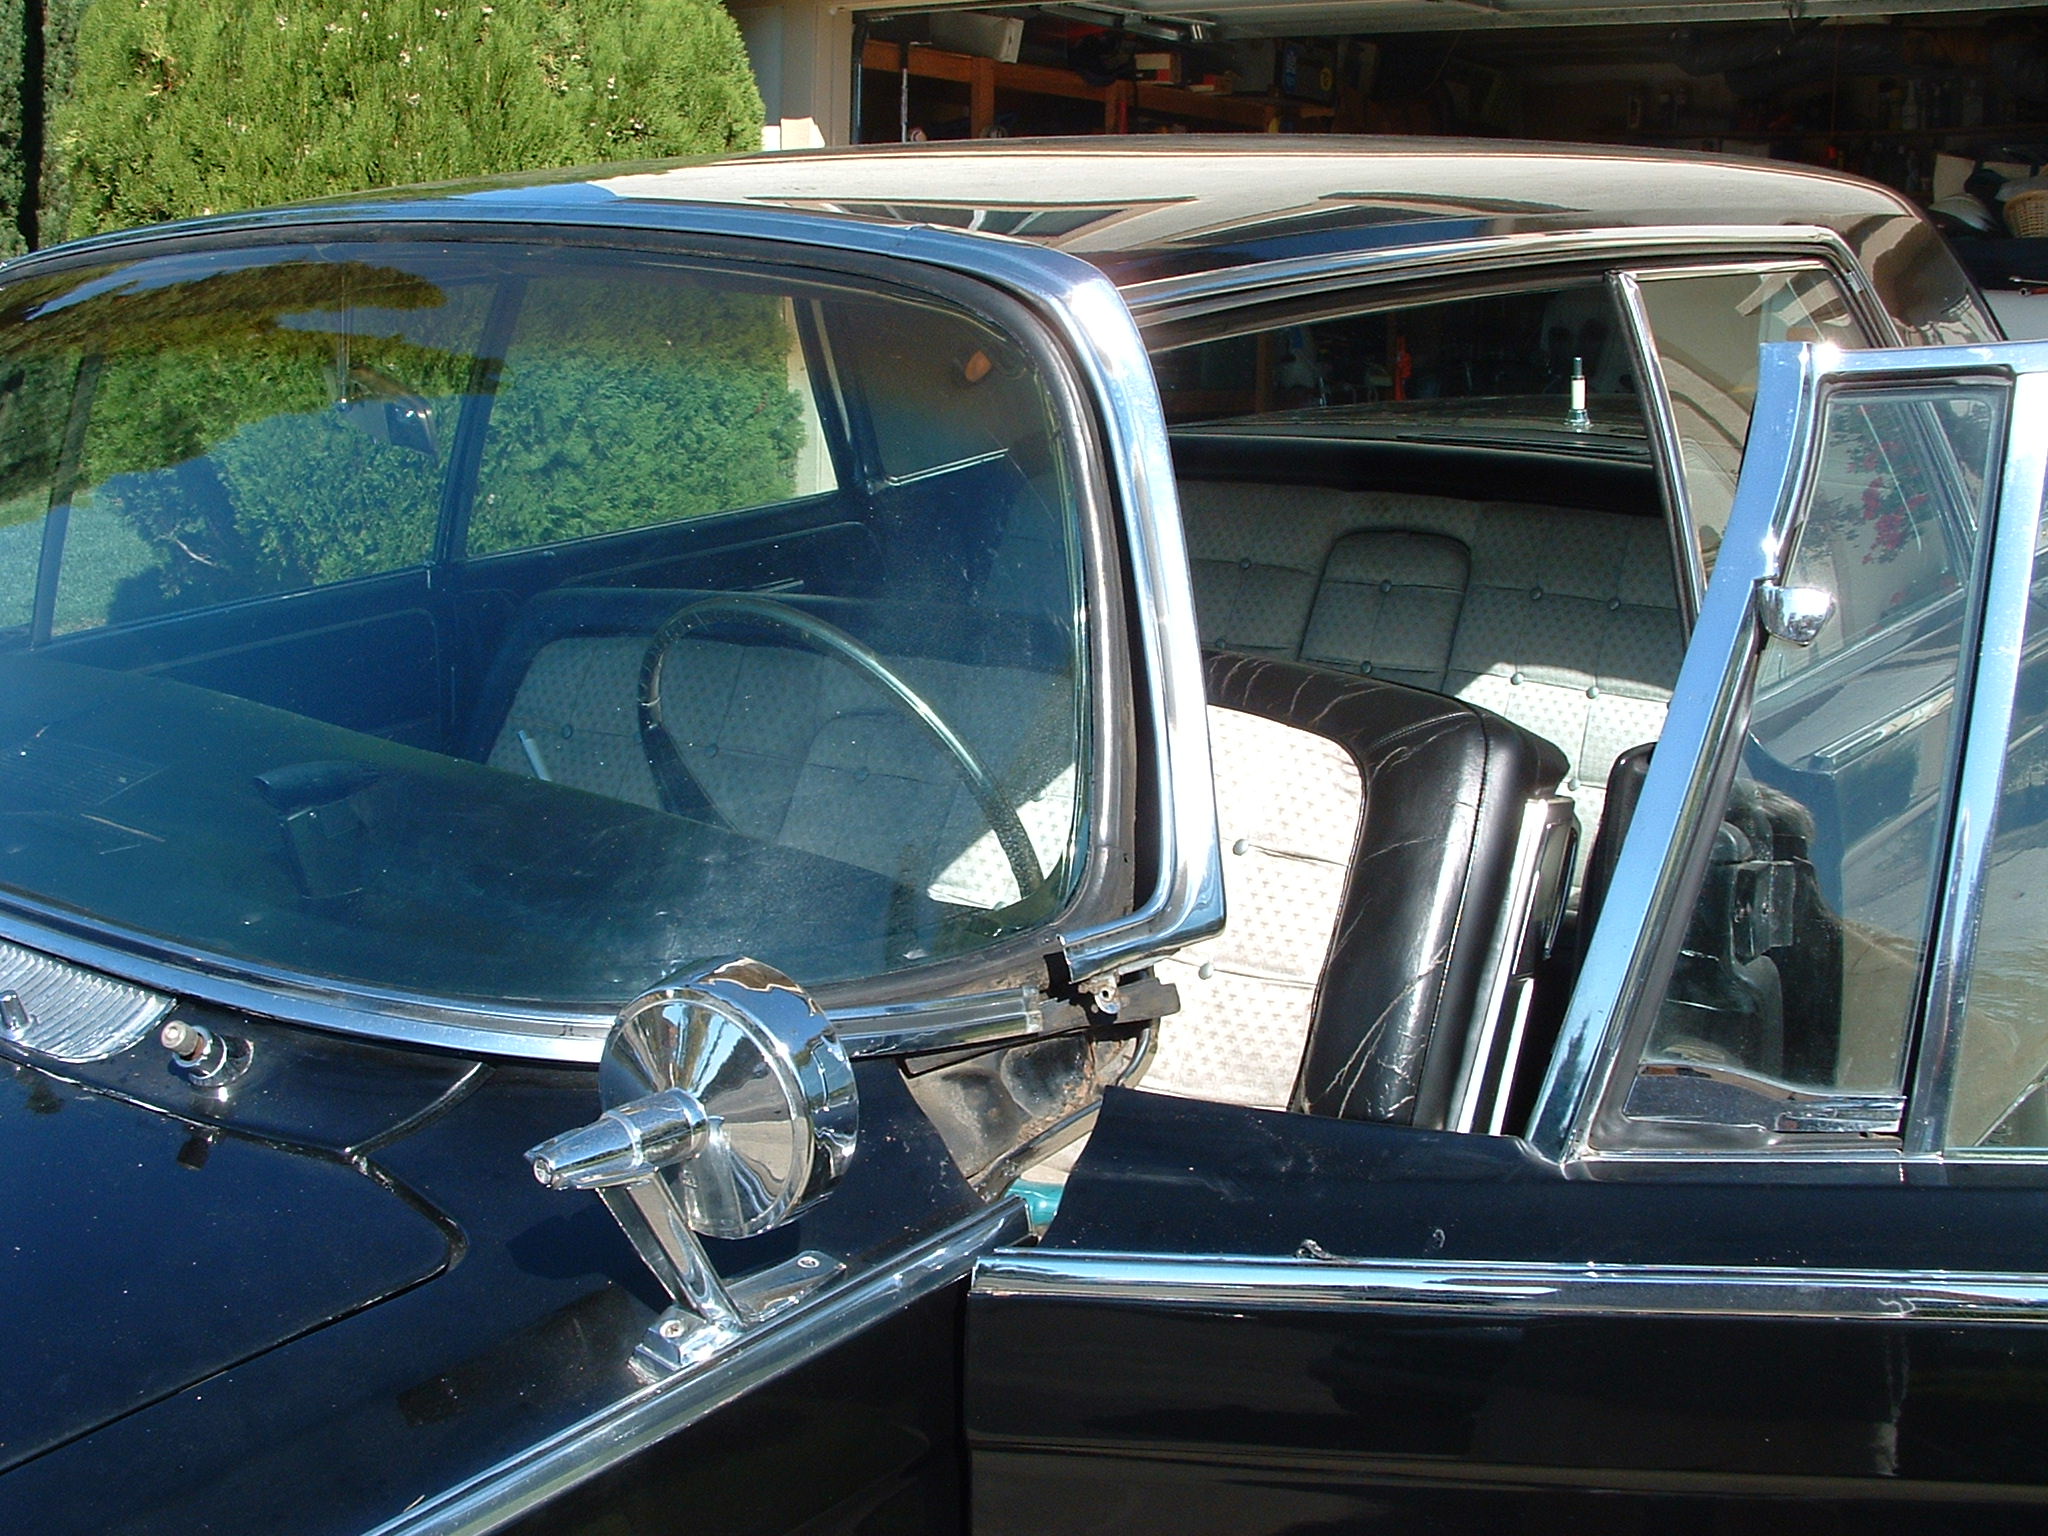
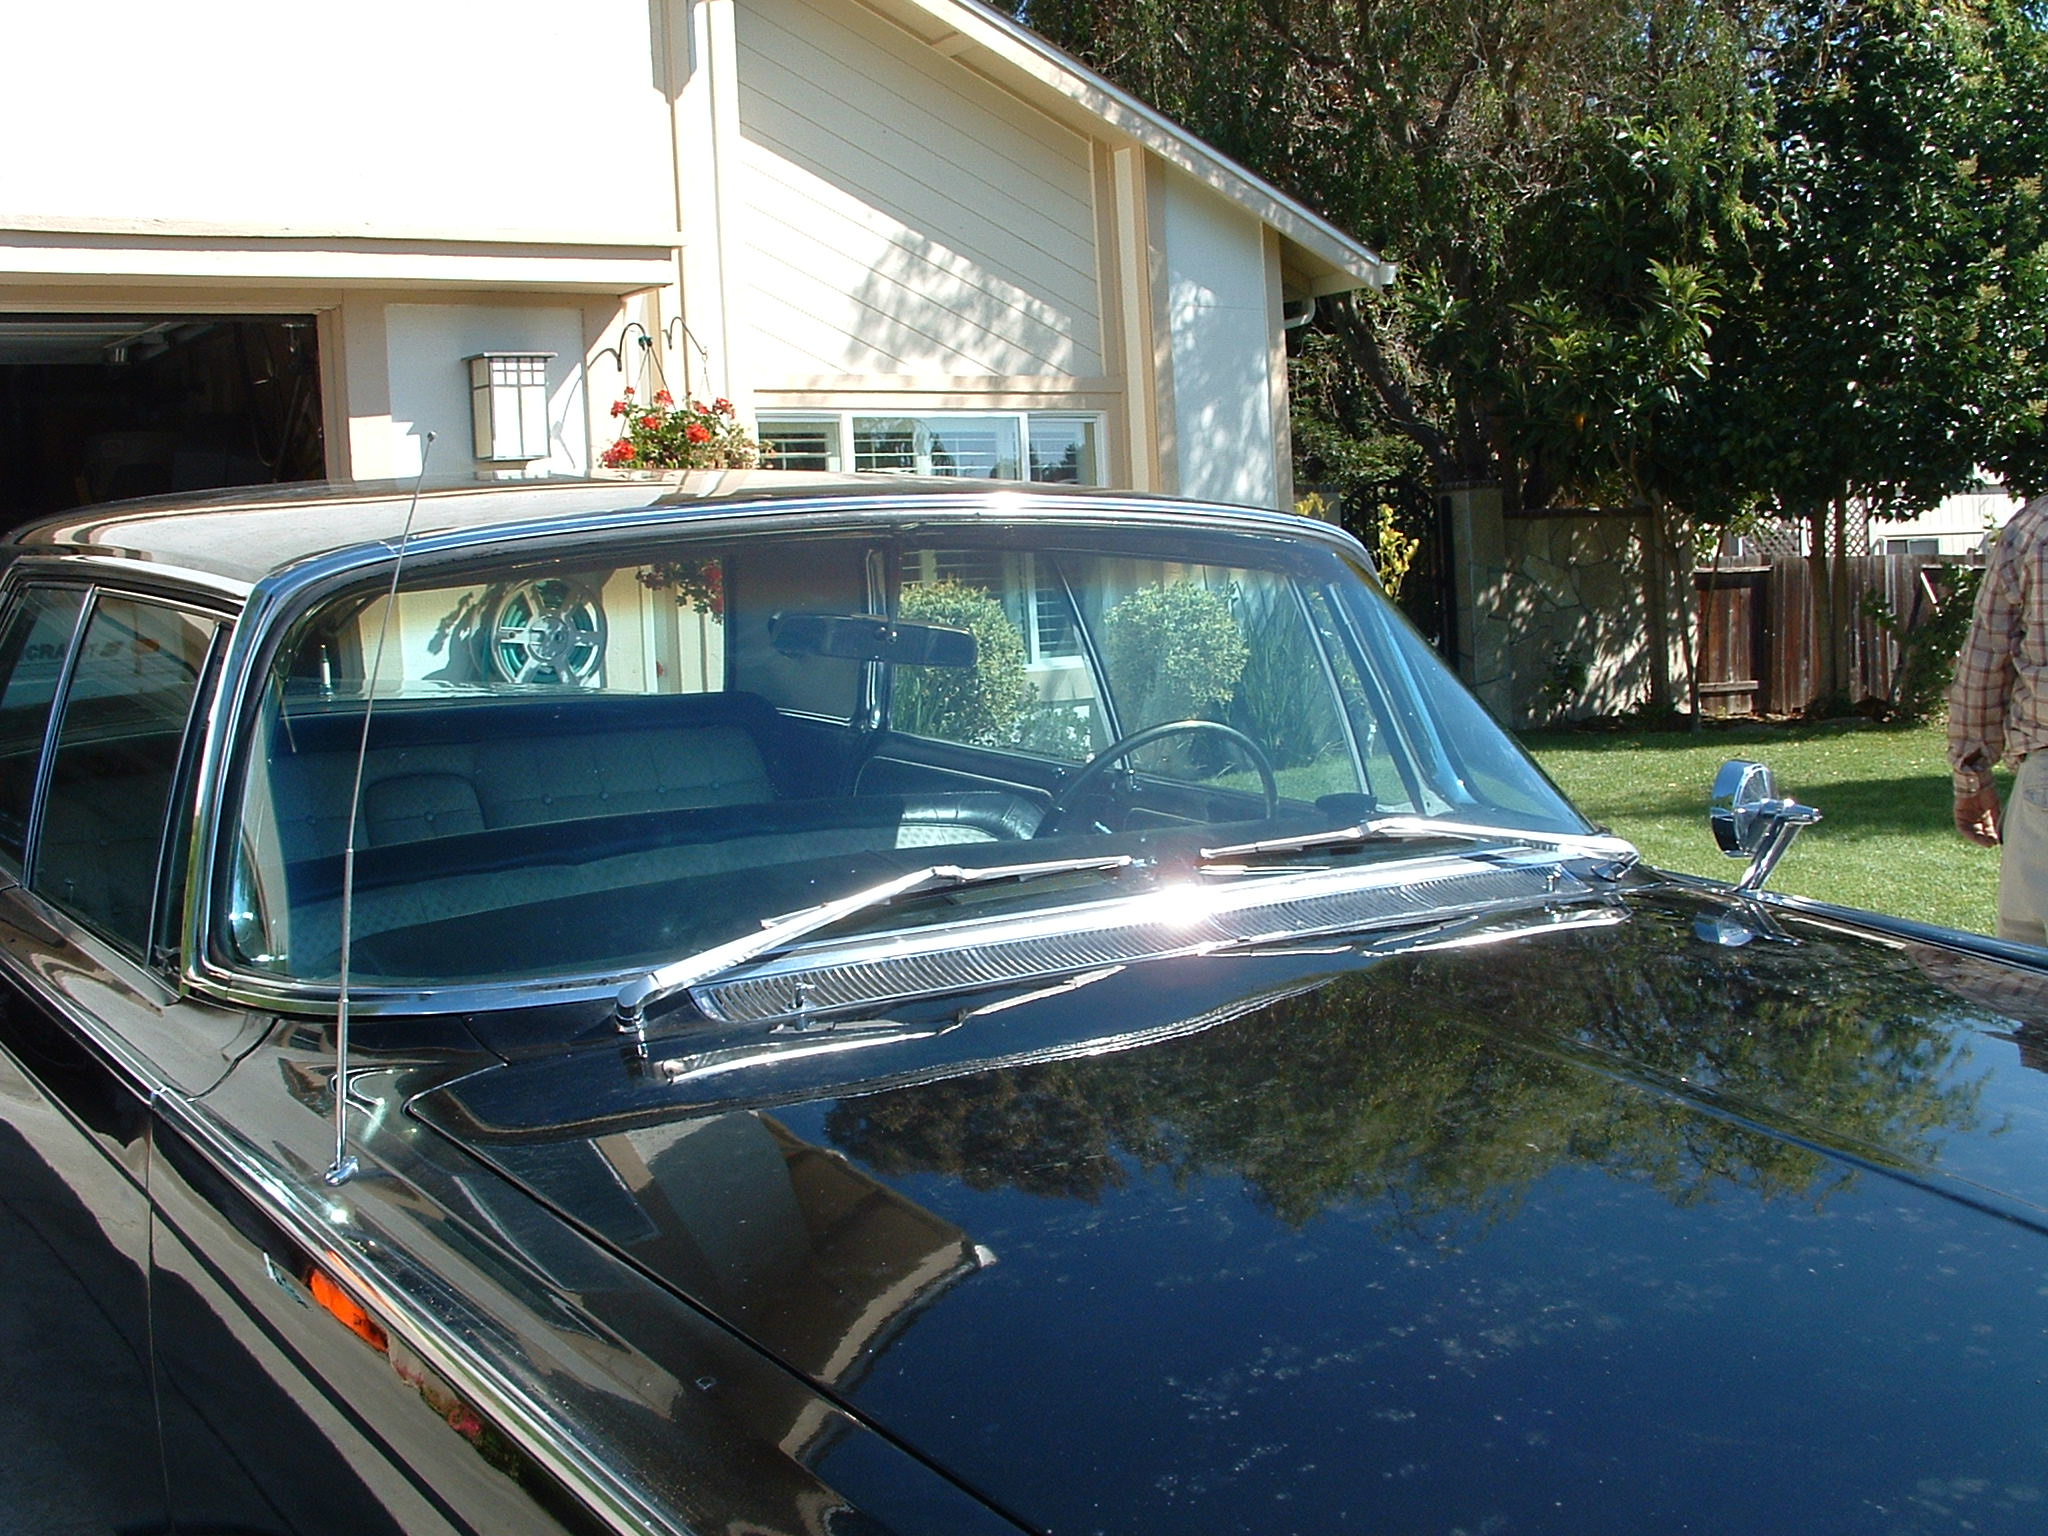
Here are 22 photos of my recent windshield installation on my 1965 Crown. JR performed this job in just over an hour. He said it was easier than he anticipated. The trick here was that the original gasket was used and remained in place. No inside trim pieces needed to be removed.

Photo 1: You can see the delamination on the lower corner of the window. JR is beginning to remove the outside trim pieces covering the gasket. Note window wiper arms are removed.
Photo 2: Using a special tool, the bottom trim piece is carefully removed.
Photo 3: The bottom trim piece being removed exposing the gasket beneath.
Photo 4: Removing retainer screws from outside corner chrome trim.
Photo 5: Same; removing retainer screws from outside corner of chrome trim
Photo 6: Peeling back the rubber lip window insert. A special tool that looks like a curved screwdriver really made this part go quickly.
Photo 7: Giving a gentle push on the window from the inside. The window did crack from this effort. It cracked at the weak spot where the delamination was located.
Photo 8: All trim pieces are removed. Please note strip of rubber. You need to pull that back to expose additional retaining screws that need to be removed. Note crud that finds its way into this area. Needs to be cleaned out before reattaching chrome trim pieces.
Photo 9: New windshield in position and being inserted into lip area of gasket.
Photo 10: Window is in. While not shown, extra sealant is added into gasket area at this point. Now reattaching retaining clips that hold the chrome exterior trim pieces. These are screwed into place.
Photo 11: Making sure window is properly seated.
Photo 12: Lookin" Good!
Photo 13: Closer look at Window and gasket.
Photo 14: Attaching the retaining clips
Photo 15: Close up of retaining clip attachment procedure.
Photo 16: Reattaching chrome trim. Make sure to clip on from front first, then "slide" trim over the rear part of clip.
Photo 17: Closer view of trim attachment.
Photo 18: Bottom trim piece prior to reinstallation.
Photo 19: Corner trim piece being fitted for reattachment with screws and clips.
Photo 20: Finishing up attaching trim pieces on other side.
Photo 21: Bottom trim piece in place; corner trim clipped on top and ready to be screwed in at bottom.

Photo 22: Finished prduct!! Note wiper arms reattached.


This page was last updated 21 December 2006. Send us your feedback, and come join the Imperial Mailing List - Online Car Club