
Imperial Home Page -> Repair -> Body -> Norm Witte's 1968 Window Motor Repair
|
Click on photos to see larger versions
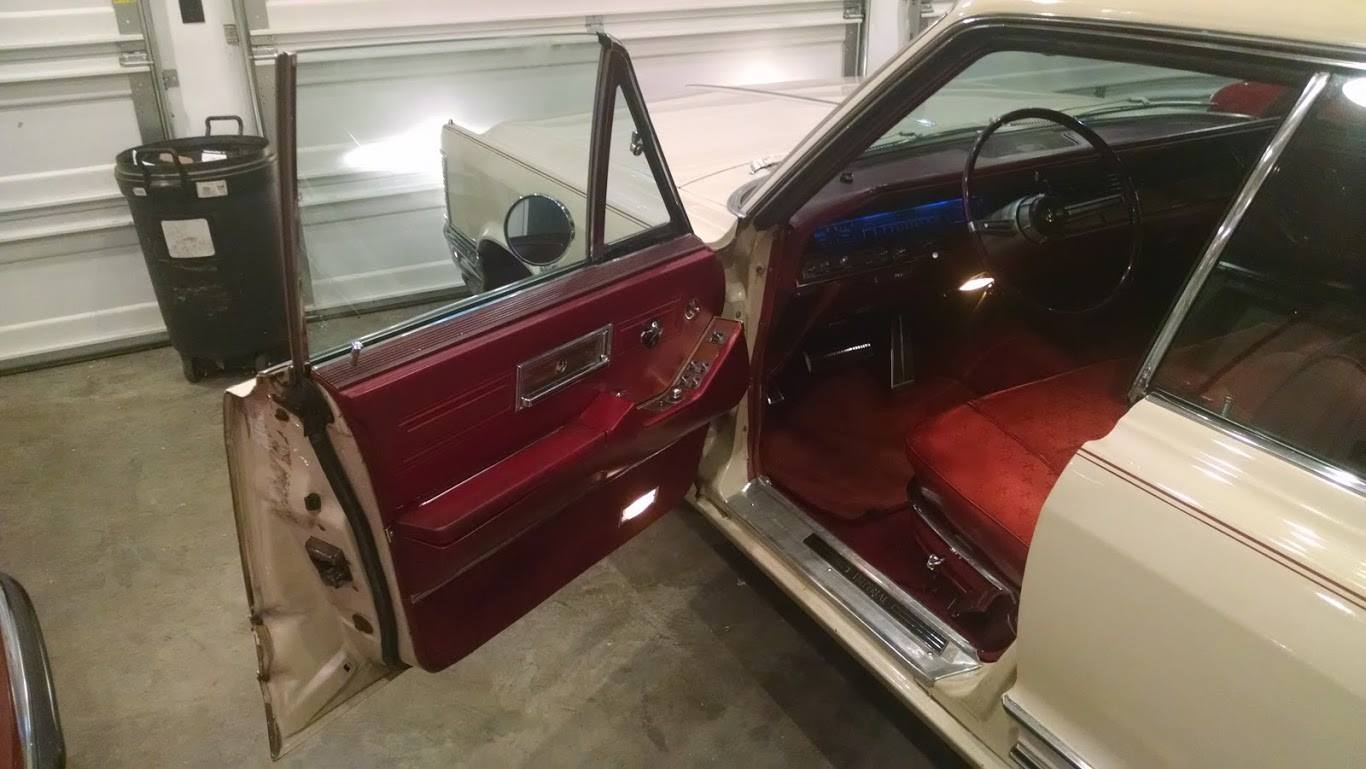
Pic 1 - So here's the door we will be working on. I already know what is wrong. Chrysler used a nylon driven gear that was molded into a vulcanized rubber core that in turn was connected to a metal plate to which was mounted the drive gear for the regulator. The rubber rots out, and then the motor just free-wheels. I've done this repair before and had a gear in inventory. ***************************************************************
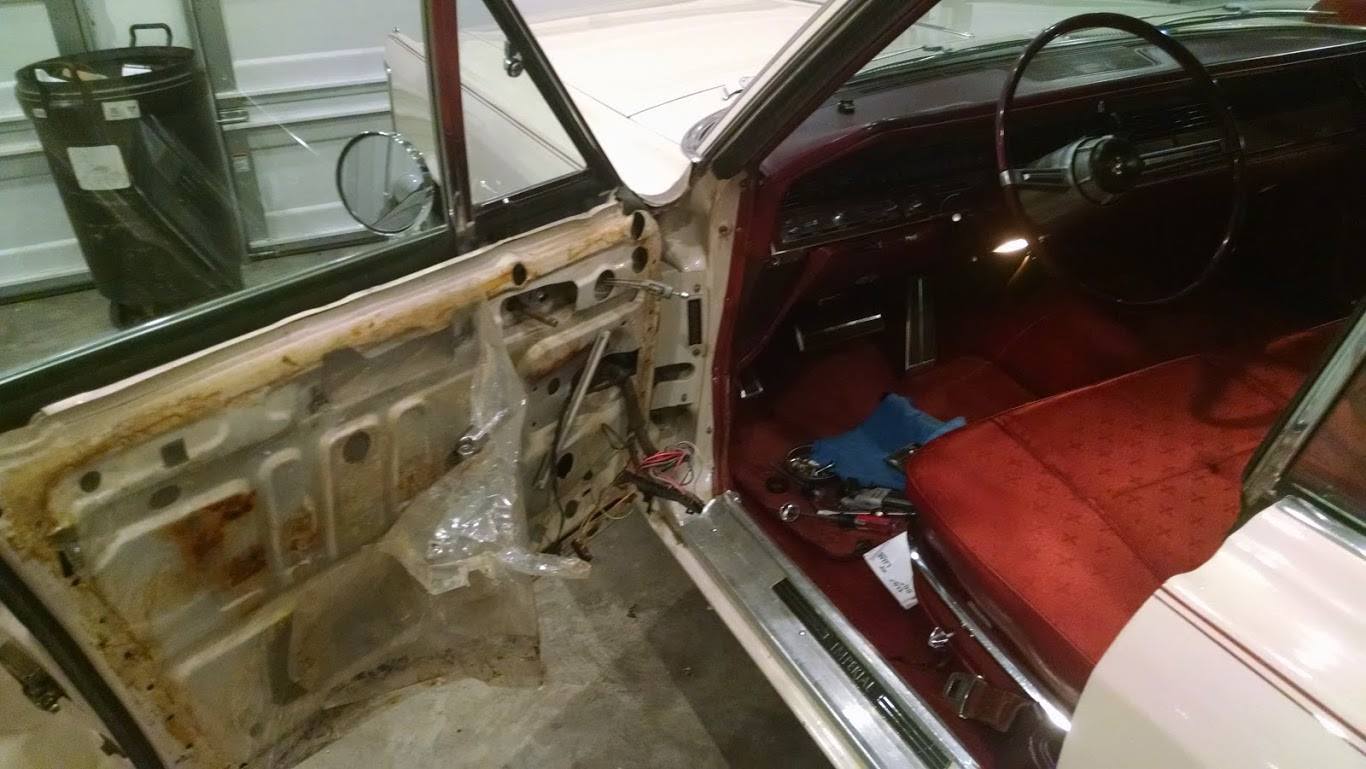
Pic 2 - Step one is to remove the trim pad that covers the inside of the door. Remove the various philips-head screws, and carefully pry out the wire clips that run around the perimeter of the door ; they are usually attached to the cardboard/masonite/pressboard that forms the back of the door panel. You will need to reuse those when you re-attach the door panel. ***************************************************************
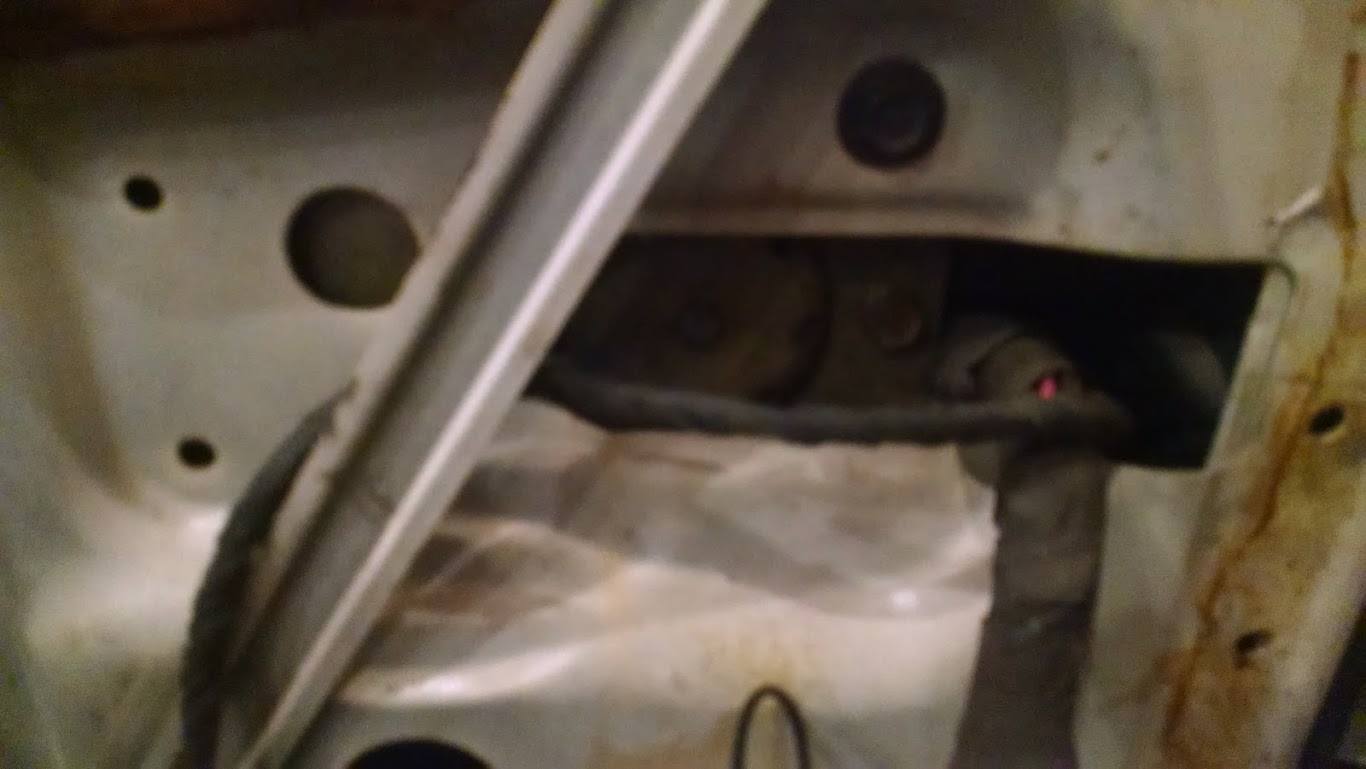
Pic 3 - Sorry about the blurry photo here, but in the hole in the door you can see the power window regulator. The motor is mounted behind it. You can see one of the mounting bolts to the immediate left of the harness. There is one below that is mounted to a bracket that is accessible. There are two more, however, that aren't accessible because the inner door panel blocks them. We need to change that. ***************************************************************
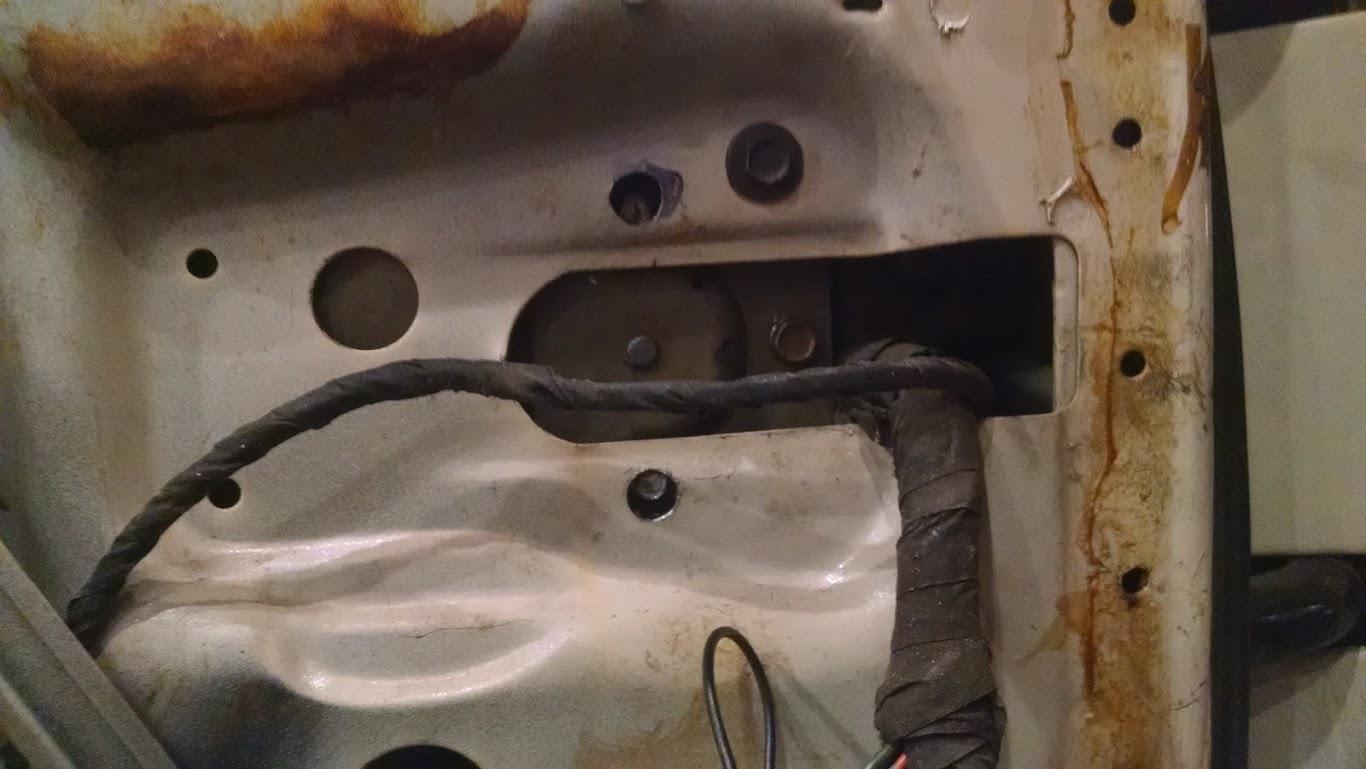
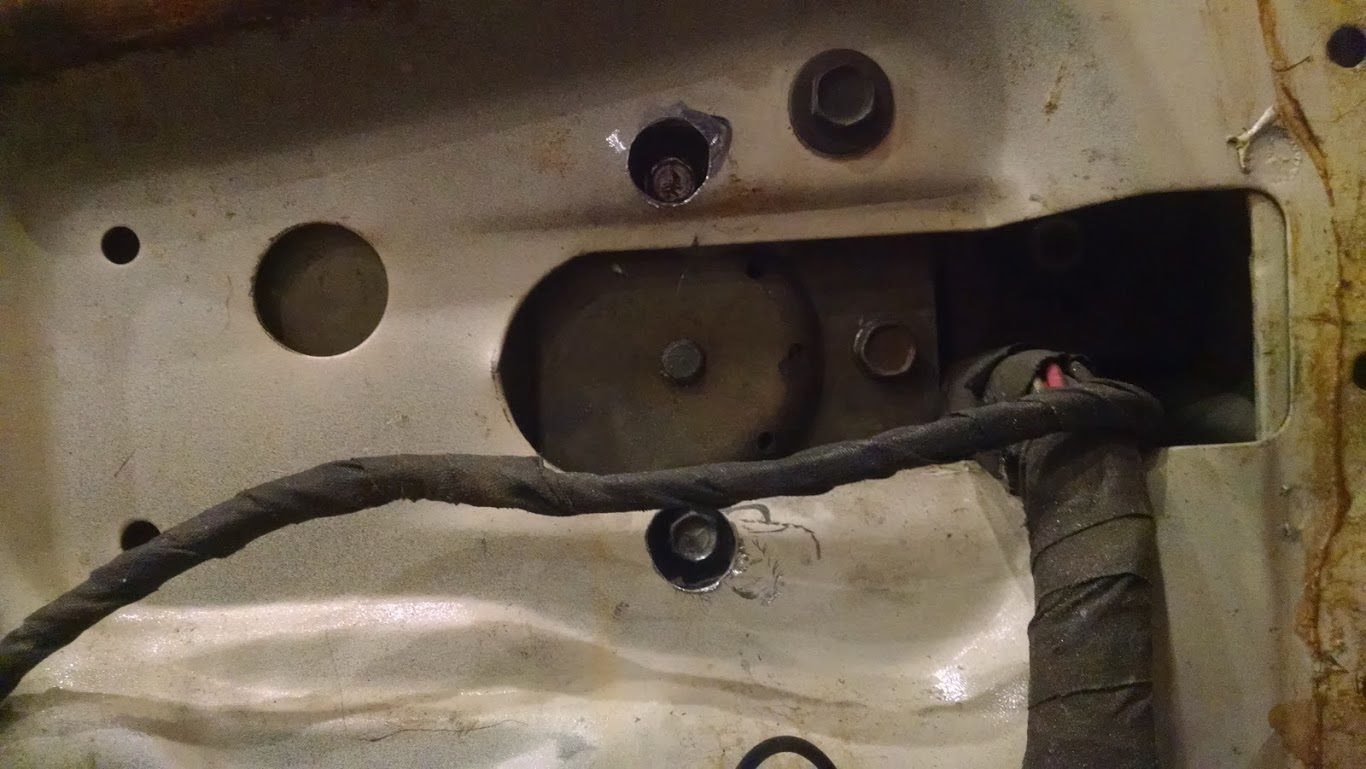
Pic 4 - A little bit of sleuthing and you can find the two bolts.... I then used a drill to drill holes in the door panel corresponding to the bolts. You can see the two new holes just above and below the slot through which the regulator can be seen. ***************************************************************
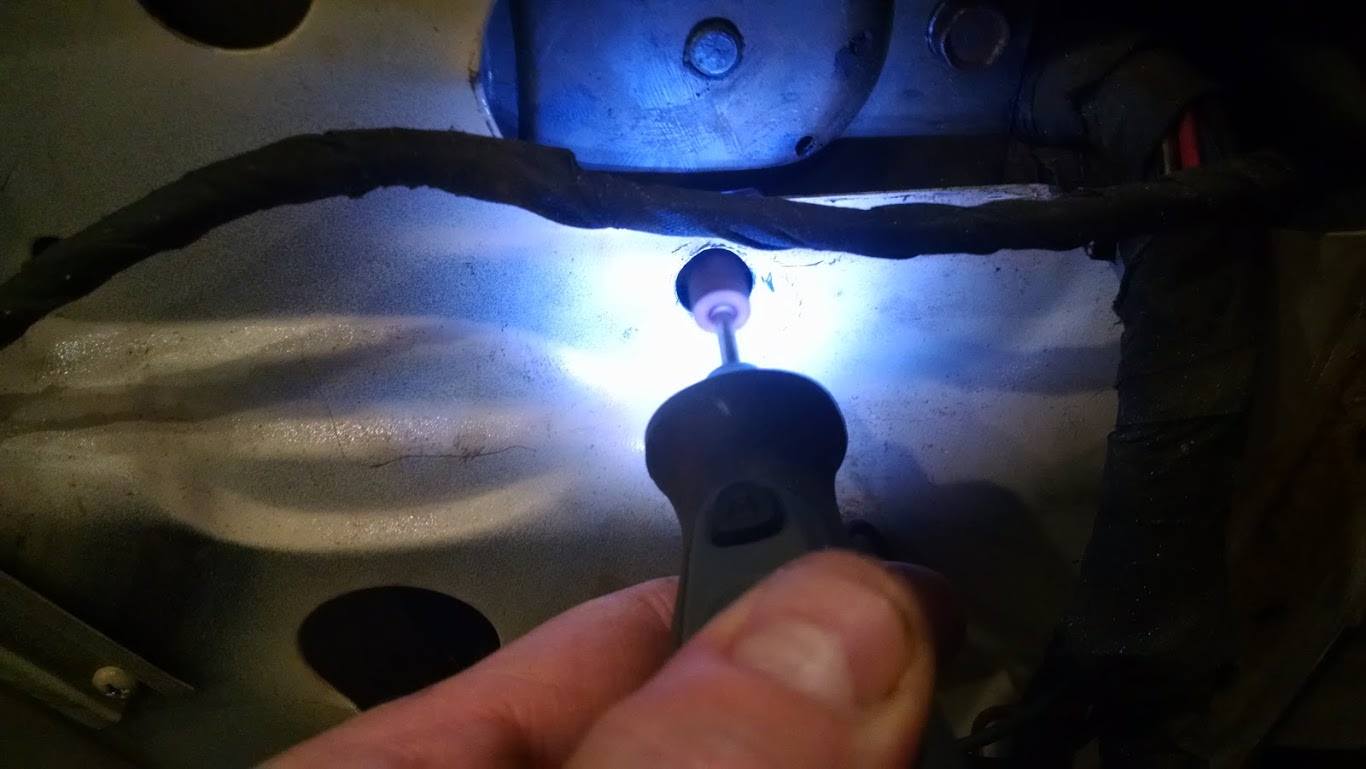
Pic 5 - My biggest drill bit doesn't make a hole big enough for my socket to get in to the bolt, so I enlarged the holes with a Dremel tool. ***************************************************************
Pic 6 - Enlarged holes.... With the motor removed, you could slide the glass up and down, but it�s not going to fall because the purpose of the spring is to more or less neutralize the weight of the glass so the motor doesn�t have to lift it and that�s exactly what it does. ***************************************************************
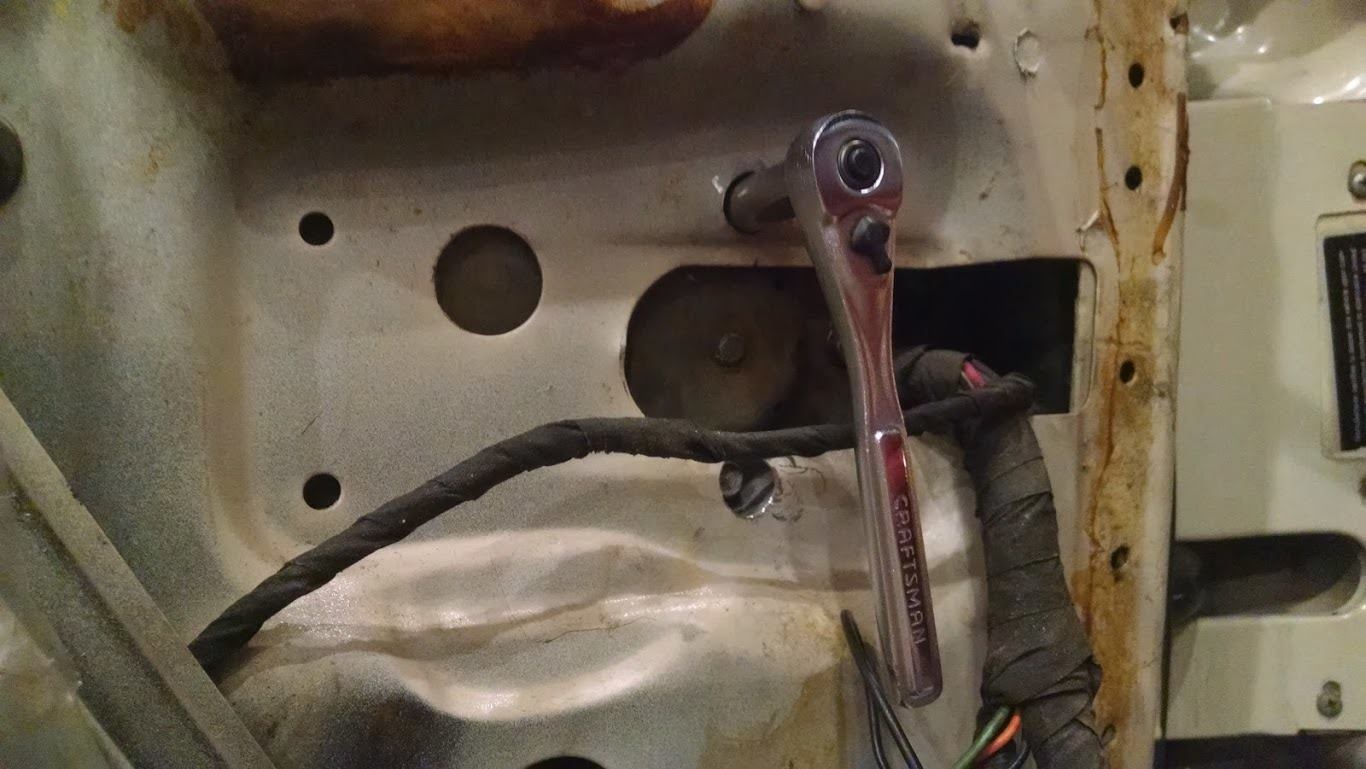
Pic 7 - Now, I have access to the bolts. The great thing about this is that next time I need to get at this motor, the bolt holes are already there. So now I can simply unbolt the motor and remove it. Here's another really important point. The window glass stays in place because the counterspring is still under tension. If you take the regulator out of the car you have to secure it so that the counterspring doesn't unwind. However, doing it this way, you don't have to worry about that because you haven't removed the window, so it's still counterbalancing the spring. Also, because you haven't removed the window, you don't have to worry about getting it re-aligned properly when you reinstall it. You haven't messed with the alignment at all. ***************************************************************

Pic 8 - Here's the motor and the replacement gear. In order to remove the gear, you have to remove the seal ring. I will remove the seal to remove the failed gear. You can see that the metal gear is missing entirely (it's laying in the bottom of the door at this point). When you reinstall the motor, that same ring is going to hold the gear in place. ***************************************************************
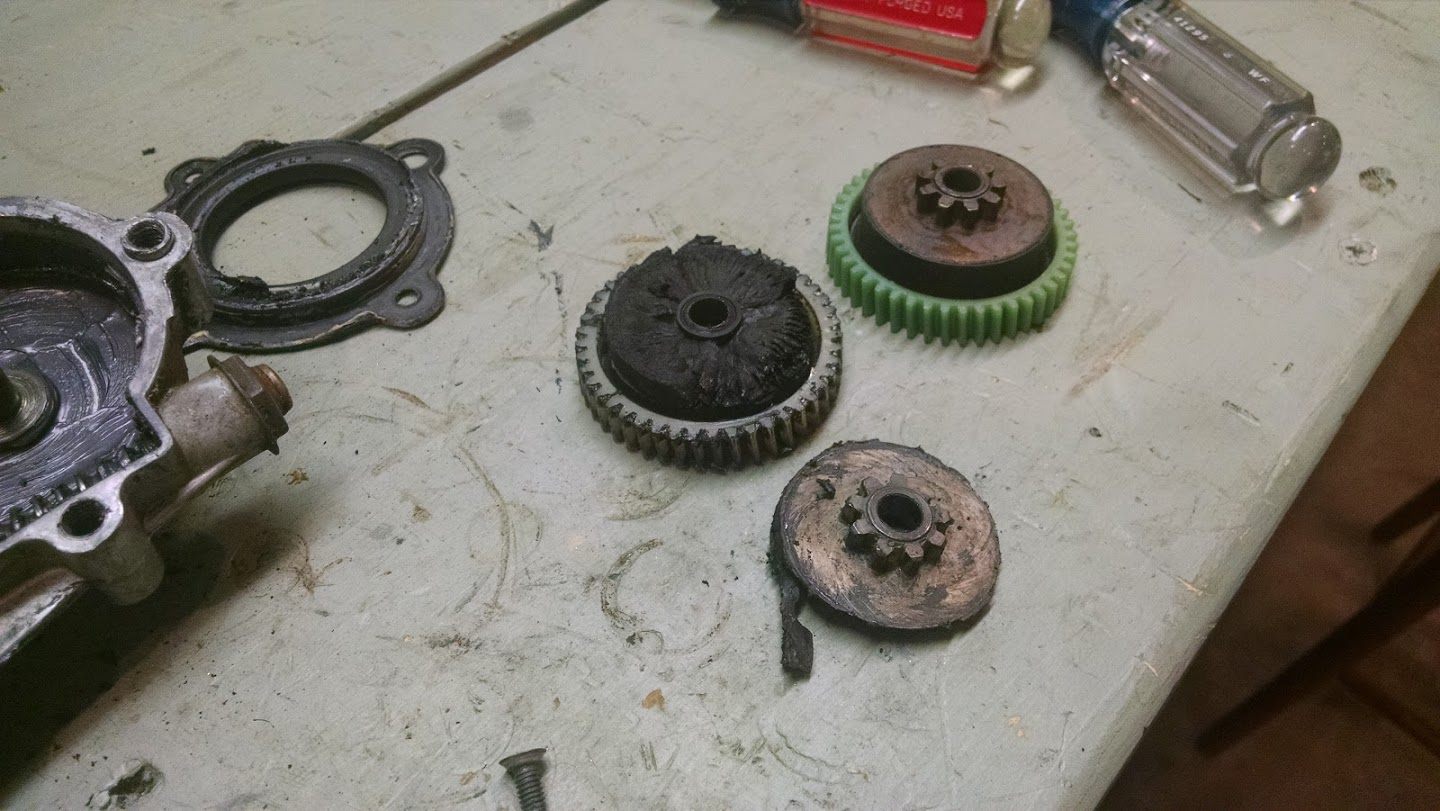
Pic 9 - The seal ring is now removed and is in the upper left corner of the photo. As you can see, the gear is in two pieces, and therefore toast. Regarding reinstallation... Now I install the gear, and reverse the procedure to put it all back together. When you reinstall the motor, that seal ring is going to hold the gear in place. I might add that when installing the new gear, I clean the housing thoroughly and repack the gear housing with high quality grease to ensure my new gear a long life.
Text and Photos by Norm Witte
|
This page was last updated August 25, 2016. Send us your feedback, and come join the Imperial Mailing List - Online Car Club
