
Imperial Home Page -> Repair -> Body -> Paint & Body -> Part 3
Elijah's comments in italics, Kerry's in normal text.
During the day Friday, we did the filler and sand thing to get all the panels straight. This is a recursive process and takes a fair amount of time.
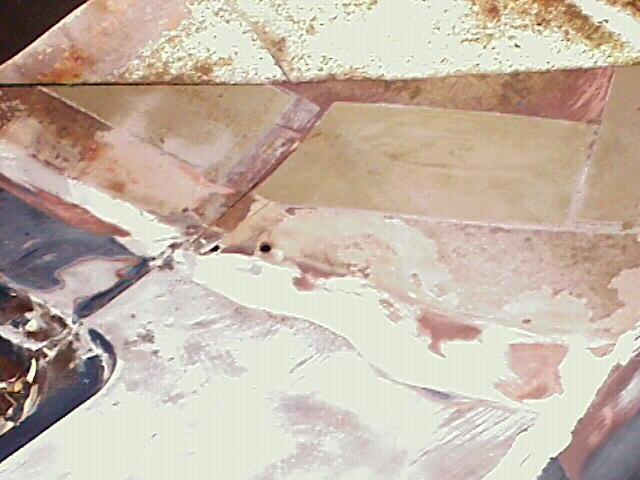
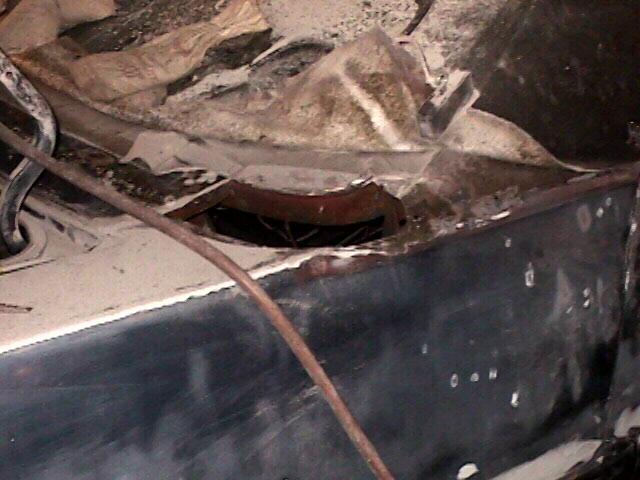
Friday night- We wanted to shoot primer on the whole car before we stopped for the night. Elijah was masking off the top when he noticed a piece of metal under the trim that appeared to be loose. Further investigation revealed a sad truth. Three years ago, Elijah had paid a shop in Knoxville to replace his vinyl top. Part of the deal was to fix some rust under the roof. The repair was VERY poorly done and we were seeing the result. The loose metal was a thin strip which had been stuck on top of rusty metal with filler. The rust was never killed and, of course, pushed the filler loose. The more we investigated, the worse it got. A large patch that spanned the fender top had been laid on rusty metal and pop riveted in place.
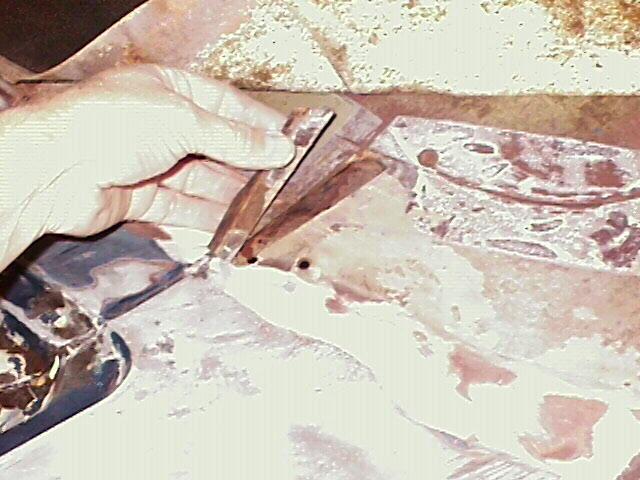
 Here you can see the pop riveted patch.
When I had my vinyl top replaced about three years ago, I was assured that all the rusty spots beneath the top had been fixed. WRONG! The further Kerry and I investigated into the area beneath the rear window, the worse it got. I absolutely could not believe what we found! All the rust was still there -- and more, since the "patch" panels that had been thrown in were rusty too. Amazing. After Kerry and I finally dug down through the layers of bondo, the frightening truth was finally revealed -- rust, and lots of it, made worse by the half-a** attempt to cover it up.
What we finally found was a LOT more work than we had expected. Rust spots and holes pretty much went all the way across where the lower trim for the vinyl roof attached. After a good deal of grinding, we had found all the rust. A good dose of rust killer was the first step in fixing this situation. Kerry's incredibly well-done patch panels, followed by a good dose of kitty-hair and filler, successfully cured the problem.
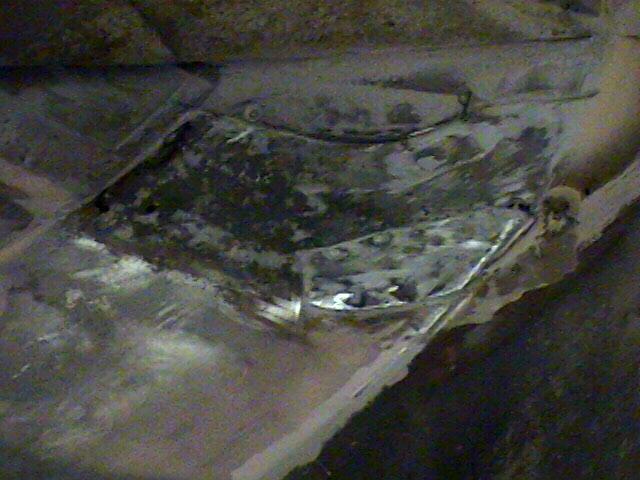
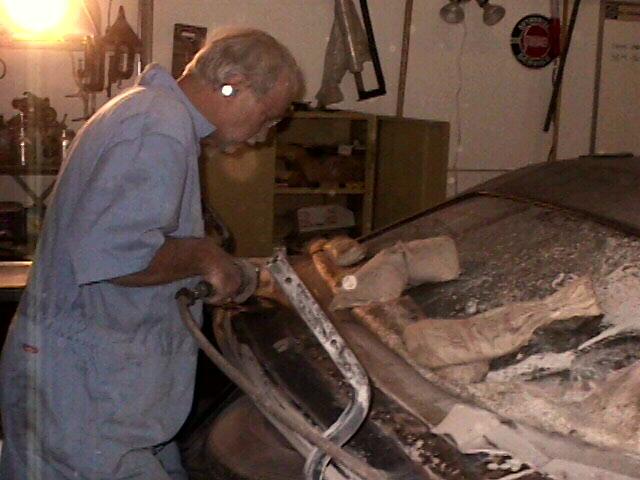
Even worse, we discovered several holes under the lower part of the vinyl. So much for spraying the primer tonight. The big hole took two pieces of metal to fill. The contours were somewhat difficult but using a variety of hand tools and my sandbag, suitable shapes were created and welded in place. While this was going on, Elijah got in the trunk and killed the rust on the top and bottom . By the time the patch was welded in place, it was 10:30 and we called it a day. Unfortunately, we somehow, missed photos of the patch panels. Sorry.
Saturday - First thing was to prime the hood and trunk so we could turn them over and put color on the inside. Catalyzed primer takes about half an hour to dry. Several coats of primer were sprayed. At the same time, we used "kitty hair" filler to fill small holes under the top. This is a filler with short strands of fiberglass and is very strong. Metal patches would have been better but we just did not have time. On the big hole, regular filler was used to build up a smooth surface. The filler was less than 1/8 inch thick and I tried to match the contour of the drivers side.

First look a the final color. The midnight blue metallic takes 3 coats to reach full coverage. Elijah and Ken did a really good job prepping the inside of the trunk and hood and the final color looked good.
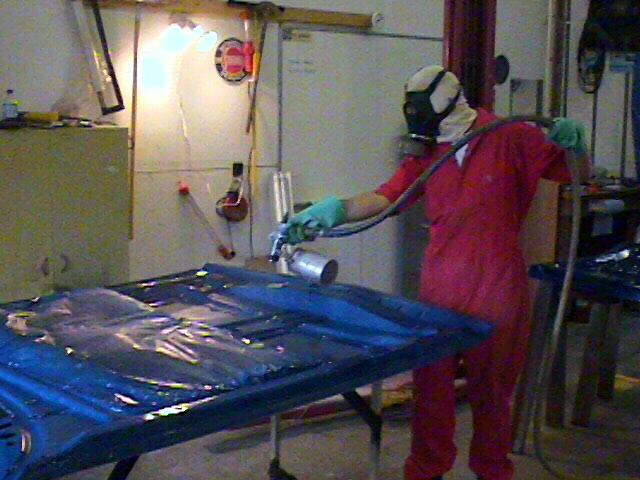
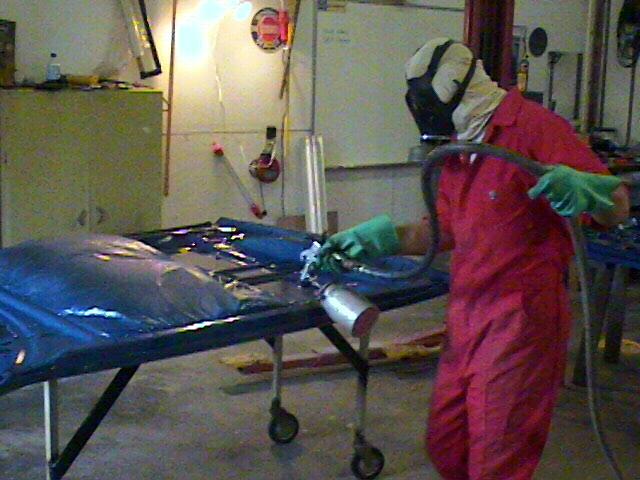
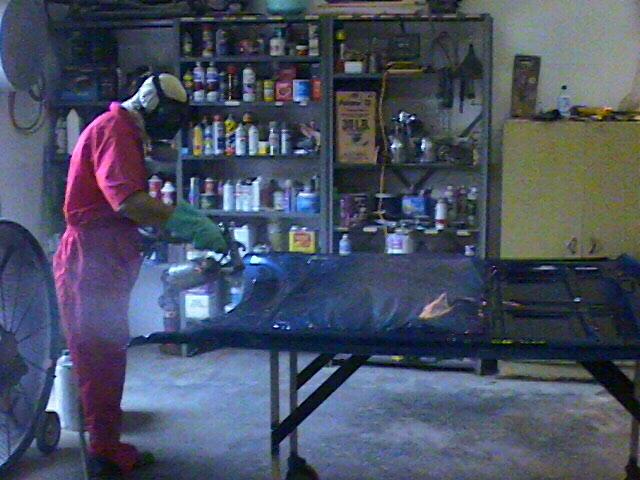
It was a GREAT feeling to see the first coats of Midnight Blue Metallic being applied to the hood and trunk. Taking the pictures was fun too -- hold breath, RUN into shop, take picture, RUN out! The chemicals used in the paint (mostly the hardener) are BAD news, folks. Notice Kerry's use of coveralls, head covering, and gas mask. If either of us were exposed to these chemicals on a regular basis, I expect we'd both be wearing biohazard suits.
Elijah's 71 Body and Paint Homepage
This page was last updated August 30, 2000. Send us your feedback, and join the Imperial Mailing List online car club today!
