
Imperial Home Page -> Repair -> Body -> Paint & Body -> Part 5
Elijah's comments in italics, Kerry's in normal text.
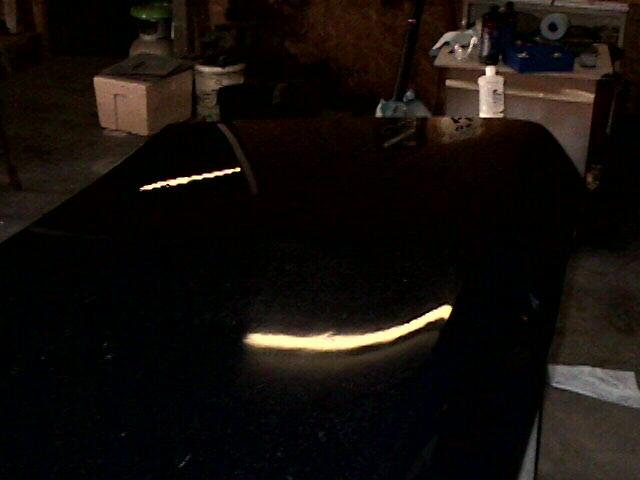
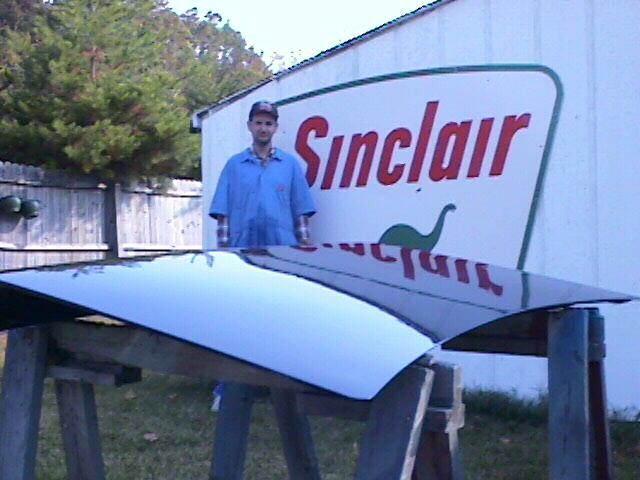
Fortunately, the trunk came out great. The hood had one spot that was pretty bad. The photo below shows the spots of paint we applied with the toothpick. 3 coats of color were applied over them for a total of 5 color coats.
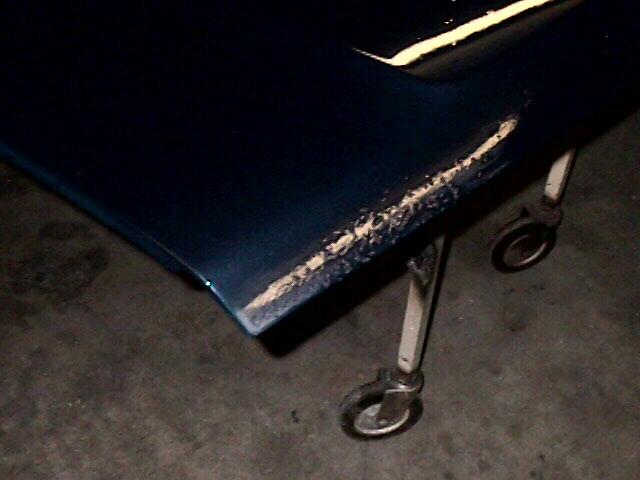
Even with our unfortunate experience with the fisheyes, the hood came out pretty well. I spent a good bit of time tracking down all the fisheyes and dabbing some paint in them with a toothpick. I'm sure this isn't the "recommended" procedure, but considering our time constraints, it worked out pretty well. A good deal of sanding and TLC later made these little paint dabs almost invisible.
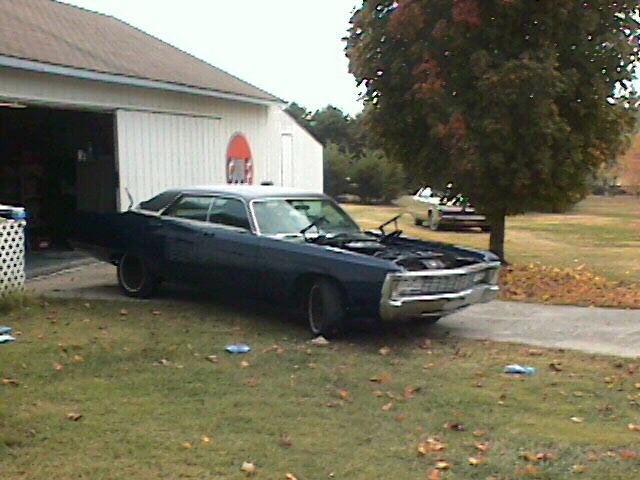
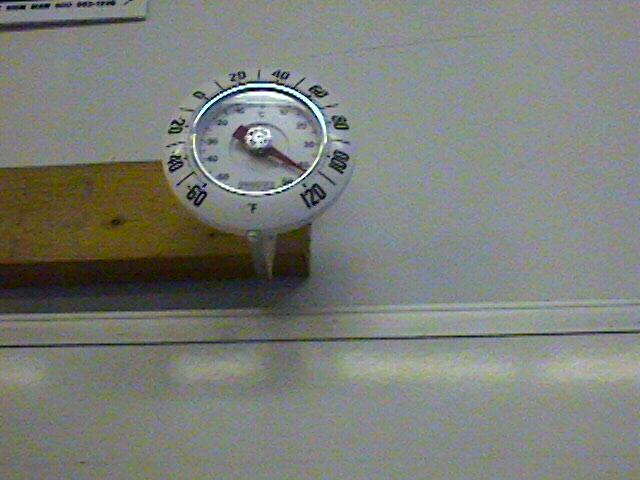
It was now 9am Sunday am and we broke for church and a nap while the paint cured. The paint needs to set for at least 24 hours before color sanding. Elijah decided to stay and extra day and would now be leaving on Tuesday. That meant that Monday would be a color sand and buff day and Tuesday was for reassembly. By noon the car was no longer tacky and we pulled the plastic off the roof and tires and pulled it outside in the sun to speed the drying. The hood and trunk we 'cooked' by firing up the gas heater and closing off the room. We got the temperature up to 110 degrees and left it for about 4 hours.
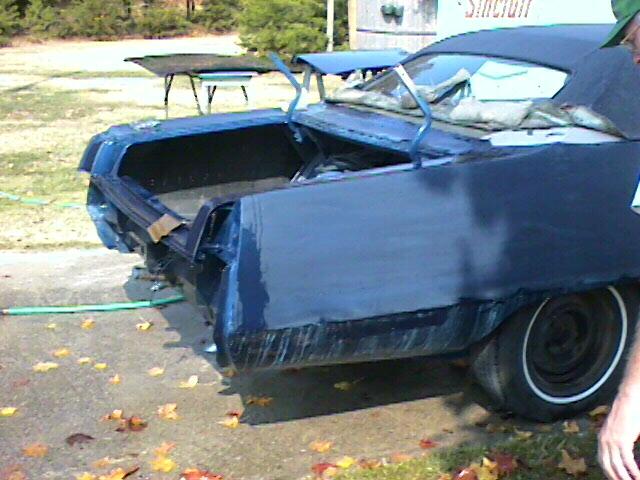
While we were waiting, we decided to detail the door jambs. An airbrush does a really nice job at this. It's slow but really does a nice job at making the car look new.
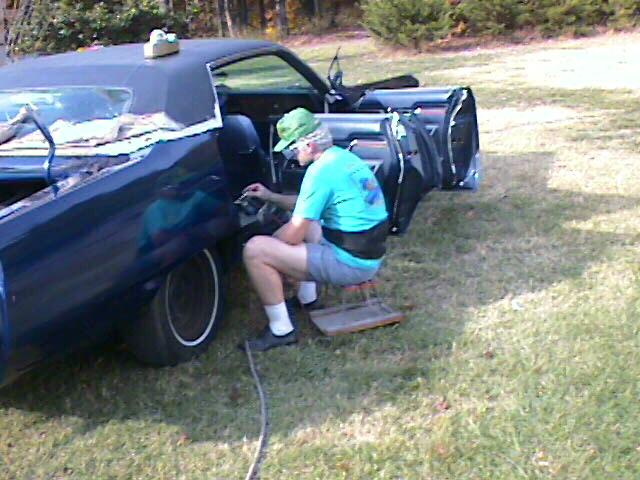
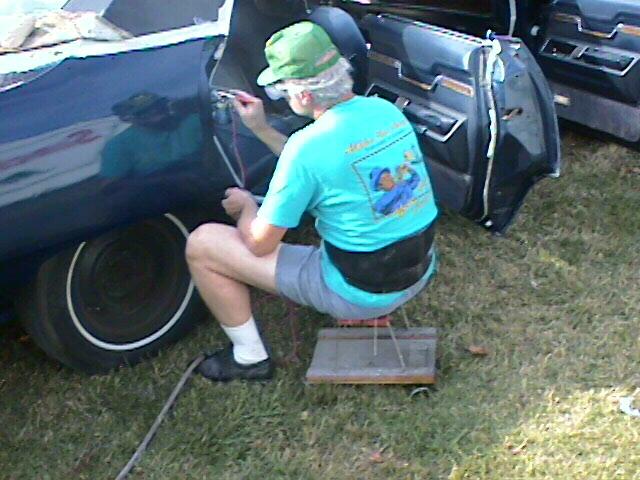

Kerry did some GREAT work airbrushing the door jambs. The paint in these concealed areas was pretty good, but it didn't look quite as nice next to all the new paint on the rest of the car, so some work with the airbrush brought it right up to speed. I had never used an airbrush before, so I was pretty excited to try my hand at it. I'm not the steadiest hand in the world, but I managed to do all right.
Monday morning - time to color sand. This process is somewhat scary the first time you do it but is actually quite safe if you are careful. Since we had 5 color coats, we probably were not going to sand through the color unless we got stupid. The technique is this. Start with 600 grit wet or dry sandpaper. Wrap some paper on a paint stick and sand down the nibs and bumps. Switch to a semisoft sanding pad and sand the surfaces until the entire surface is no longer shiny. Any shiny spots mean there is a low spot in the paint. All orange peel must be sanded smooth. Once the first step is finished, switch to 1000 grit and then 1200 grit. You can actually go to 2000 grit but the rubbing compound will take out 1200 grit scratches so we stopped there. You need to be very careful on edges and character lines NOT to sand through the color. Normally it is easiest to keep 1/4 inch away from them.
Color sanding the car was an interesting experience -- sort of like washing the car several times with various grades of sandpaper. Flat surfaces are obviously the easiest. However, the curves of the hood provided something of a challenge, and I accidentally sanded through a couple of spots. Even so, the hood turned out great, and a little work with the airbrush later smoothed out my goofs.
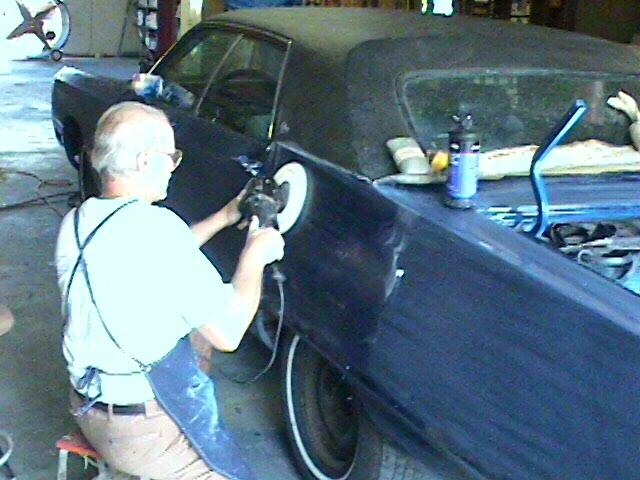
Putting a lambs wool pad on a Velcro backing pad on the air grinder, buffing and polishing is straightforward but tedious. Shake the compound well and apply enough to work a 2 foot square area. About 1/3 of the trunk. Spread the compound with the pad before you turn it on or it will sling it everywhere. Note the apron I'm wearing. You begin with a little pressure on the buffer and as the compound dries let up. The shine just pops out as the drying continues. Multiple applications may be necessary. I keep going until I can see individual links in a chain I wear around my neck. Additional polishing compounds will refine the job but Elijah can do that at home. The product we used is in the first photo and Elijah admiring the initial shine is in the third.
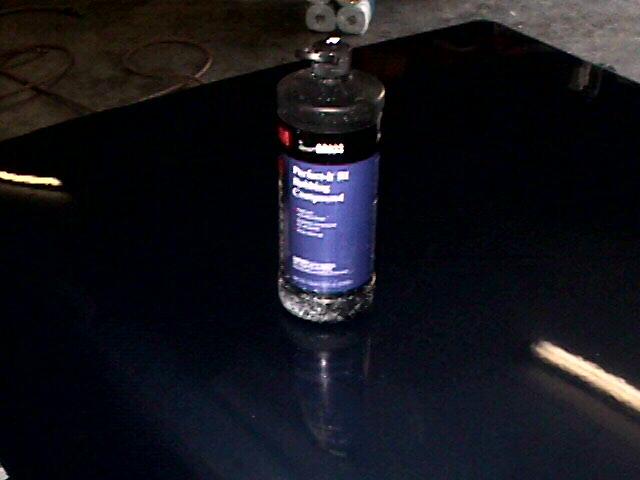
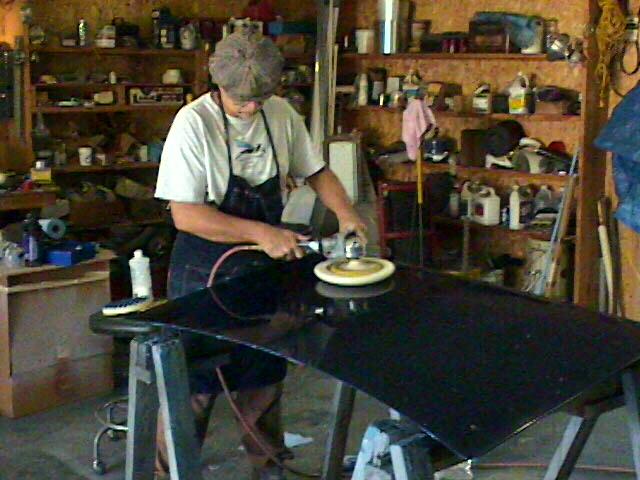
The buffing and polishing process began to give the car its true shine. Kerry's work with the rubbing compound really brought out the luster of the Midnight Blue Metallic.
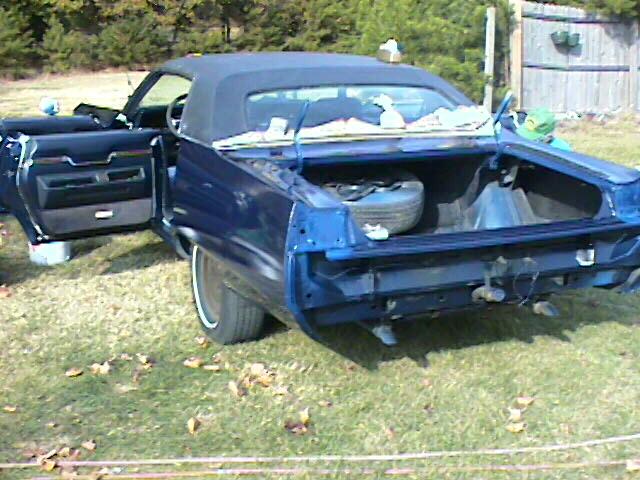
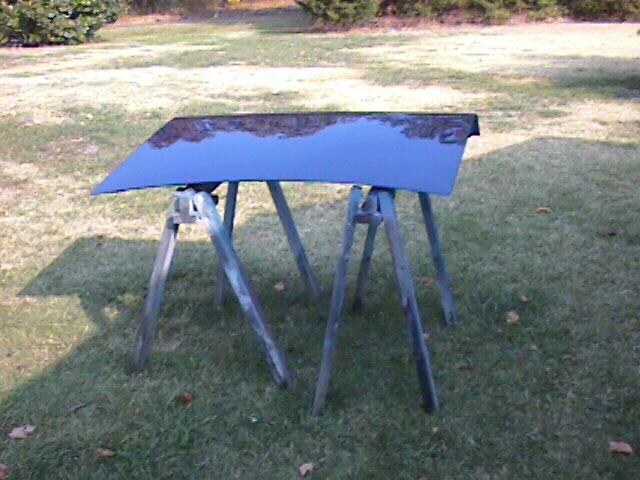
Looking good! The trunk came out great. In retrospect, I wish we had wiped off the hood and started over with it also. Ain't hindsight a wonderful thing.
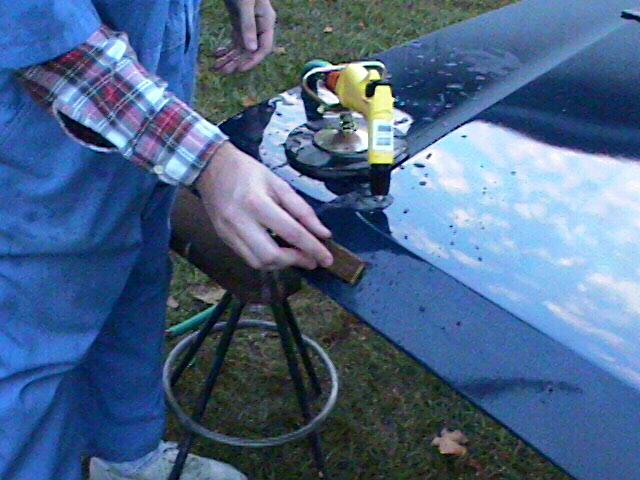
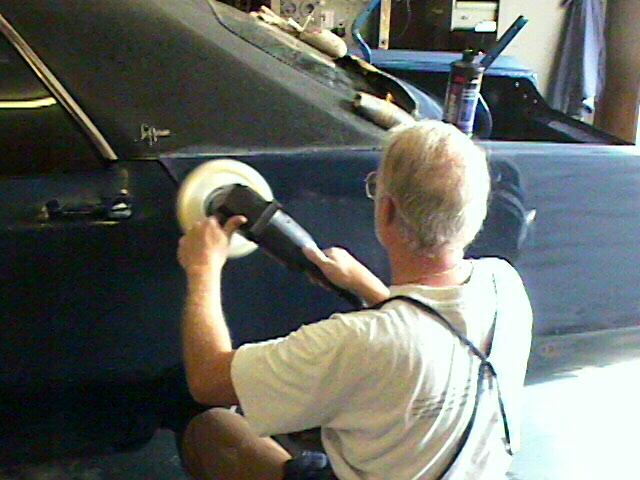
So much for the easy part. Sanding the body is harder because you have to bend over. We could have put it on the lift but the mess is not really worth the effort. Use lots of water and be careful not to nick the paint with your hose. Plastic nozzles are best. A suction cup is handy for holding the spray and hose in place and freeing up your hand. By lunchtime we had finished the 600 grit on the body and by 2pm had the car ready to buff. The hood still needed some work so Elijah took that chore while I buffed out the car. Note the apron. Rubbing compound gets slung everywhere.
Elijah's 71 Body and Paint Homepage
This page was last updated August 30, 2000. Send us your feedback, and join the Imperial Mailing List online car club today!
