
Imperial Home Page -> Imperials by Year -> 1950 -> Kerry Pinkerton
6/22/02
Well plans change. Now I decided to get the windows up and the
emergency brake working so I could move him around. This is going to be a
LONG term project. So, to the windows. Remember they are hydraulic not
electric, well, actually they are both but more on that later..
First thing was to fill the reservoir with brake fluid. When I went to the
drivers window and pressed a button, the pump whined and I felt something wet
hit my hand. Humm, brake fluid. Where did that come from. To
make a long story short, all the hard lines and flex lines in the back had to be
replaced. For some reason the photos did not come out. The front
half of the car seems sound. Once I replaced the hoses and lines, the
divider and quarter windows as well as the left rear worked great. The
right rear and both fronts did not. The right rear sort of worked so I
determined it had to come apart. 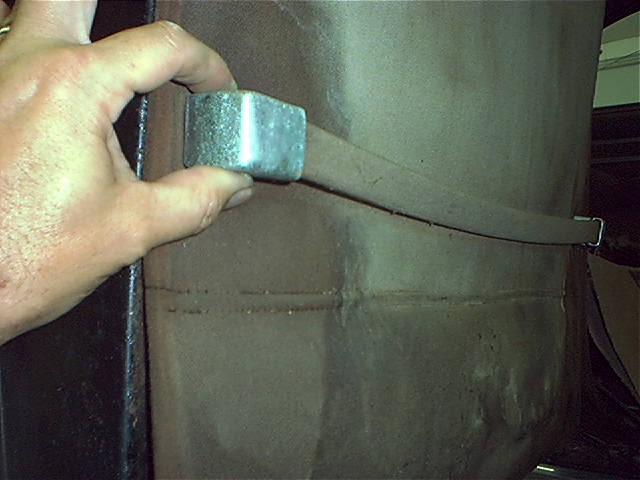
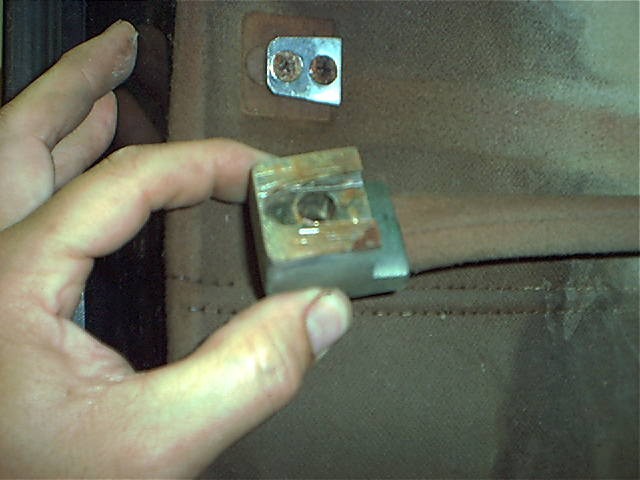 The door comes apart pretty much as one would expect. Don't know what they
call this strap but it just stretches on over a keyway. Freaked me out
because I could see no screws or anything.
The door comes apart pretty much as one would expect. Don't know what they
call this strap but it just stretches on over a keyway. Freaked me out
because I could see no screws or anything.
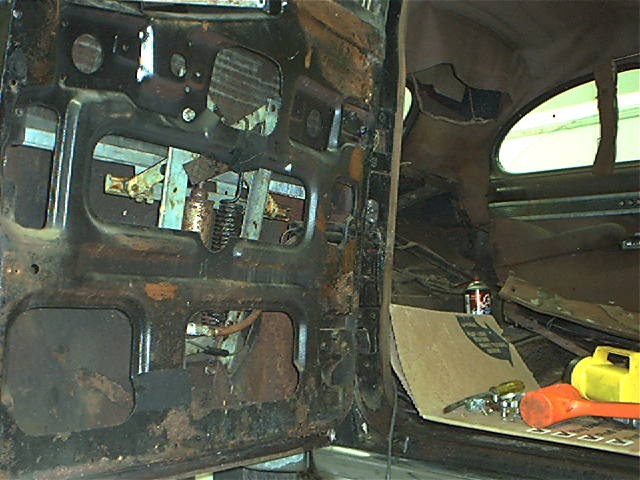 This is the door with the panel off
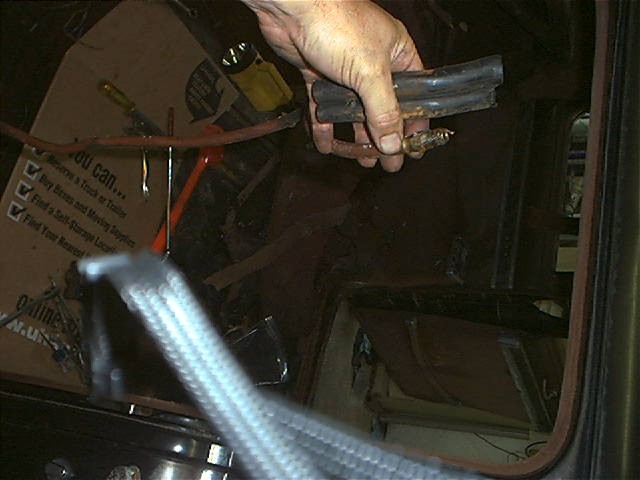
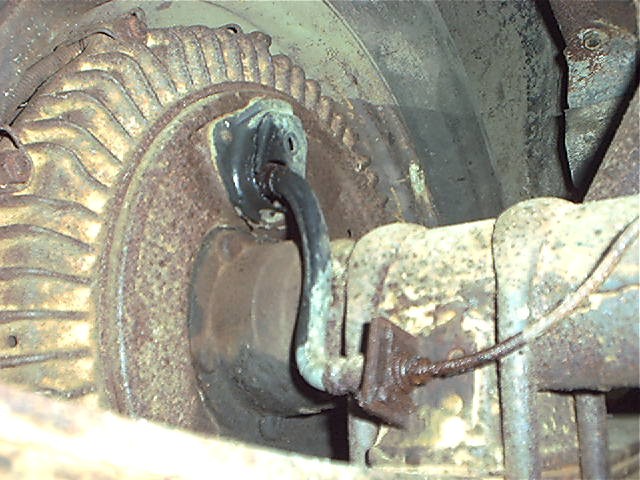
  A closeup of the lower cylinder showing the original hose and the electrical
connection.
A closeup of the lower cylinder showing the original hose and the electrical
connection. Rotten hydralic lines
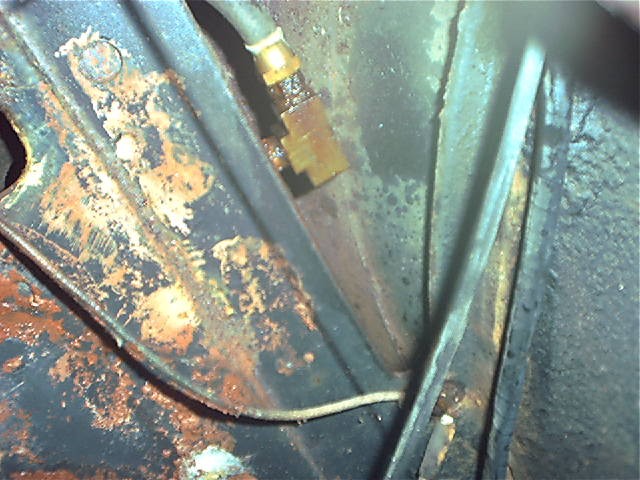
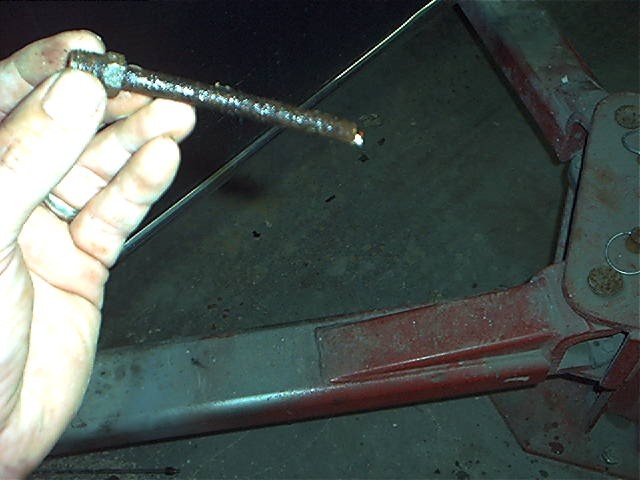
 The hydraulic lines and electrical line are in this unusual double hose.
Unfortunately it had broken so I'll replace it with single hose for
protection. The red hydraulic line leaks like a sieve.
The hydraulic lines and electrical line are in this unusual double hose.
Unfortunately it had broken so I'll replace it with single hose for
protection. The red hydraulic line leaks like a sieve.
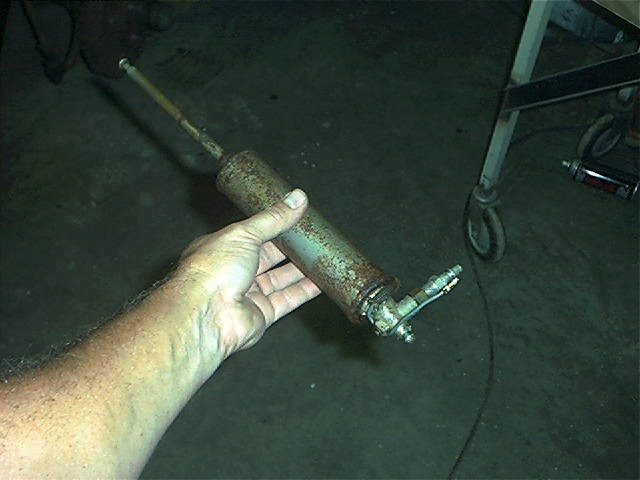
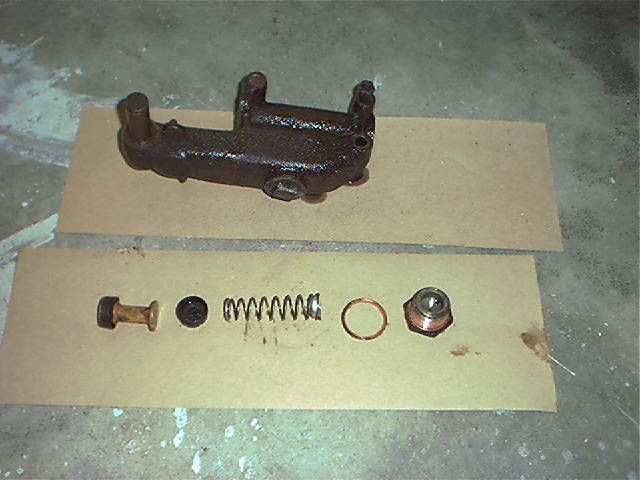
Fortunately, the mechanism comes apart easily and just as the shop manual describes. Three nuts, hose, and electrical connection and the assembly slides off the window and with some twisting and fuming, comes out the door opening sideways.
 Once
out, it is readily apparent how it works.
Once
out, it is readily apparent how it works. 
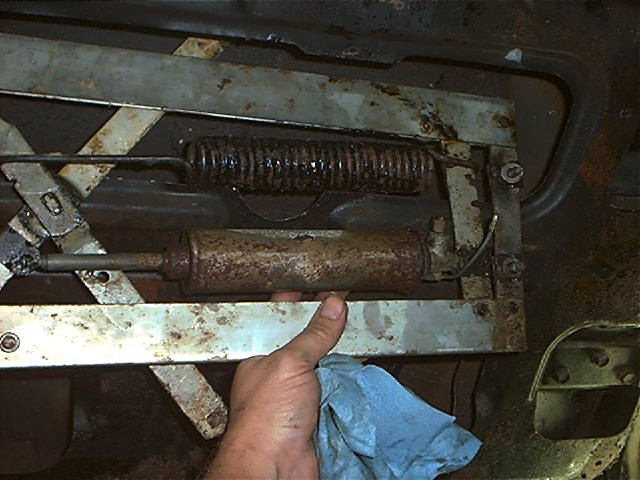
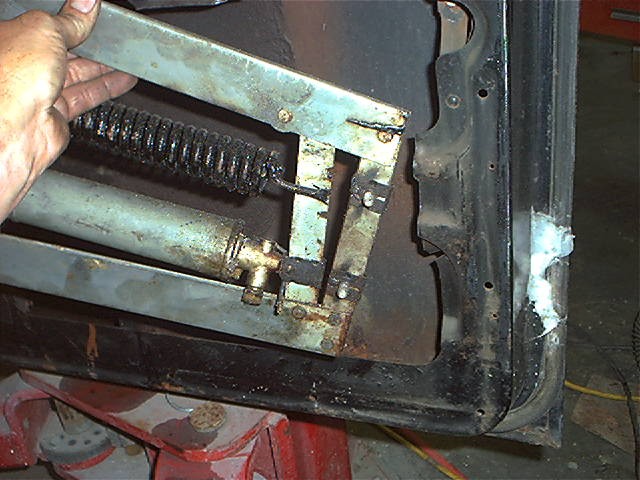
 When the window button is pushed up, 6 volts is sent to a solenoid at the bottom
of the cylinder and the pump is turned on. Fluid under pressure lifts the
window. There is no automatic shutoff. When the button is released,
the solenoid is closed and the window stays where it was stopped. When the
button is pushed down, the solenoid is open and the spring pulls the window down
slowly, pushing fluid out of the cylinder. Pretty slick. Totally
silent!
When the window button is pushed up, 6 volts is sent to a solenoid at the bottom
of the cylinder and the pump is turned on. Fluid under pressure lifts the
window. There is no automatic shutoff. When the button is released,
the solenoid is closed and the window stays where it was stopped. When the
button is pushed down, the solenoid is open and the spring pulls the window down
slowly, pushing fluid out of the cylinder. Pretty slick. Totally
silent!
The right rear cylinder was just gummed up and when I flushed it a few times, it worked OK. Still a little slow but seems to be getting better. This means that everything in the back works ok.
On to the right front. This one would click as the solenoid but not
move at all. The interior trim comes right off. It is obvious this
door has never been apart due to the original factory tape and liner.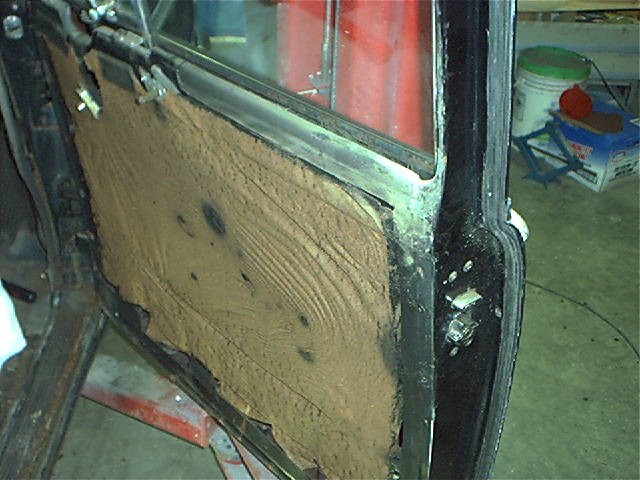
Here is an interesting shot of the front door panel. Notice the
duct. The heater is in the front and hot air is blown through this duct
and comes out in the rear compartment in that grill you see at the far
right.  Inside the door was a treasure. A badly decomposed piece of paper that
apparently had once been in the window and slid inside the car. It says,
"SPECIAL $500" I'd love to know when that was. .
Inside the door was a treasure. A badly decomposed piece of paper that
apparently had once been in the window and slid inside the car. It says,
"SPECIAL $500" I'd love to know when that was. .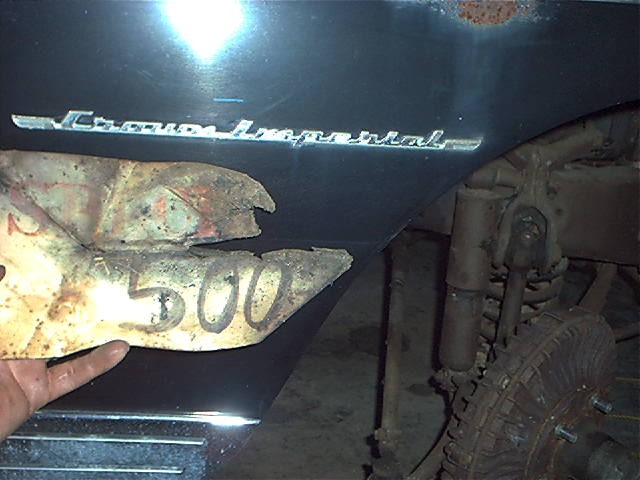
The front mechanism did not come out as easy. In fact it would not come
out at all so I cut an opening that I'll weld back in. 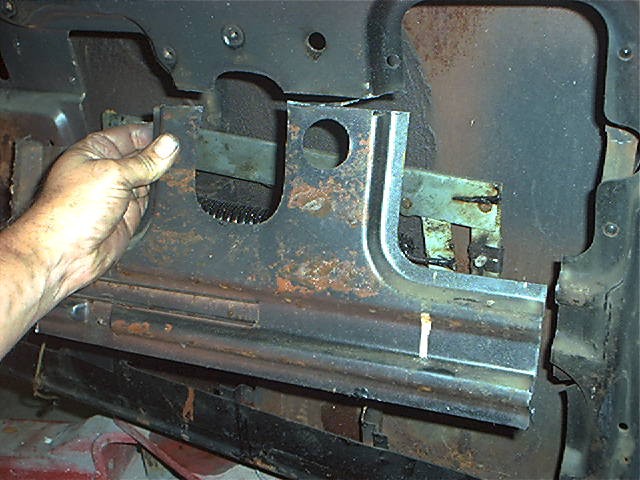
 This cylinder is shot. Given that I'm going to Carlisle next month, I'll
hope I can find a couple there. If not, Hydro-E-lectric has new cylinders
in stock for $135 each (ouch). The drivers door is completely dead and
jumping the switch doesn't help so it's a shot cylinder also.
This cylinder is shot. Given that I'm going to Carlisle next month, I'll
hope I can find a couple there. If not, Hydro-E-lectric has new cylinders
in stock for $135 each (ouch). The drivers door is completely dead and
jumping the switch doesn't help so it's a shot cylinder also.
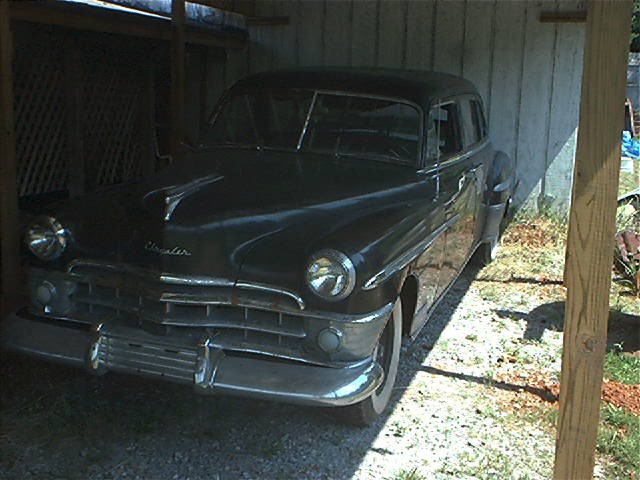
Saturday 6/22/02, I tightened up the ebrake and SLOWLY drove him out of the shop under his own power in who knows how long. For the past few weeks, I've been building a couple 42' long carports beside my shop. I traded a 49 Willis station wagon I was given for a bunch of mobile home trusses. Some 4x4 posts and metal roofing and 'poof' instant carports each holding two Imperials.

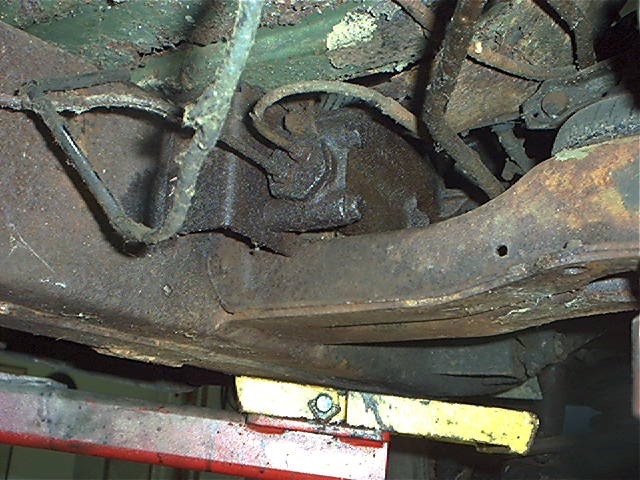
While I was out having the hydralic lines made, I went ahead and pulled the master cylinder and flexible brake lines. To my surprise, the master cylinder is 1 inch instead of 1 1/8 as are most Chryslers. Notice the green paint of the floor under the flaky undercoating. Also notice that on the rear wheel, there is another short flex line. Normally a hard line goes there but I guess the flex line is needed because the cylinders 'move' slightly on the lambert disk brakes.
I'm just not ready to tackle the brakes yet as once I start the lift will be tied up until they are fixed. I have to replace the upper control arm bushings on the 64, remove and flush the AC evaporator so I have cold air again. It's plugged up. Then I need to do some work on the 'new' 68 Imperial convertible I got from Robert Soule. I want to get it roadworthy. I'll probably get back to the limo after Carlisle.
That's all for now.
Kerry's '50 Restoration Saga Main...
This page was last updated 22 June 2002. Send us your feedback, and come join the Imperial Mailing List - Online Car Club
