When I purchased this car the previous owner had already removed the headliner, so I won�t be covering that in this article with the exception of a couple comments. Headliner removal is covered in an article by Auto Restorer Online, and that site is an excellent guide for installation in a general manner. I suggest reading that article in addition to this, where I will be covering Imperial specific issues. Another very helpful source is Richard Burgess� 1960 Sedan installation description. The 1960 factory service manual (FSM) is another source for information but to a lesser degree. The photos in the FSM are mostly from 1955 and they, as well as the text, concentrate on installation in a Chrysler - there are enough differences with Imperial to make this annoyingly unhelpful.
The one thing I will say about headliner removal is to be
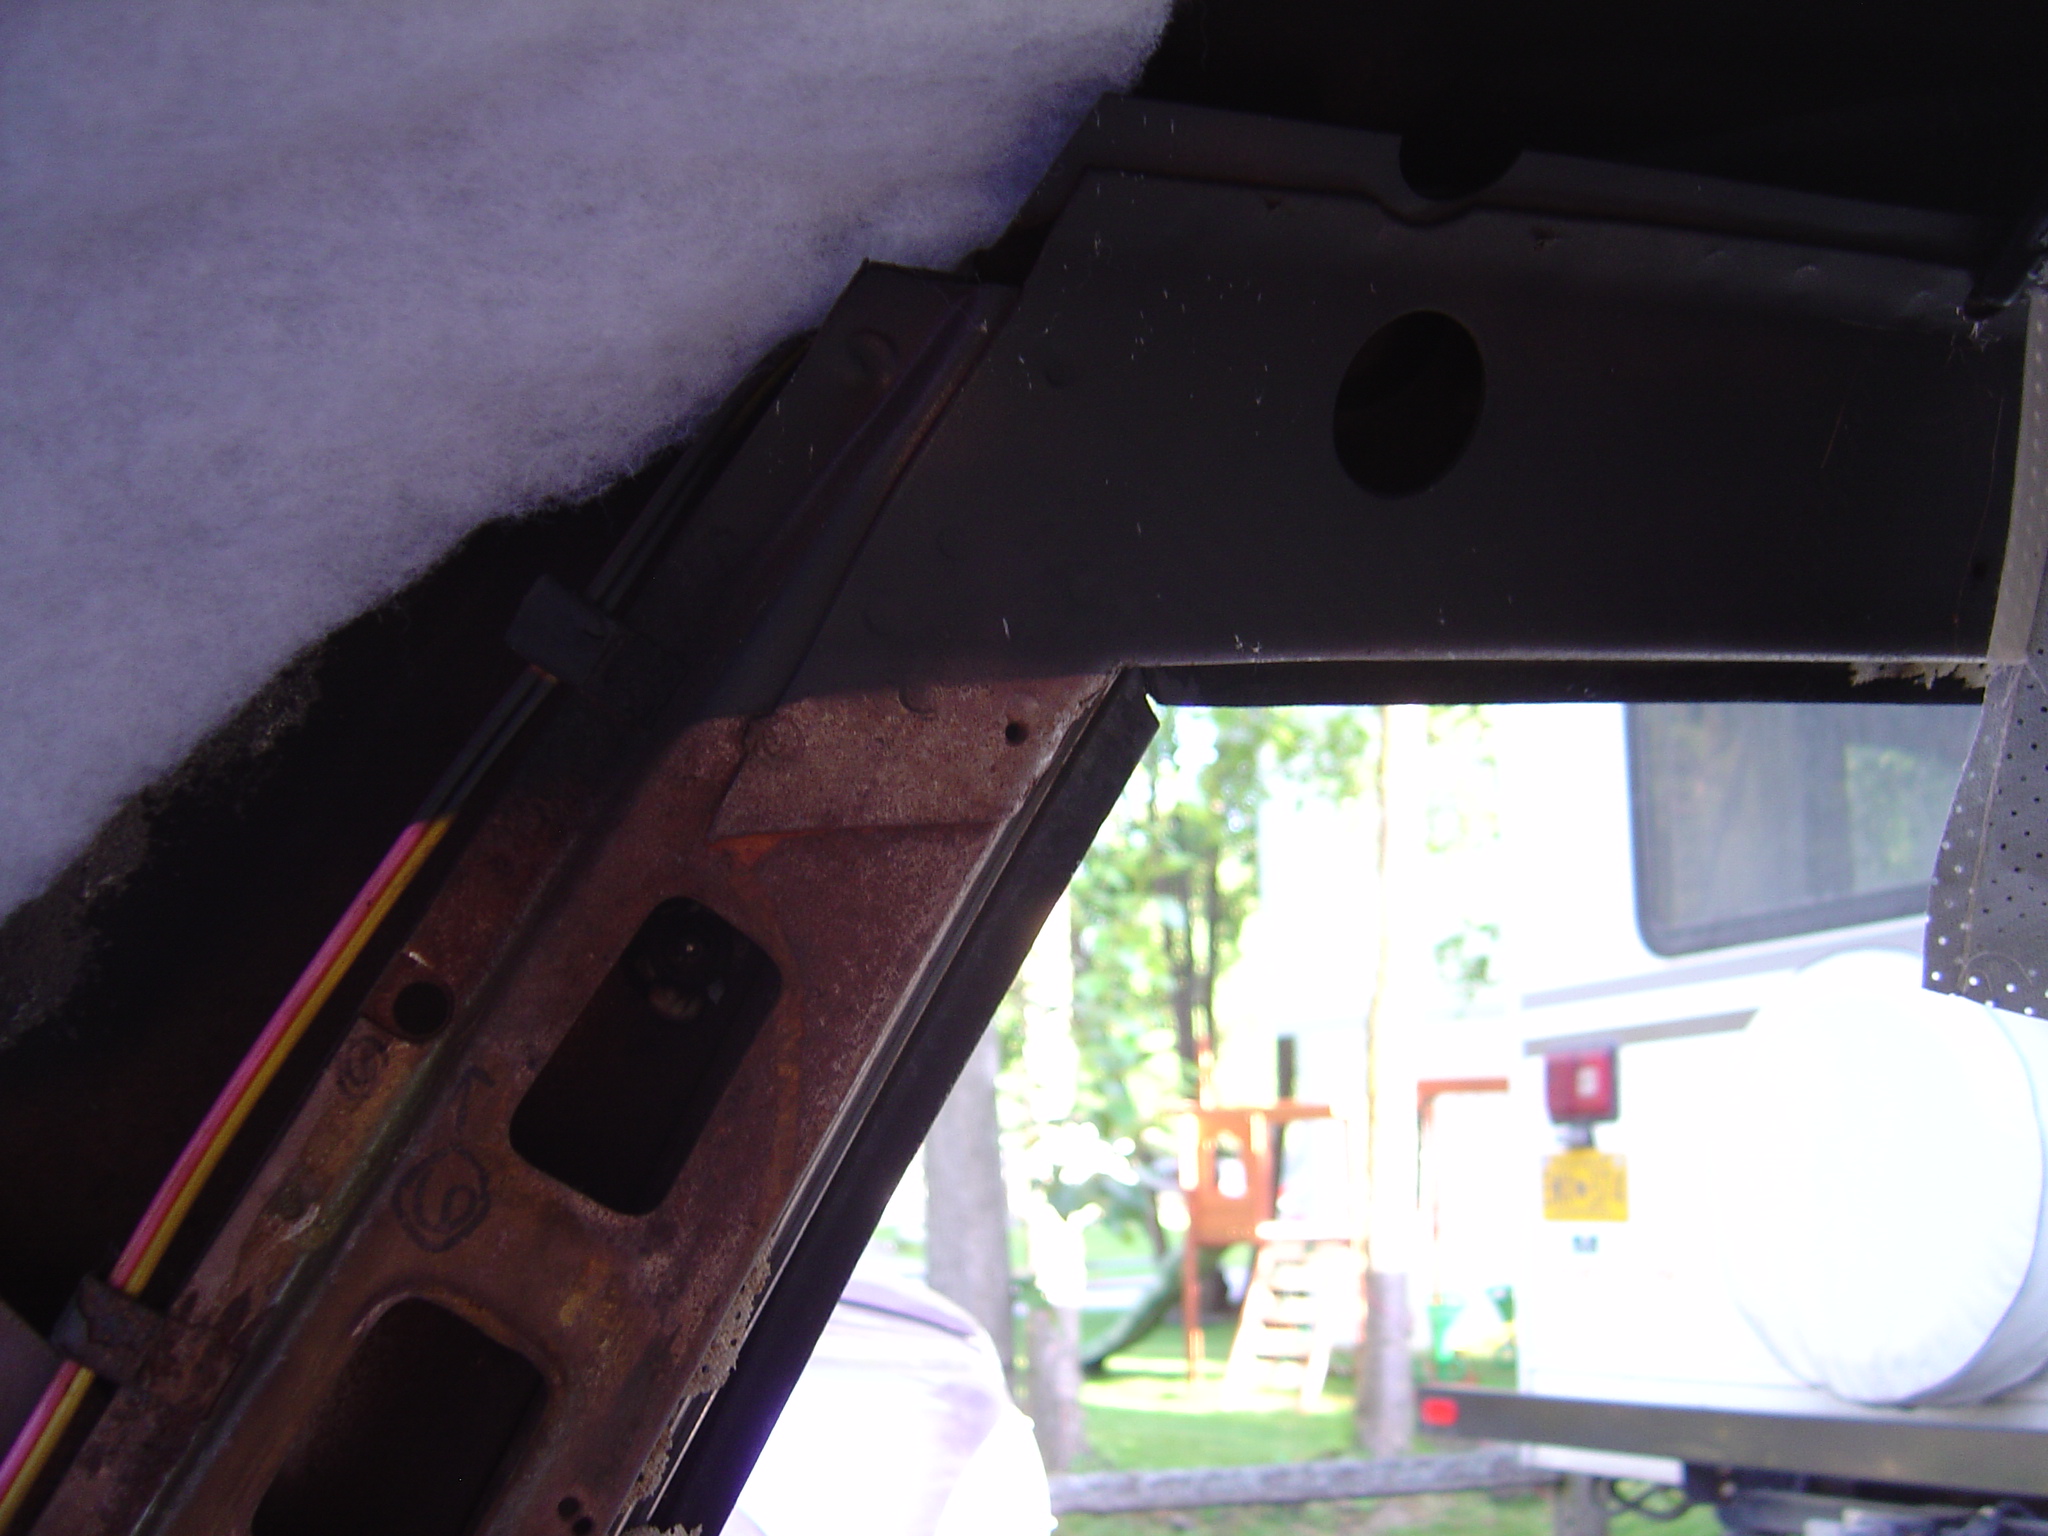
careful to note the sequence of roof bows.
The bows are not interchangeable with each other.
The end clips also come in a few different configurations, it�s best to
keep track of which end clip came from which bow.
The good news is the bows are color-coded.
One end of each of mine was painted, seen best after removing the end
clips. I have yet to find the color code in any literature however
this is what I reconstructed from my car:
Bow Number |
Color |
1
|
Teal
|
2
|
Red
|
3
|
Yellow
|
4 |
Orange
(Dome light bracket, not inst
|
5
|
White
|
6
|
Brown
|
7
|
Green
|
You will need to remove both end clips from the bows when fitting them to the new headliner. It goes best if you work with each bow individually, rather than pulling all the bows out of the old headliner at once. I placed the clips from each bow into individual Zip-Loc bags and marked the bags with the bow number and color - only because I had to stop and order parts part way through this process. I numbered my bows 1-7 starting at the front. The manufacturer of my headliner numbered the headliner listings starting from the rear, which made little sense to me. It was easy to tell which listing was which so I kept my numbering. You might also lay the bows out on the floor in sequence to help keep track of which one goes where�..be sure family members don�t come along and mess things up (yes, this happened to me).
I found the bow end clips to be rather brittle. You have to pry up a tab to get the clip to slide past a notch in the bow. The metal cannot stand too much bending. I didn�t damage any of the tabs but did snap two of my clips in half at the point they make a 90-degree bend. Fortunately I had extras from the bows I�d received from Bob H.
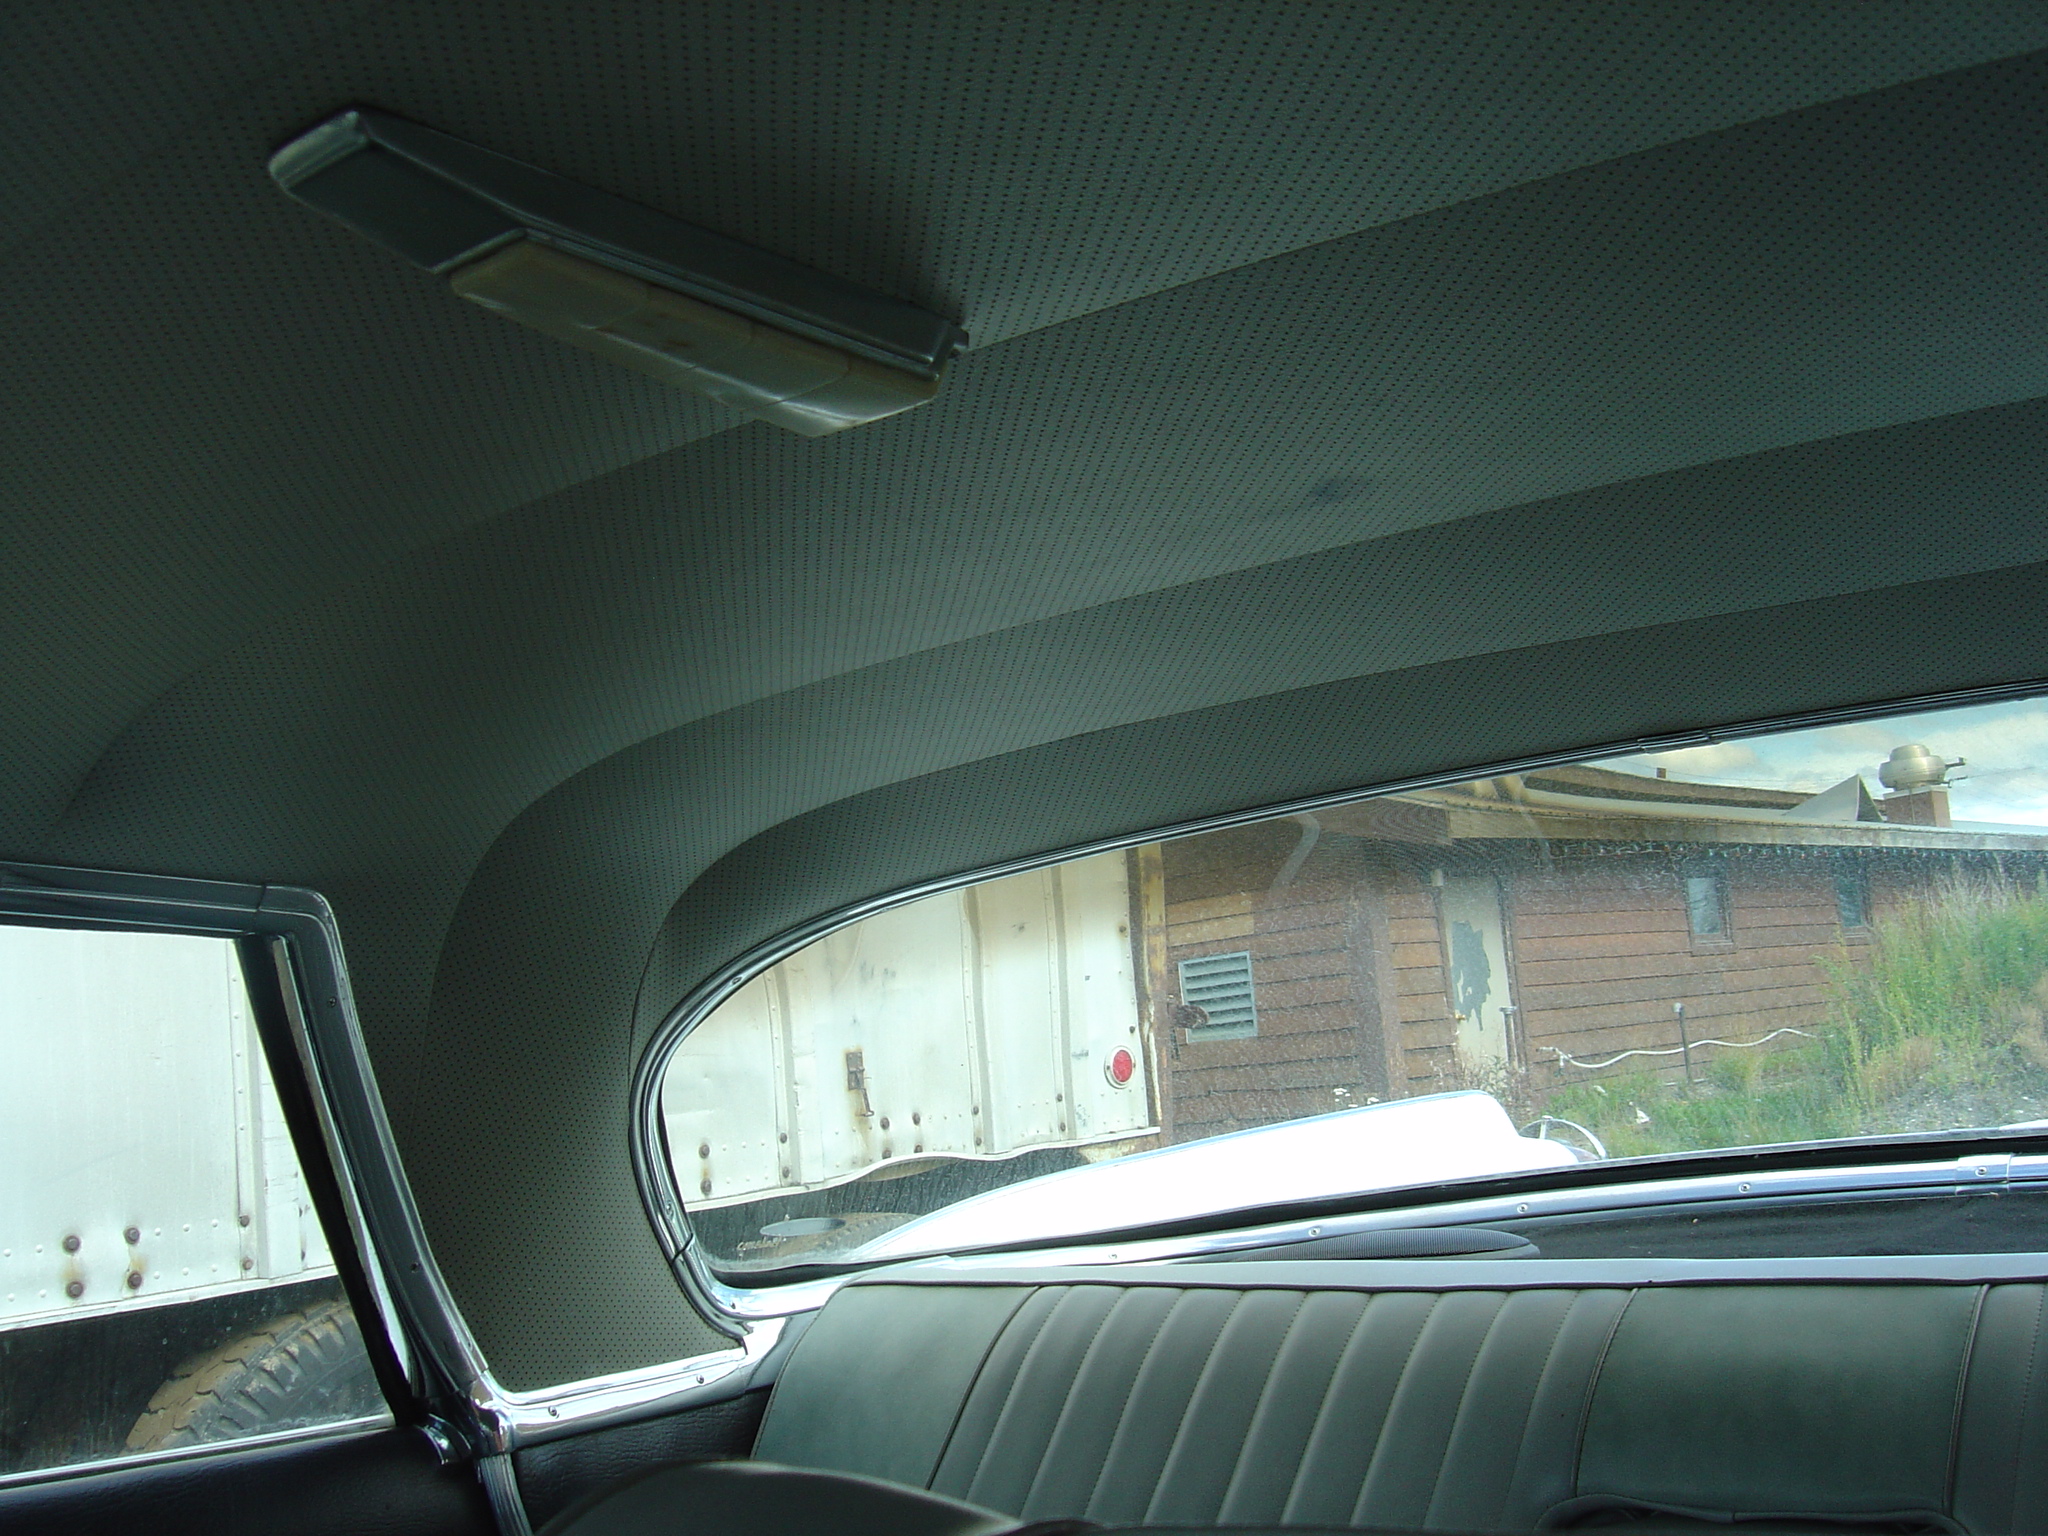
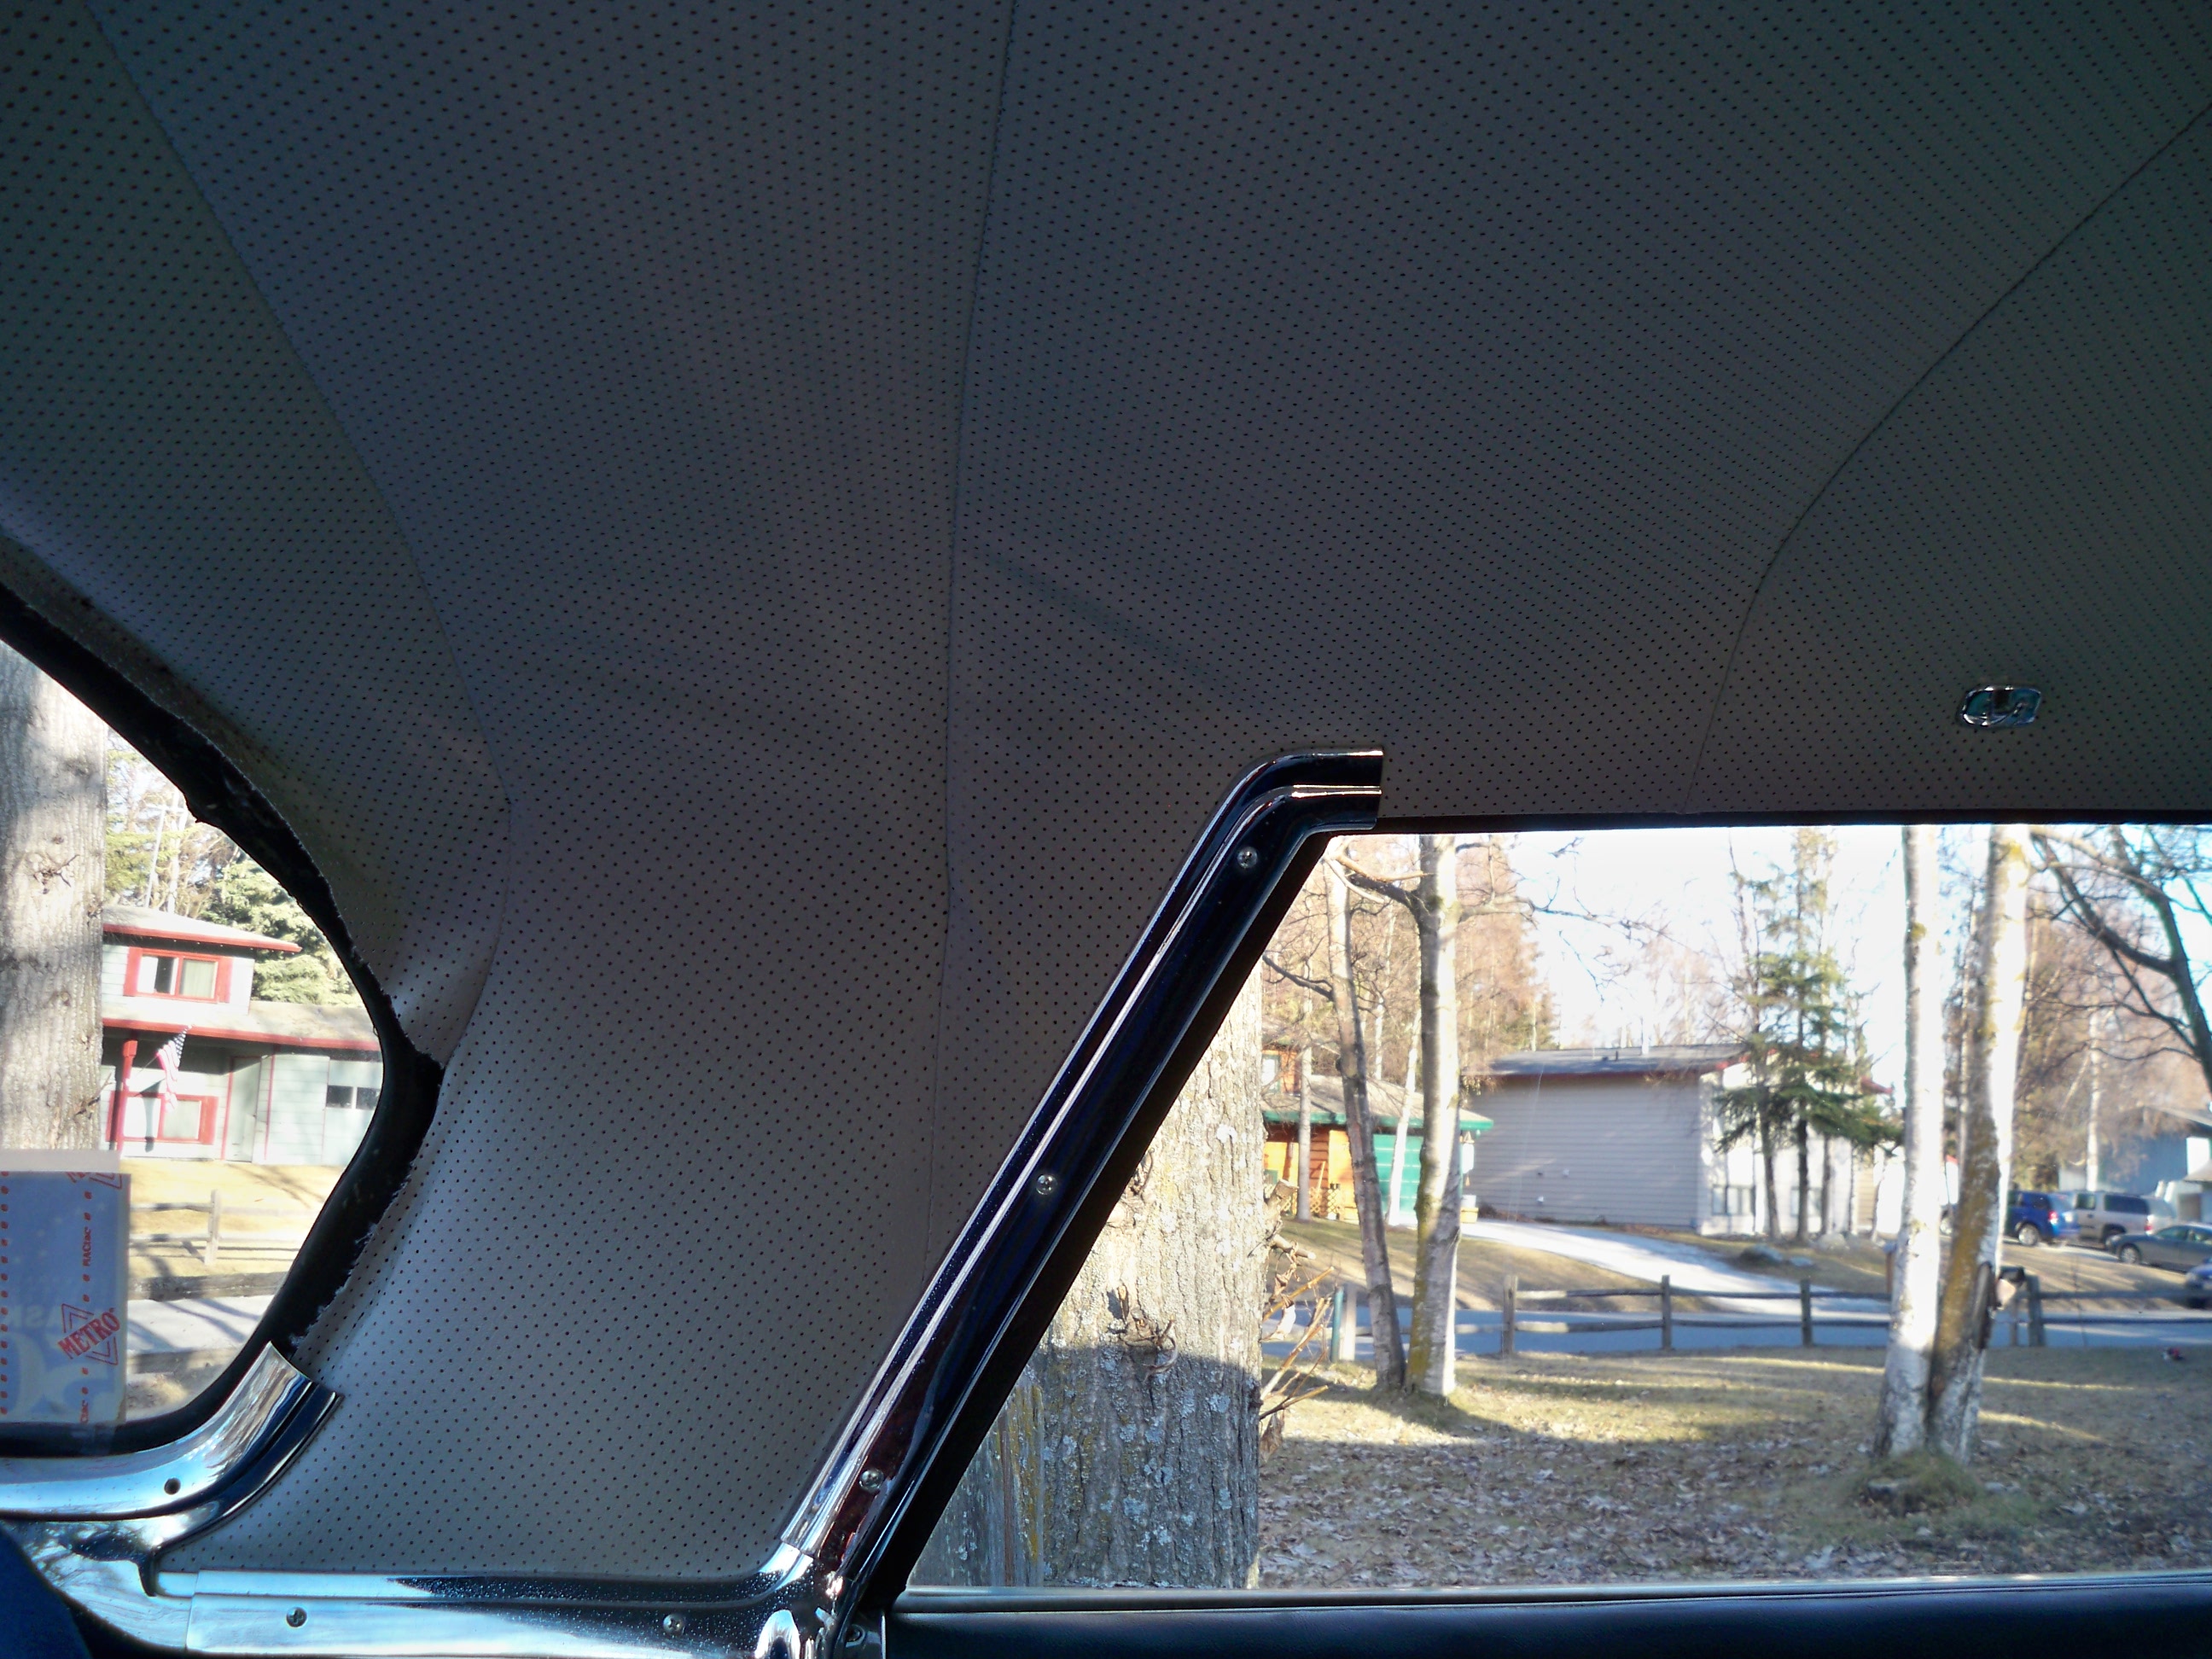
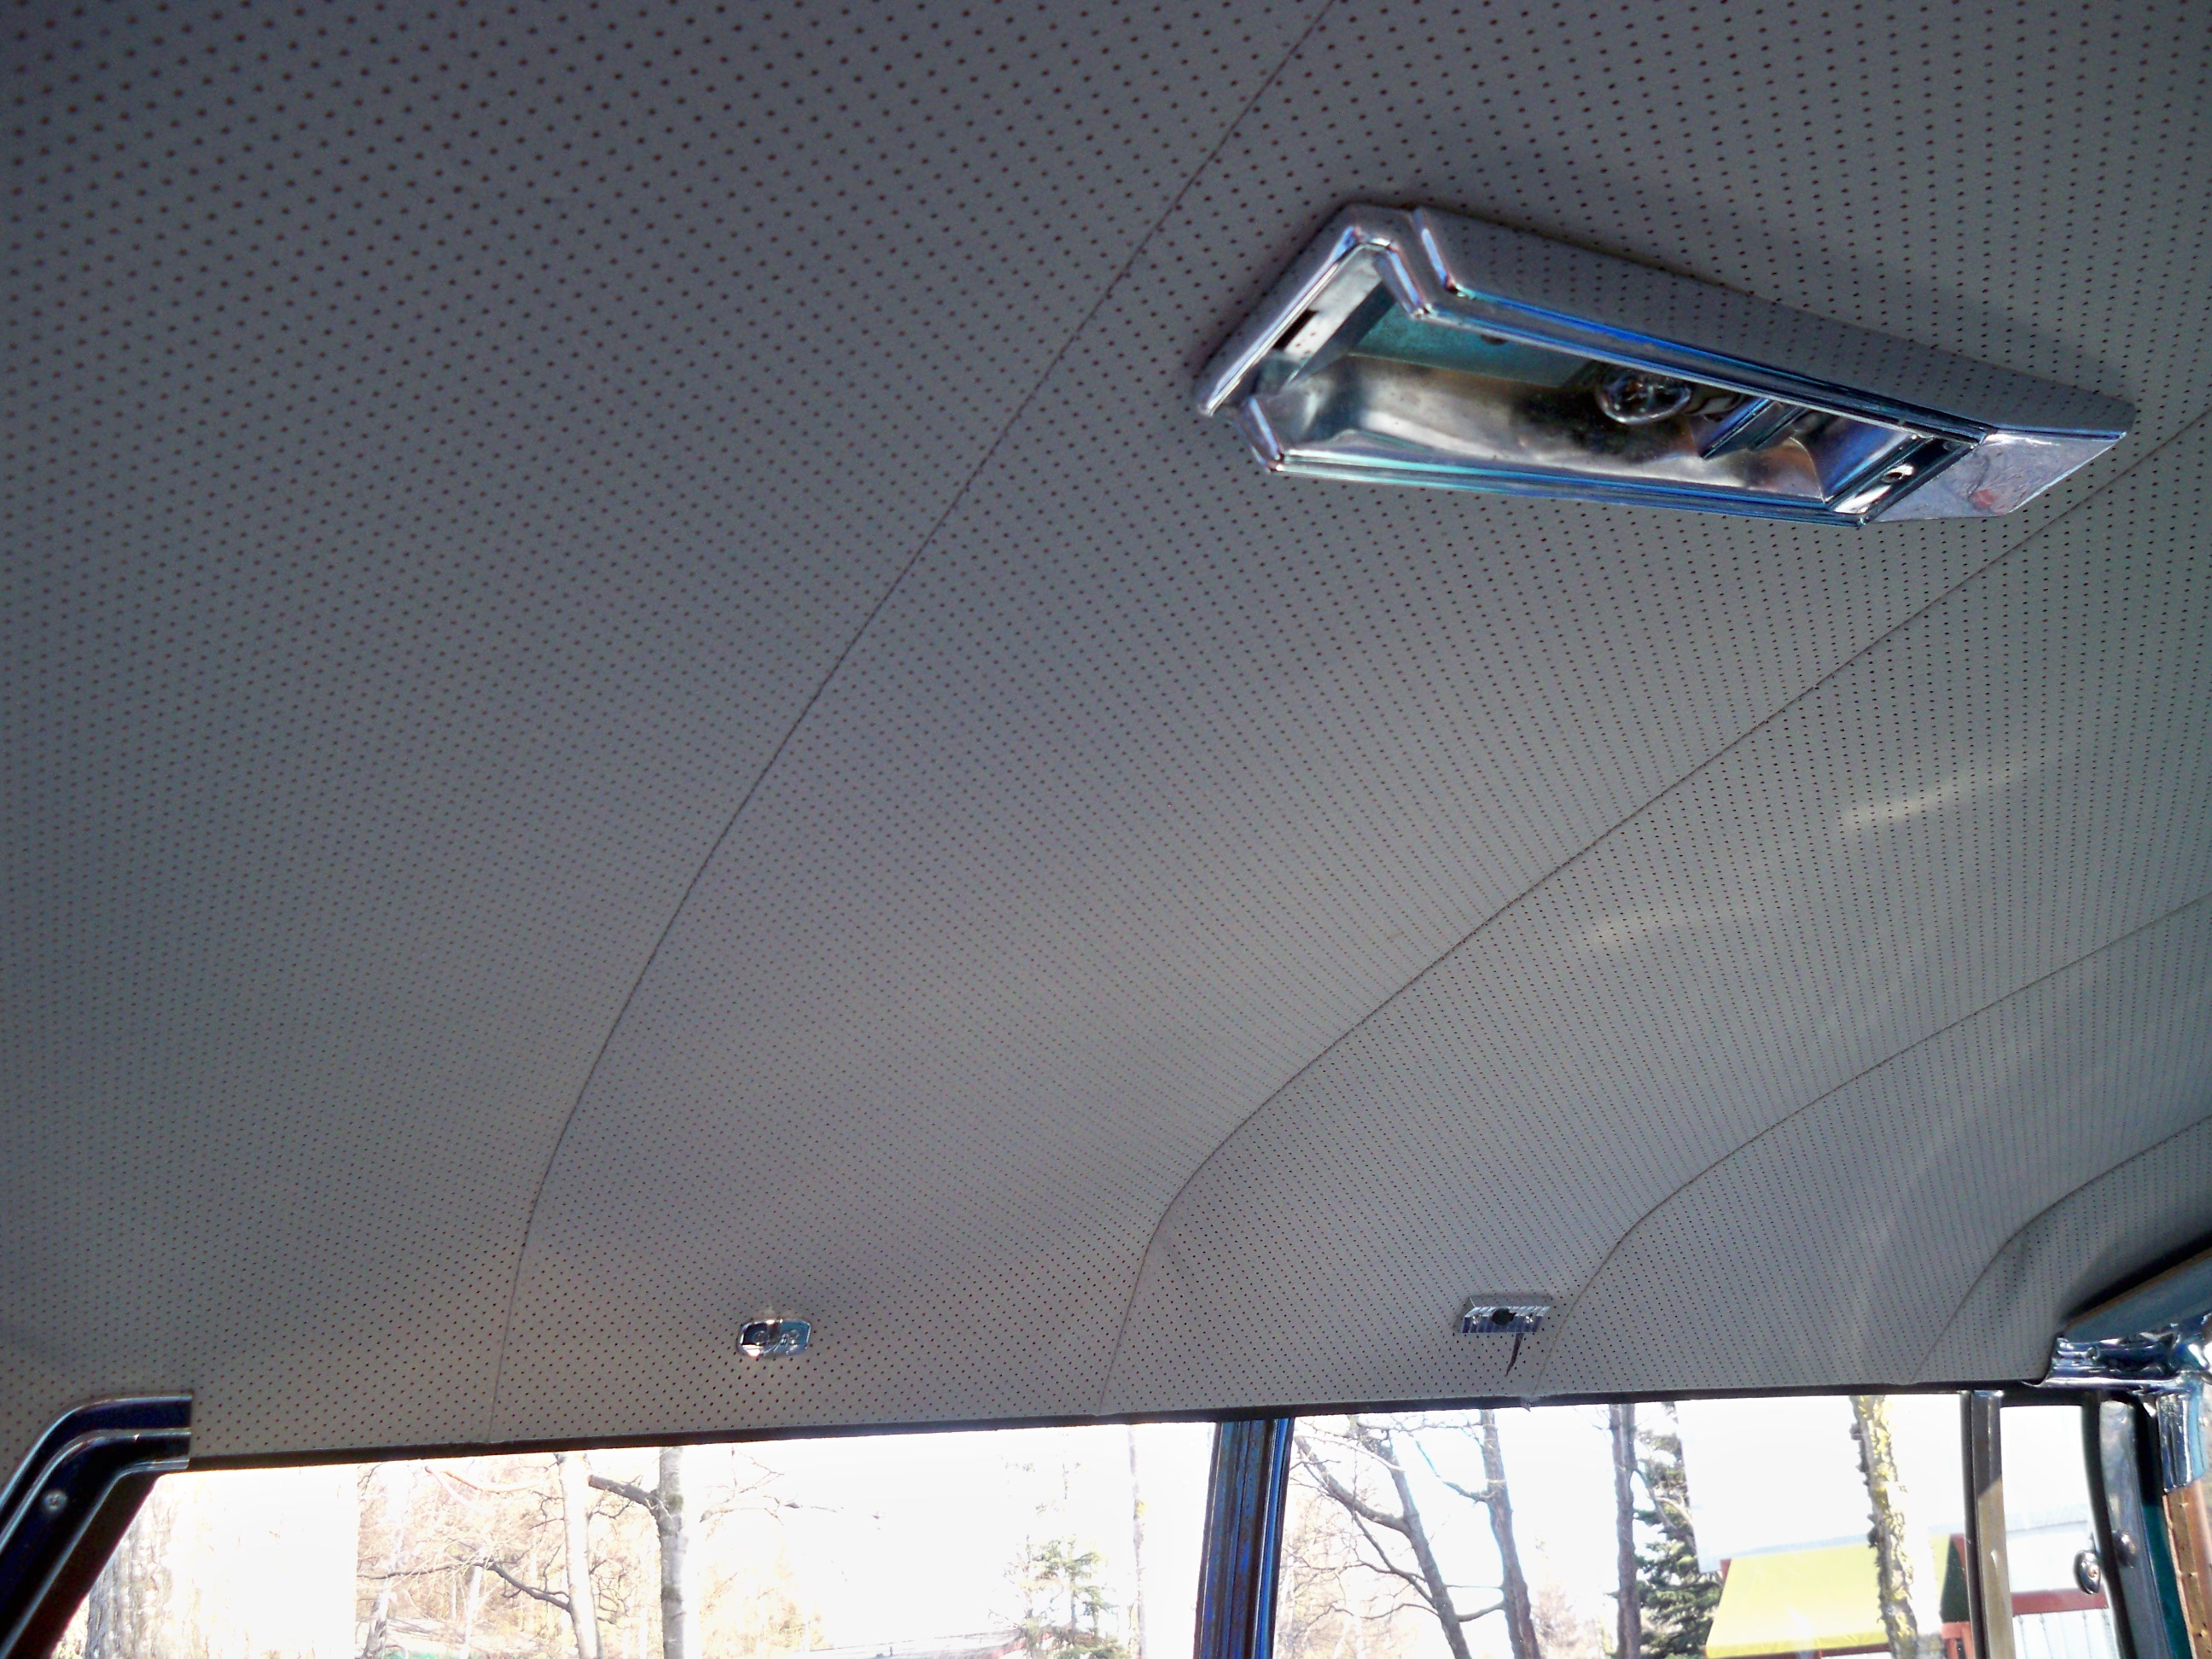
|
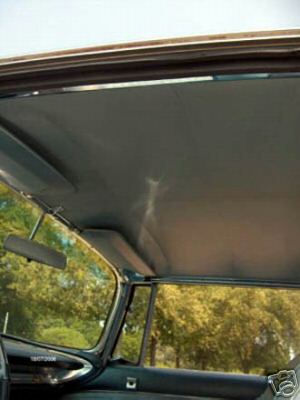
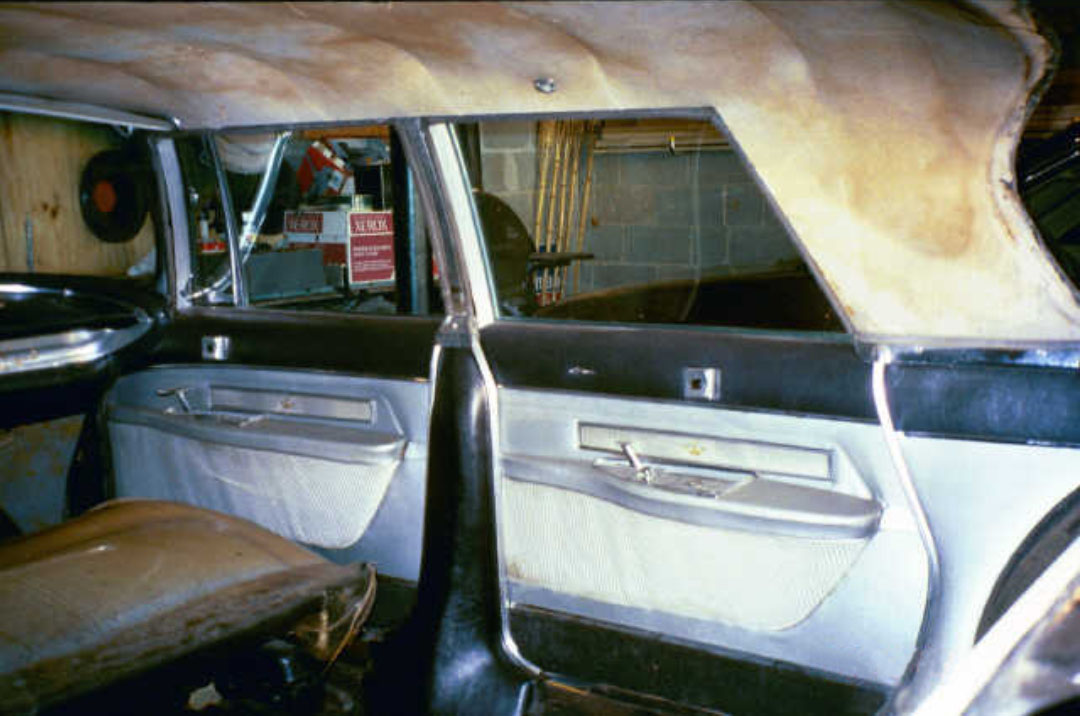
1960 Southampton (hardtop) |
These are examples collected from the internet of other Imperial headliners. | 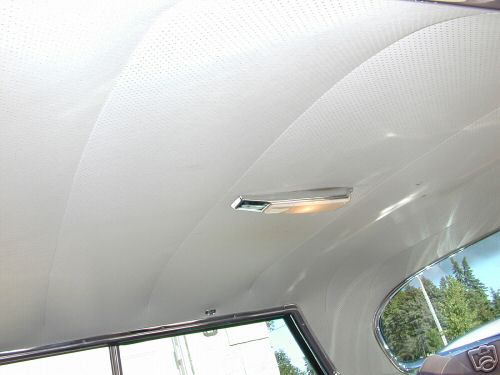
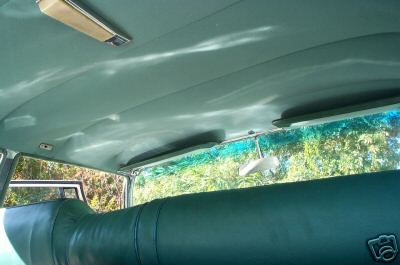
1960 Southampton (hardtop) |
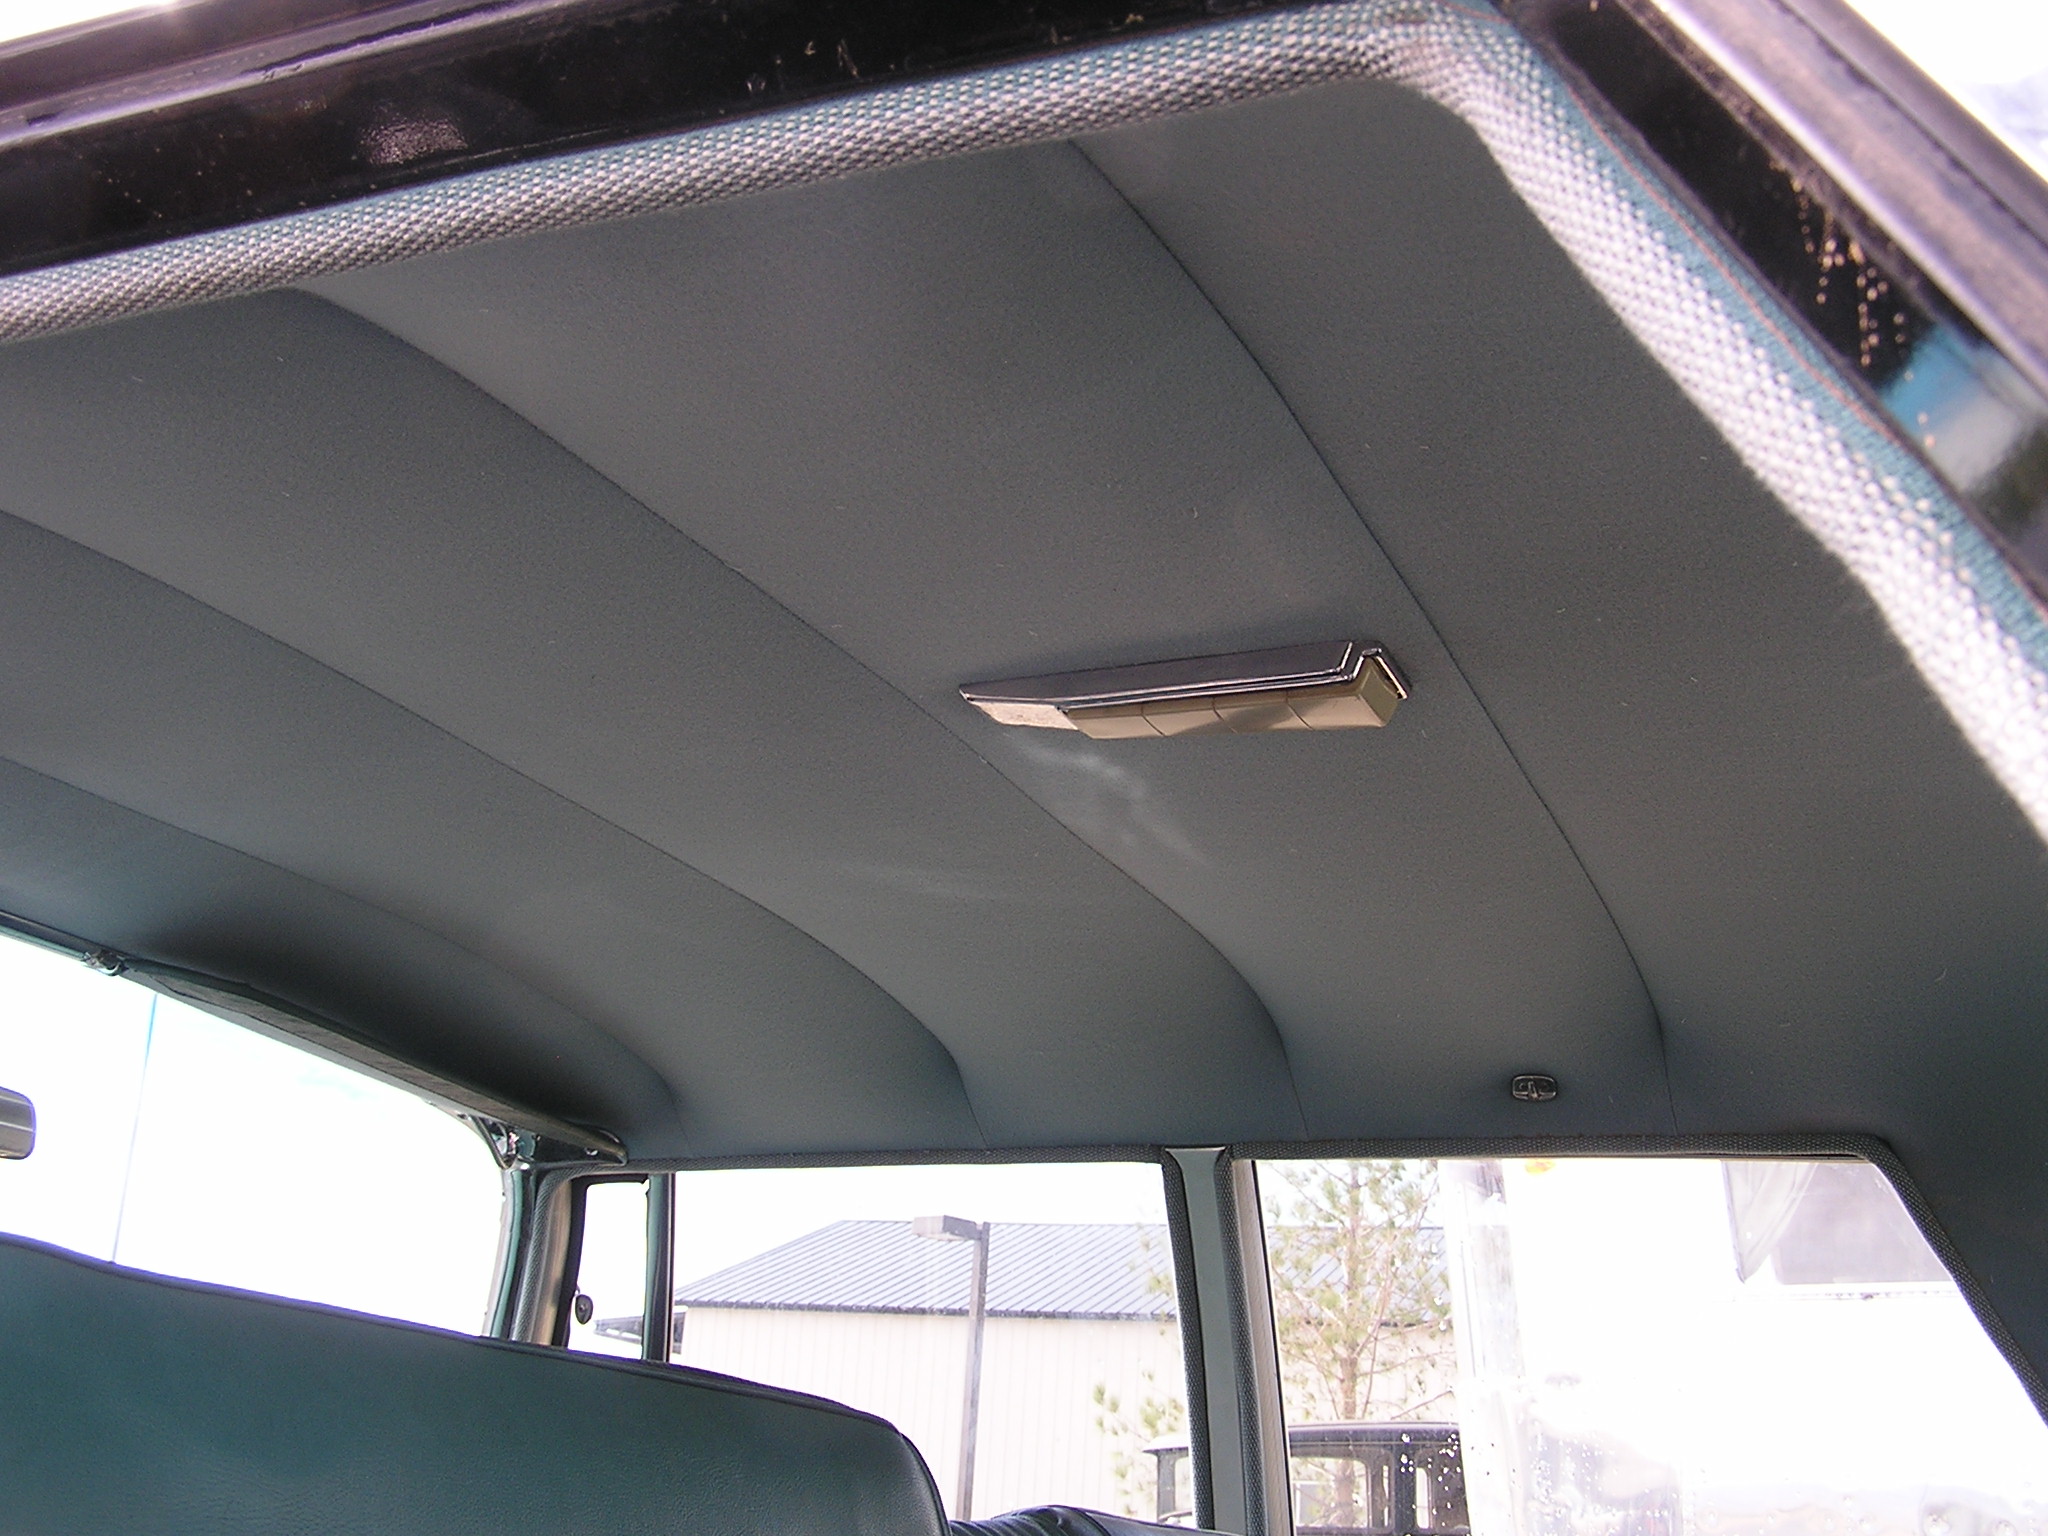
 1960 Southampton (hardtop) |
 1960 Sedan |
 1960 Sedan |
One final seemingly obvious comment: There is one bow that does not go into the headliner listing; this is for the dome light bracket and wiring. It�s probably obvious when you remove a headliner, however as stated above my headliner was already out of the car when I got it so the �extra� bow caused me some confusion for a time. This was compounded by the fact that I was missing a bow and didn�t discover its absence until I was test fitting the entire assembly. Fortunately the friend who sold me the car found the missing bow in his pile of stuff.
There is a comment in some descriptions about the need to remove the rear glass from the car to install the headliner. This is not necessary for the Imperial, at least on the Custom and Crown models. Installation is a bit different around the LeBaron rear window and I don�t know the specifics of that.
The supplies I used were:
� Adhesive
� Tucking tool
� 2� thick batting for insulation
� Scissors
�
Utility knife
I used the 3M adhesive you can get at your favorite auto
parts store. It worked great.
I used the spray type then sprayed some as needed into a throw-away dish
and used a paint brush to apply it where spraying was impractical.
For the tucking tool I used a plastic 3� putty knife and
with my grinder rounded off the knife-edge and the corners so as not to tear the
headliner.
For roof insulation I used polyester batting material from a fabric shop. 2 yards was enough for the roof with some left over for the �C� pillar but if I did it again I�d get 3 yards and cover more of the roof. The three-foot width just barely covered the roof trim attaching screws at the front. Next time I would cut the batting differently and come down the sides to the window tops. Sound deadening material would be a better option, I didn�t want to spend the money at this point � this car needs body and paint work in the future so the headliner I put in is �temporary�.
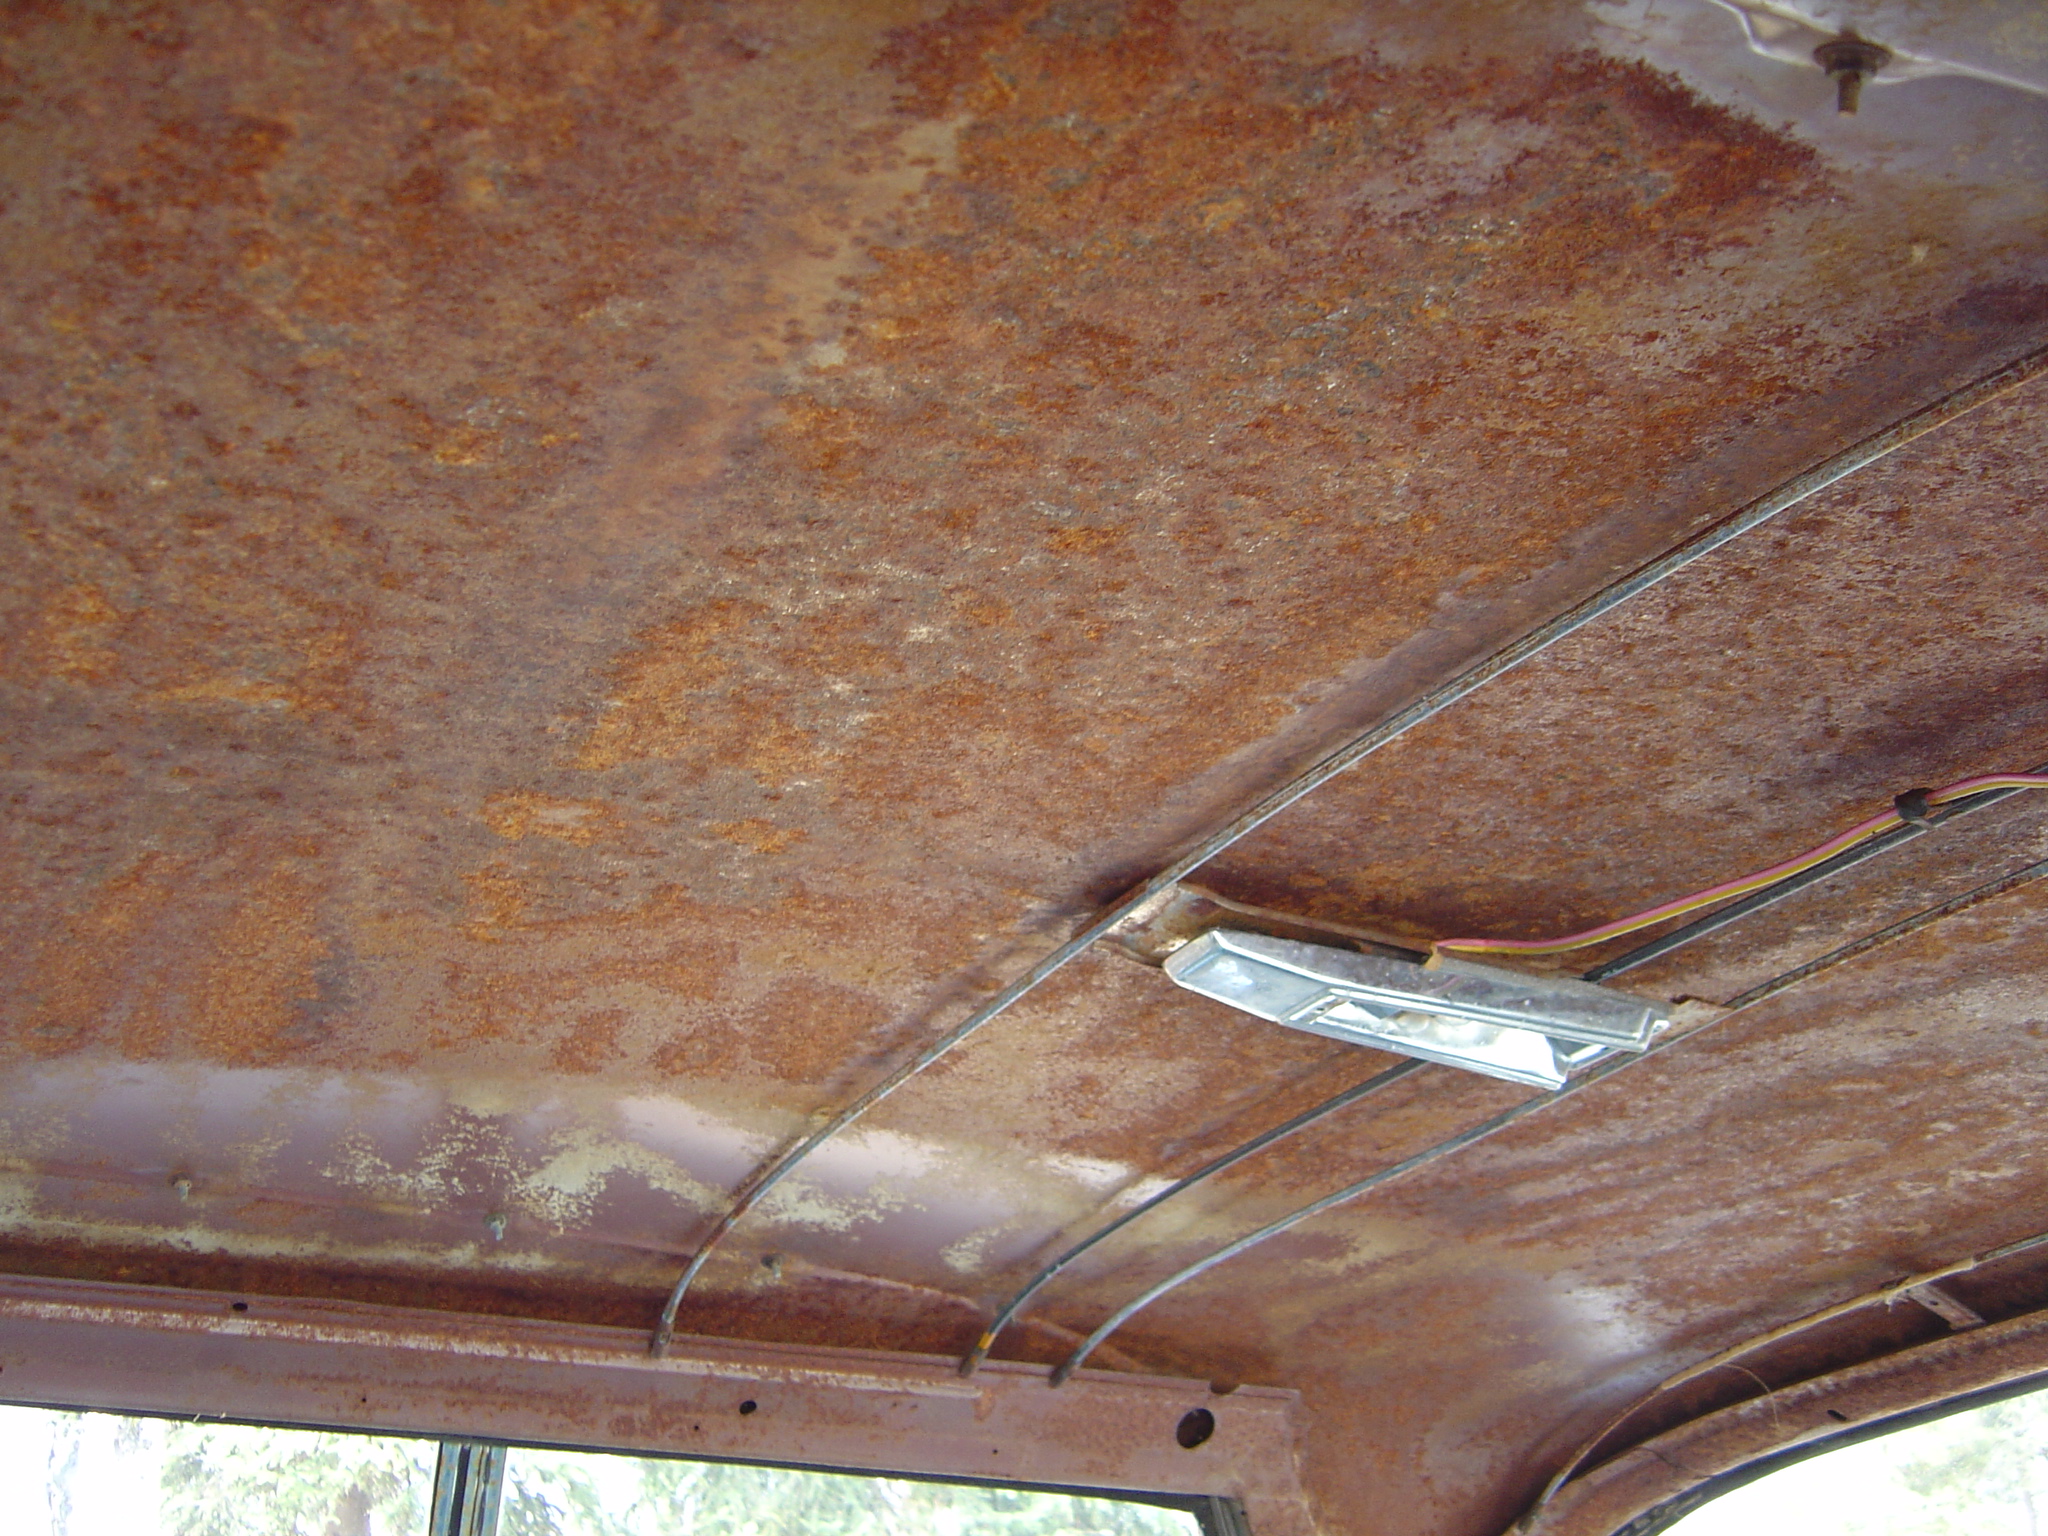
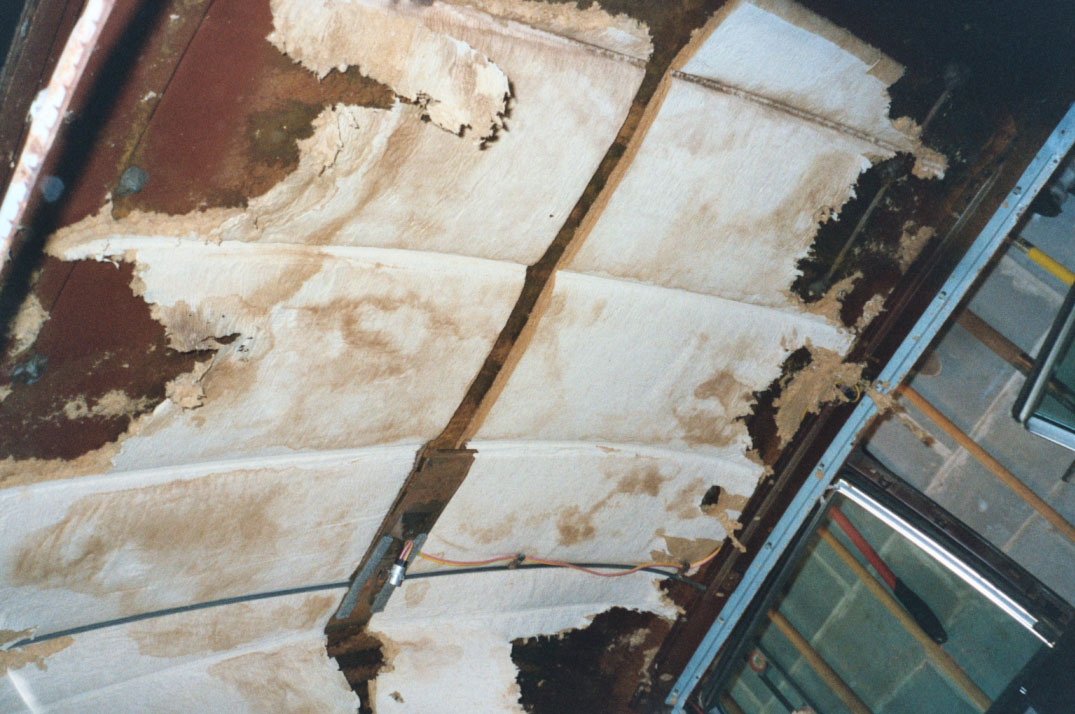
I had significant surface rust on the interior of the roof, which I painted with a rust inhibiter (at any hardware/paint store) after using a wire brush to clean off the loose stuff.
|
Prior to rust removal |
Loose rust removed, testing rust inhibitor |
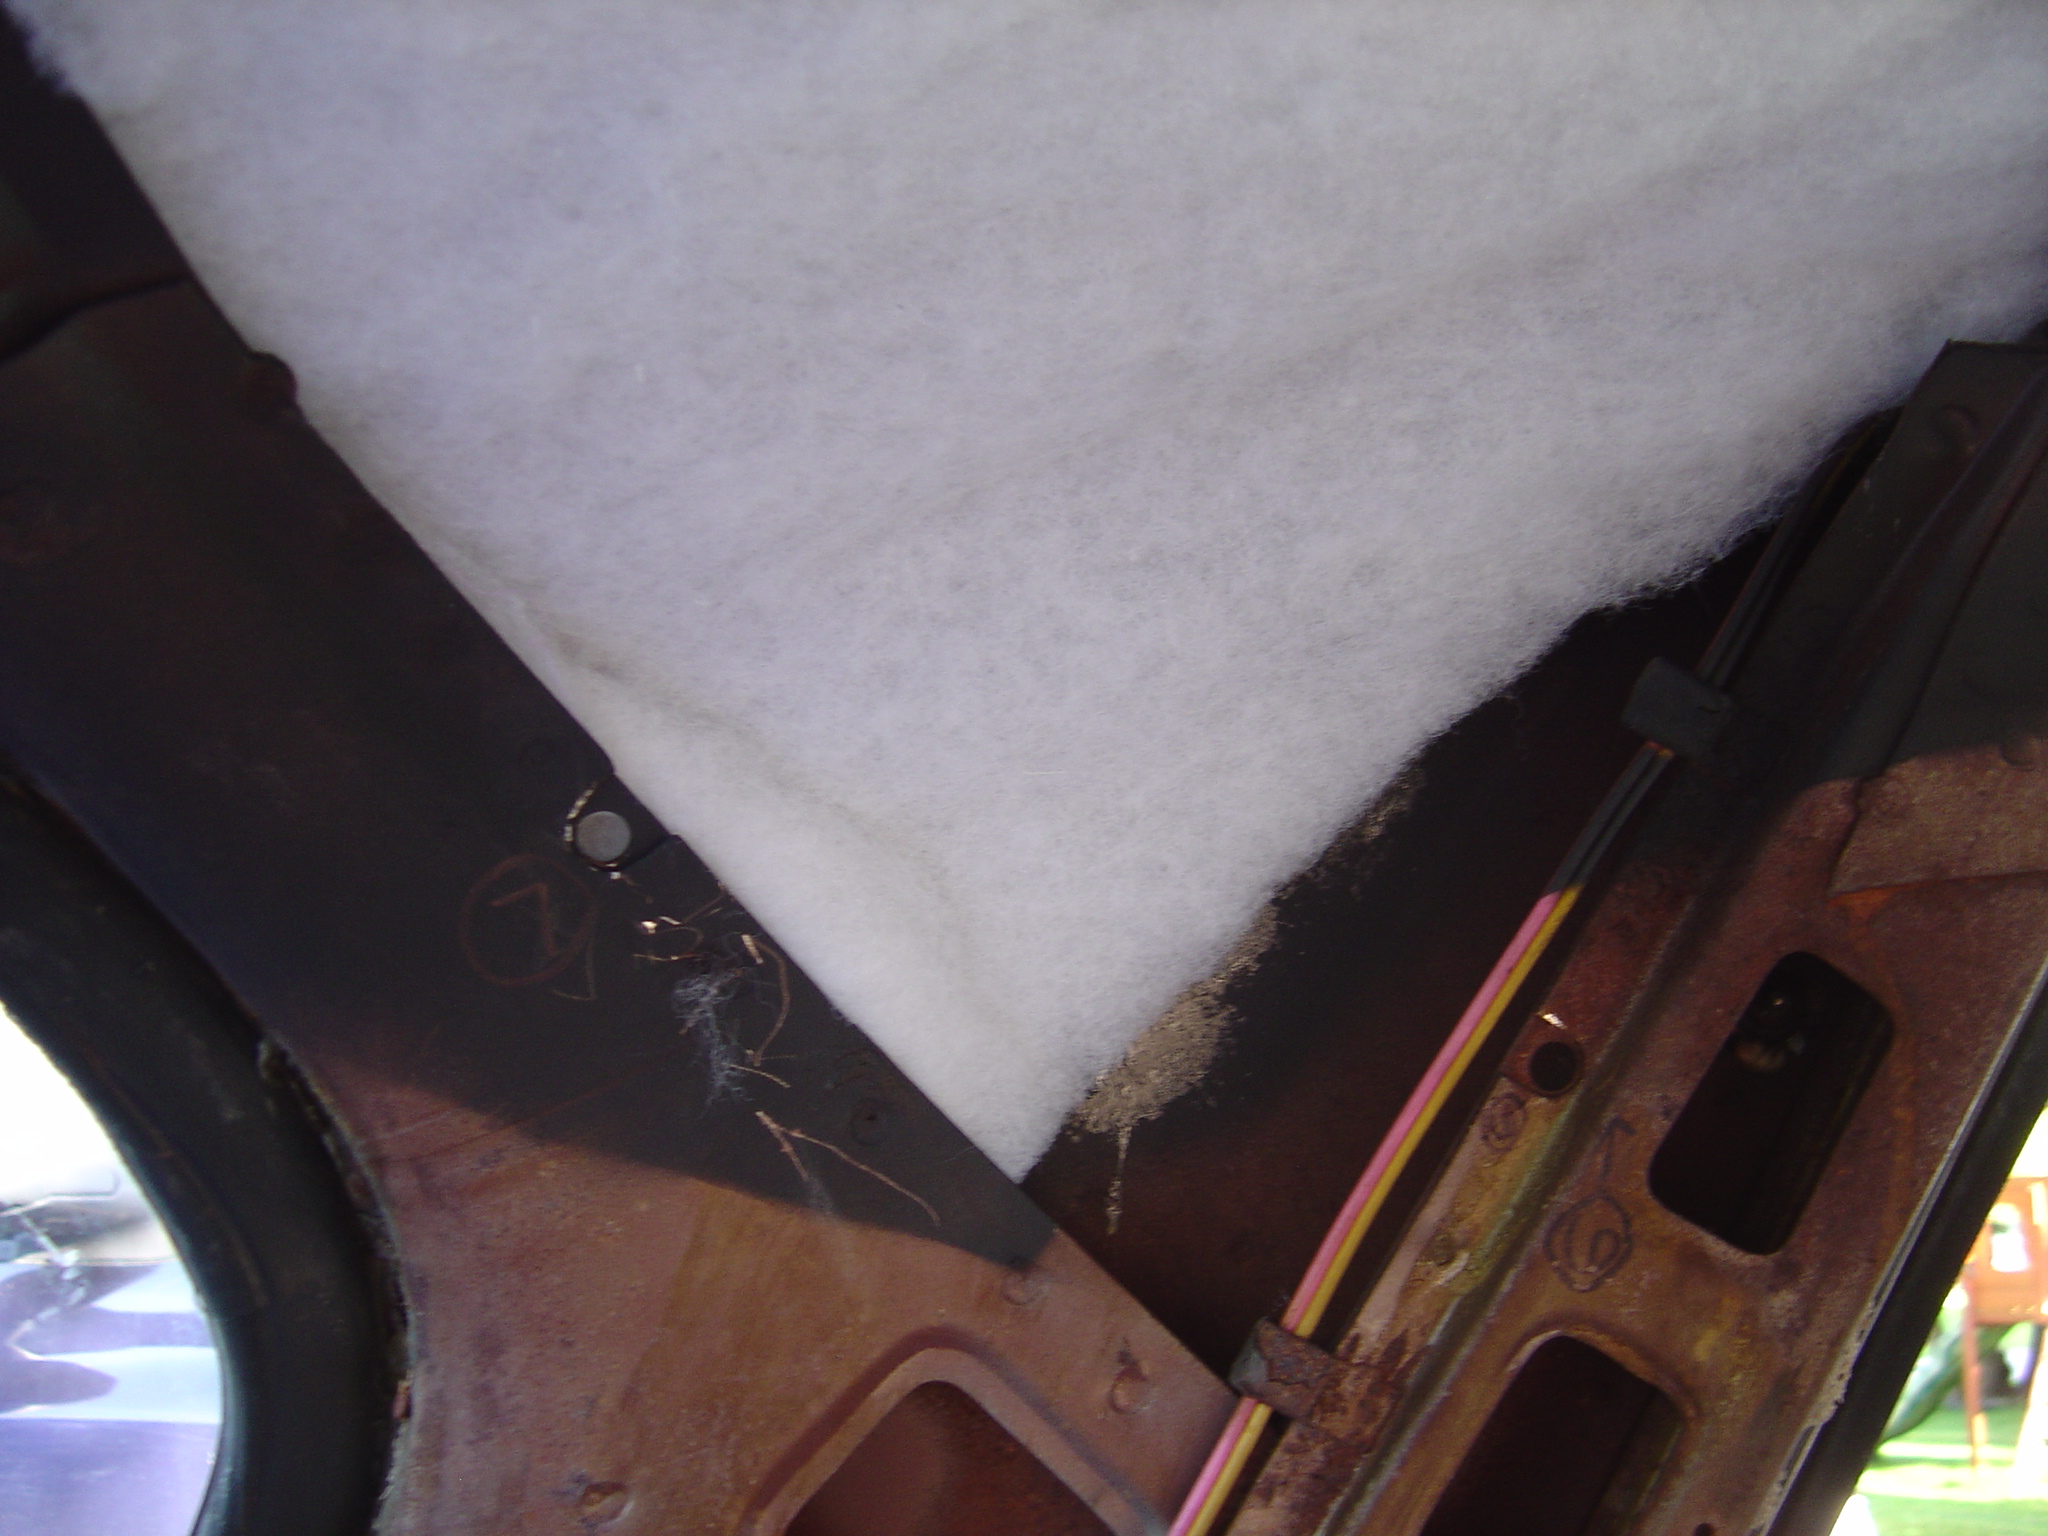
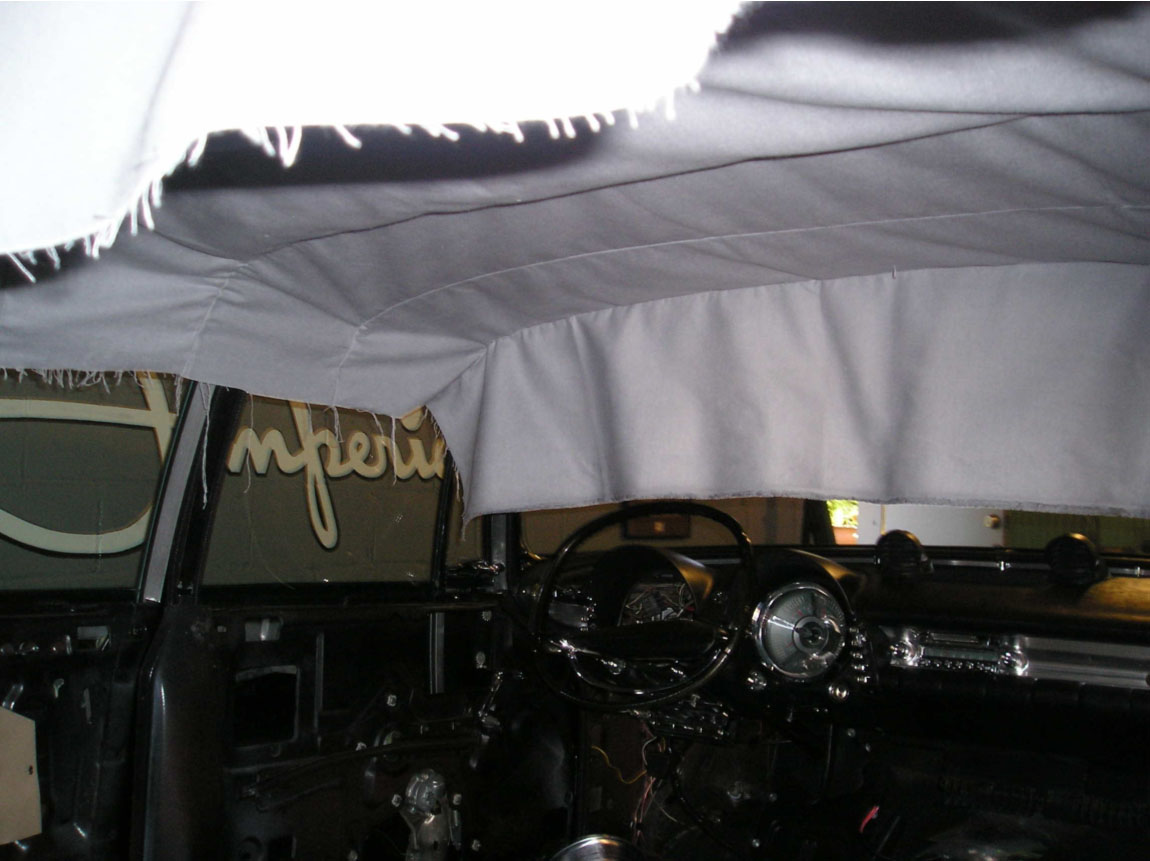
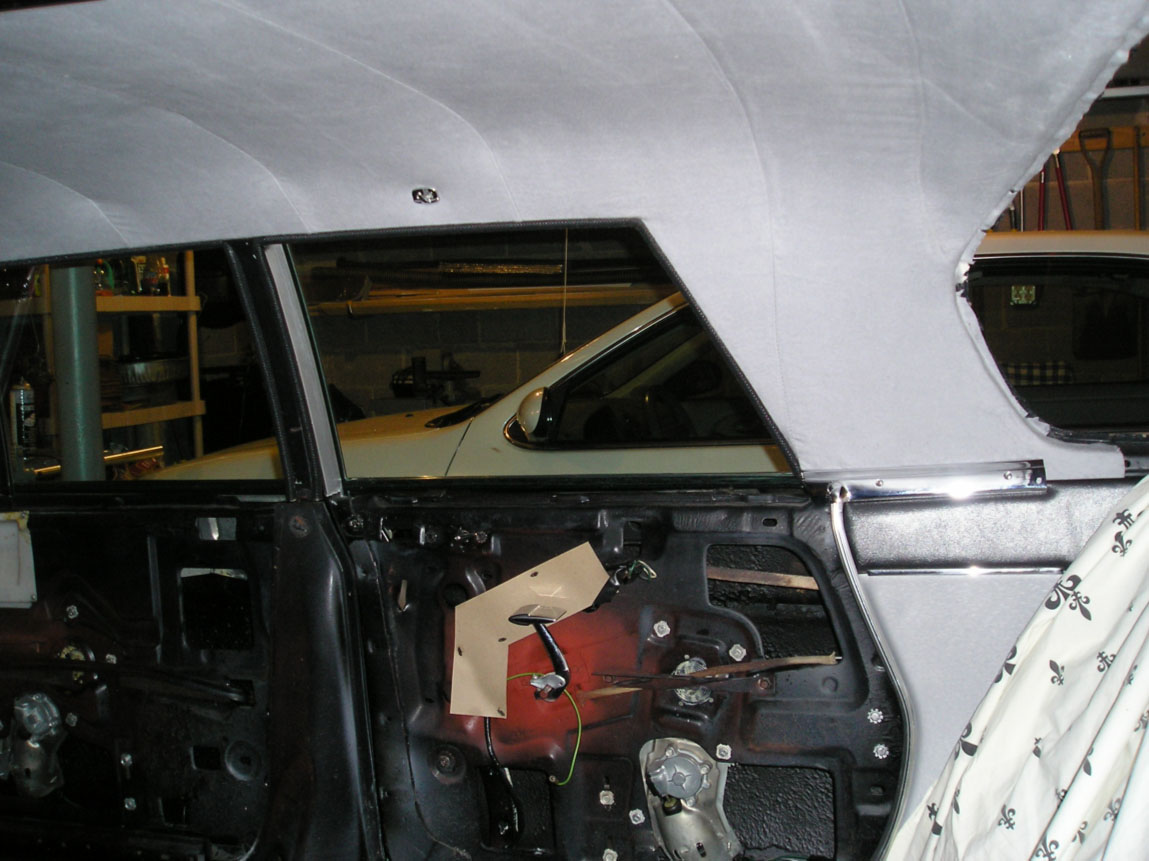
Right C pillar. Note roof bow above the rear window, this is braced to top of window |
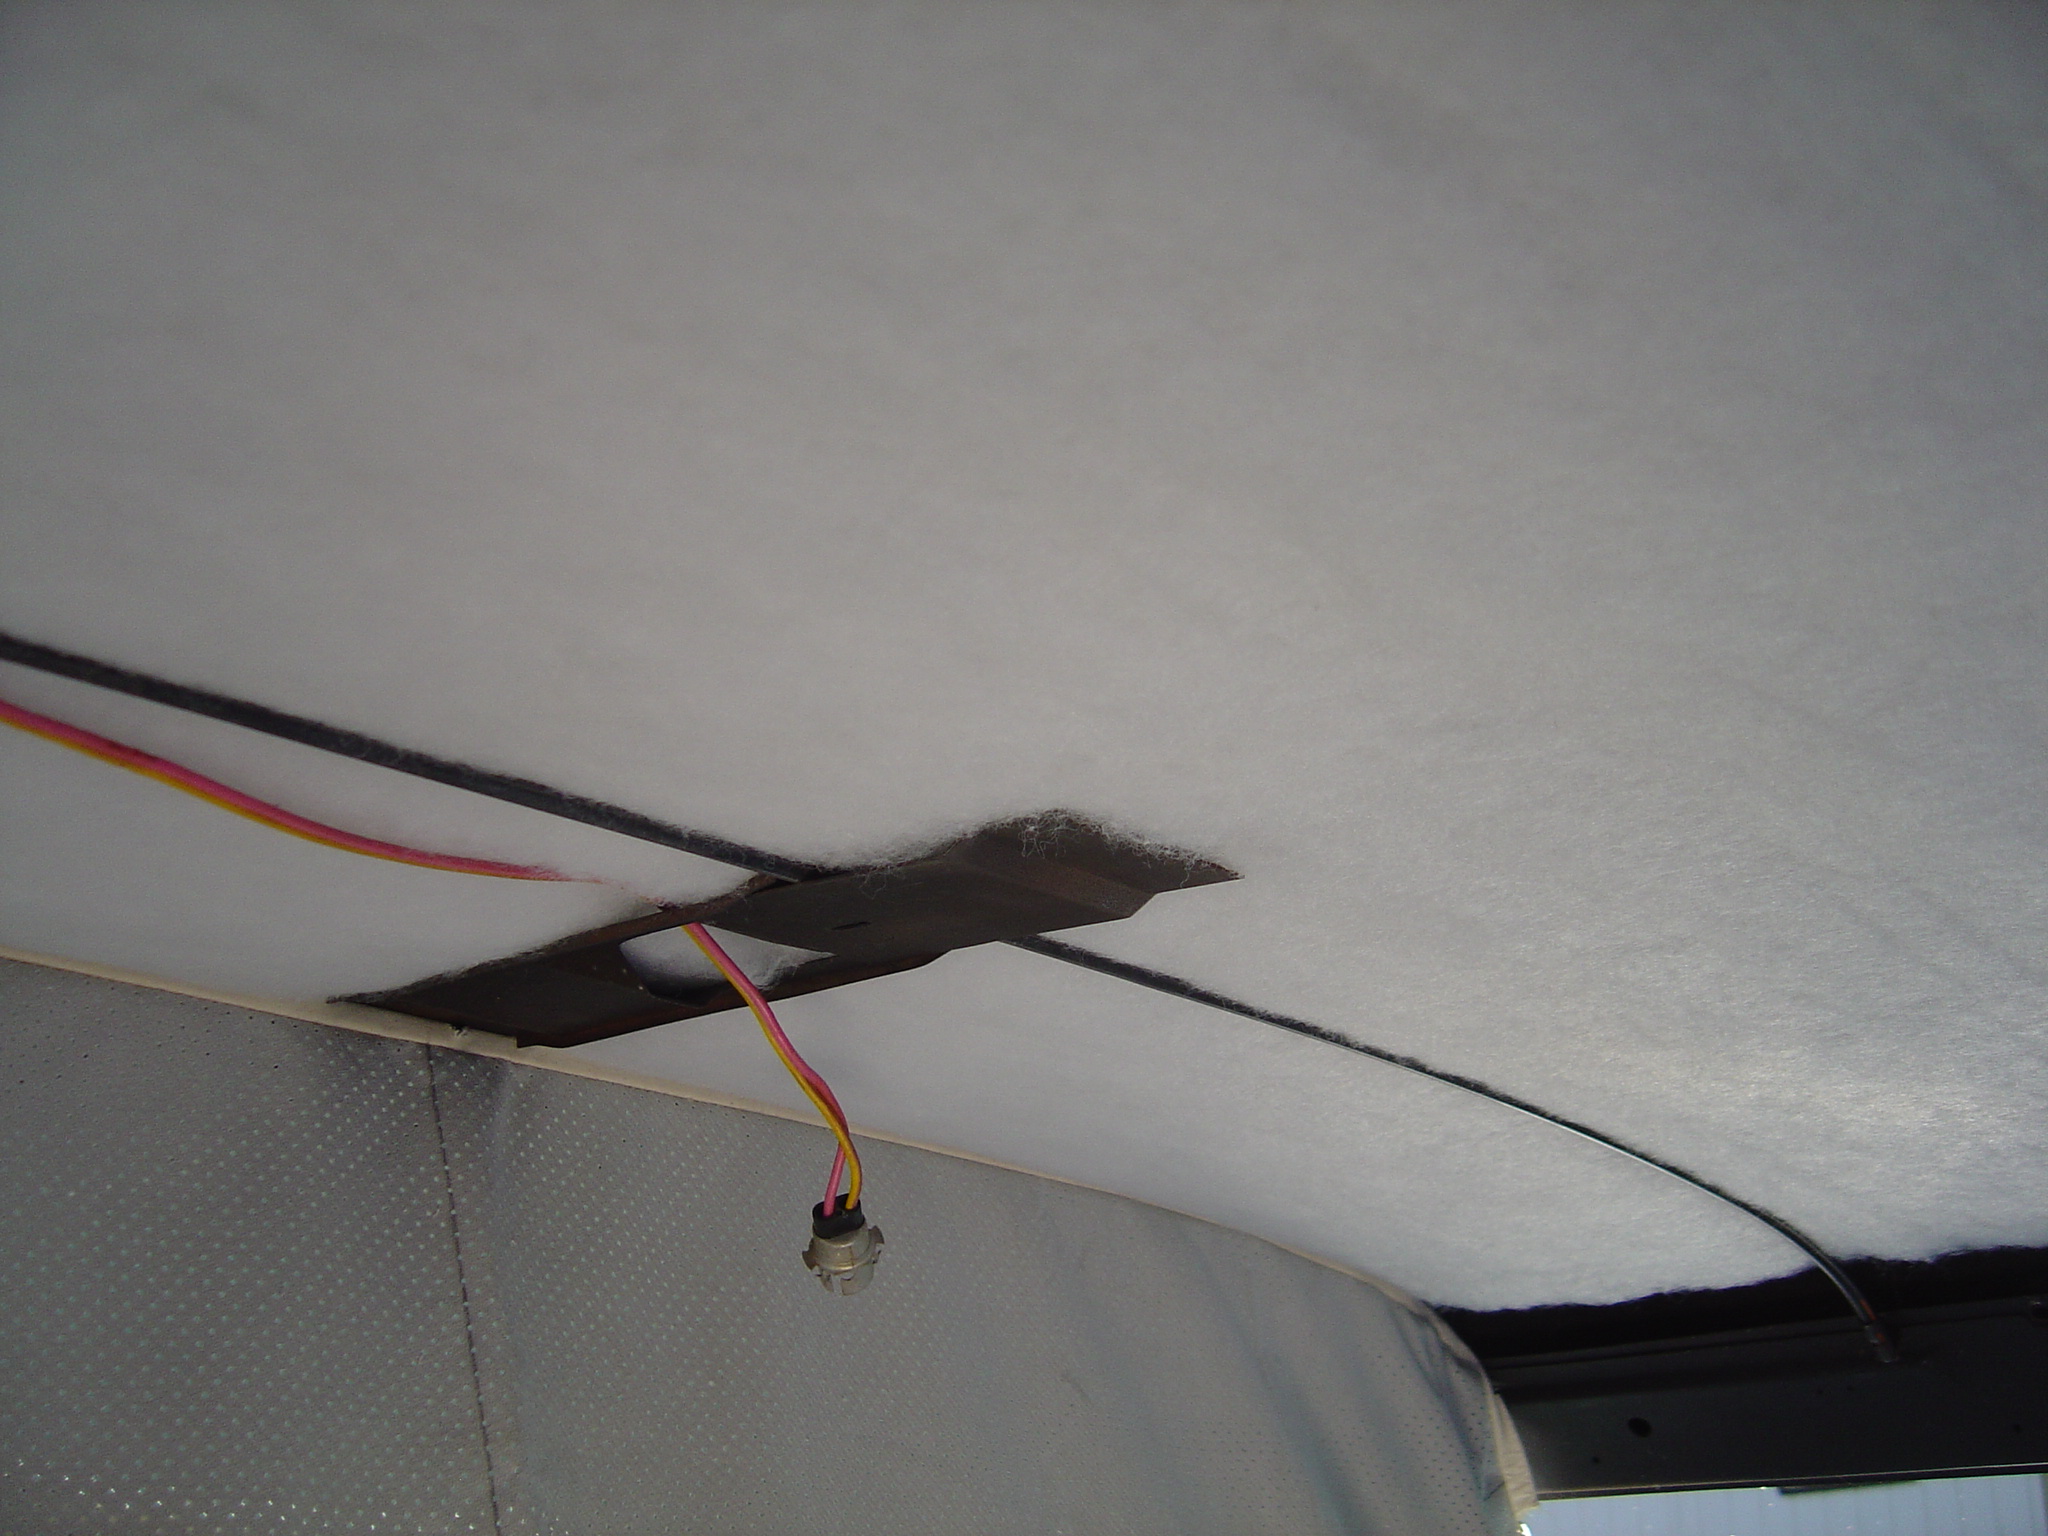 Front portion of headliner in, adjusting dome light bracket, note the batting for insulation |
 Left C Pillar |
 Leading edge of C Pillar |
I sprayed adhesive on the inside of the roof where the batting was to go. Be sure to drape drop clothes over the seats and otherwise be careful of overspray. Masking off may be needed. I placed and cut the batting insulation then got ready for the headliner.
Firstly I marked the center of each bow with a felt pen.
I then laid out the headliner on the living room floor and located the center of the fabric at the front and back as discussed in the Auto Restorer Online article. Using those two points I determined the center of each listing and cut �V� notches in the listings so I would be able to see the bow center marks when I slid them in. Working one at a time I installed the bows, matching up the centers of each listing and bow. I then cut the ends of the listings far enough to expose the bow ends, remembering to account for the end clip. I then installed the end clips of each bow after getting it centered in the listing.
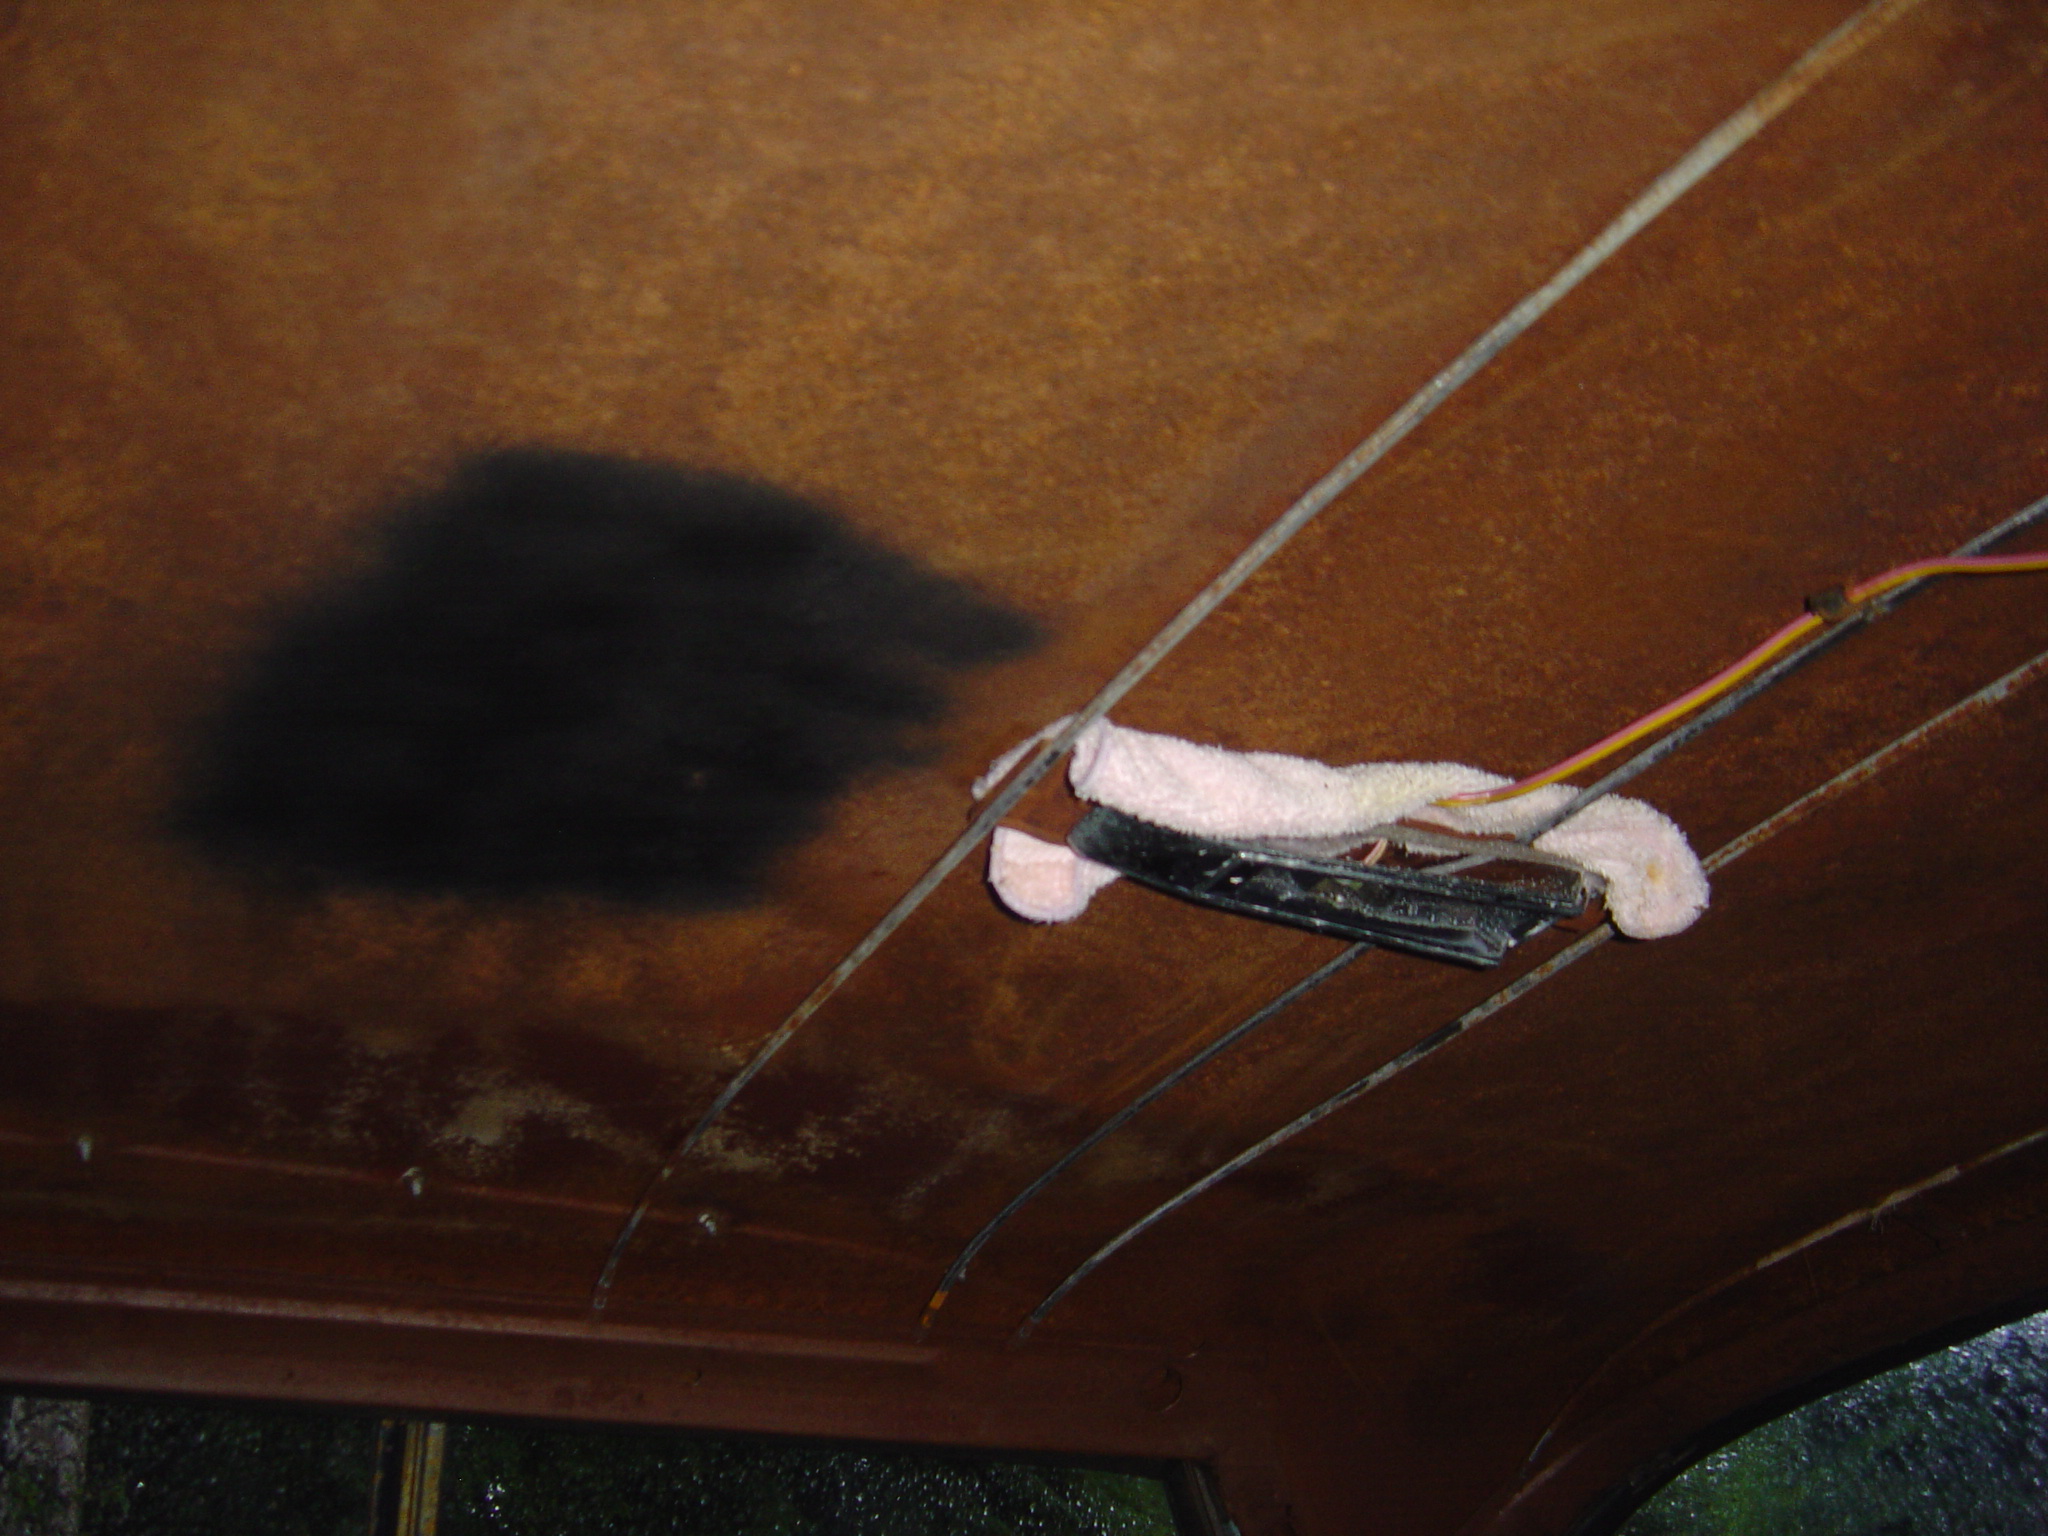
Install the dome light bracket bow and place the wiring if
you disconnected things.
Install the headliner bows starting at the front and
working your way back. Be sure to
adjust the dome light bracket, there is a lip on the back end of the bracket
that locks onto an adjacent bow. The
front part of the bracket appears to be intended to be held up by the bow
forward of it as well.
With all the bows installed, lightly tug down along the
sides of the headliner to even it out. Also
check that the �V� notches you cut at the front and back line up with the
center of the car and adjust accordingly.
Somewhere in the literature I read, they talked about installing a headliner on a warm day. I can vouch for this especially with a vinyl headliner in the Southampton (hardtop) models. The material is more pliable and easier to work with overall.
Following the guide from autorestorer.com, stretch the
headliner over the spikes along the tops of the front and back windows.
I worked back and forth with this a couple of different times to get the
headliner stretched the way I wanted it. Be
careful not to tear the fabric on the spikes, which is easy to do.
At this point I cut some left over batting material to fit
the sail panels (�C� pillar) and glued it in place. I don�t know if any padding was in this area originally but
I thought it was a decent addition.
Going back to the autorestorer.com document I next glued the headliner sides to the roof rails. The technique is simple enough: pull down on the headliner while using the tucking tool to tuck the headliner into the rail. I found you could only advance the tucker about two inches at a time to keep the wrinkles from showing up but it went pretty fast. You have to pull the headliner down and tuck it up at the same time, keeping tension on the headliner all the while. It�s easy to pull the headliner back out of the rail and reglue/tuck if needed. In fact be prepared to do this perhaps a couple times, working back and forth on the left and right sides of the car to get it looking right. When I finished with the roof rails I stopped for the night � it was getting late. The next day I wasn�t happy with how the headliner had �settled in� so I pulled out both sides again and retucked it.
You can overdo the glue easily when brushing it into the roof rail, when it drips down it�s a bit nasty but cleans up fairly easily. As Richard Burgess mentions, be sure to only paint the glue into the tuck groove itself otherwise the headliner may become attached somewhere you don�t want it.
At this point you have the sides glued along the tops of
the side windows. In order to glue
the headliner to the back vertical edge of the rear door frame (on the �C�
pillar) you�ll have to cut the headliner at about a 45 degree angle pointing
towards the corner where the top of the side window frame meets the pillar.
This is another tidbit not mentioned anywhere else�maybe it�s obvious
but I�m a novice.
It was a bit tricky working on the front of the �C�
pillar and getting all the wrinkles out of the sail panel portion.
I went back and forth a couple times working with the front of the �C�
pillar, then at the back along the edge of the rear window and
reapplying/tucking the headliner. It�s
an odd shape and curve to work around - it just takes some patience.
Once I had the sail panels finished I finally started to breath again. I did work a bit more with the tops of the front and rear windows to smooth out a few wrinkles but overall I was pleased.
(Click on any small image to view a larger image.)
|
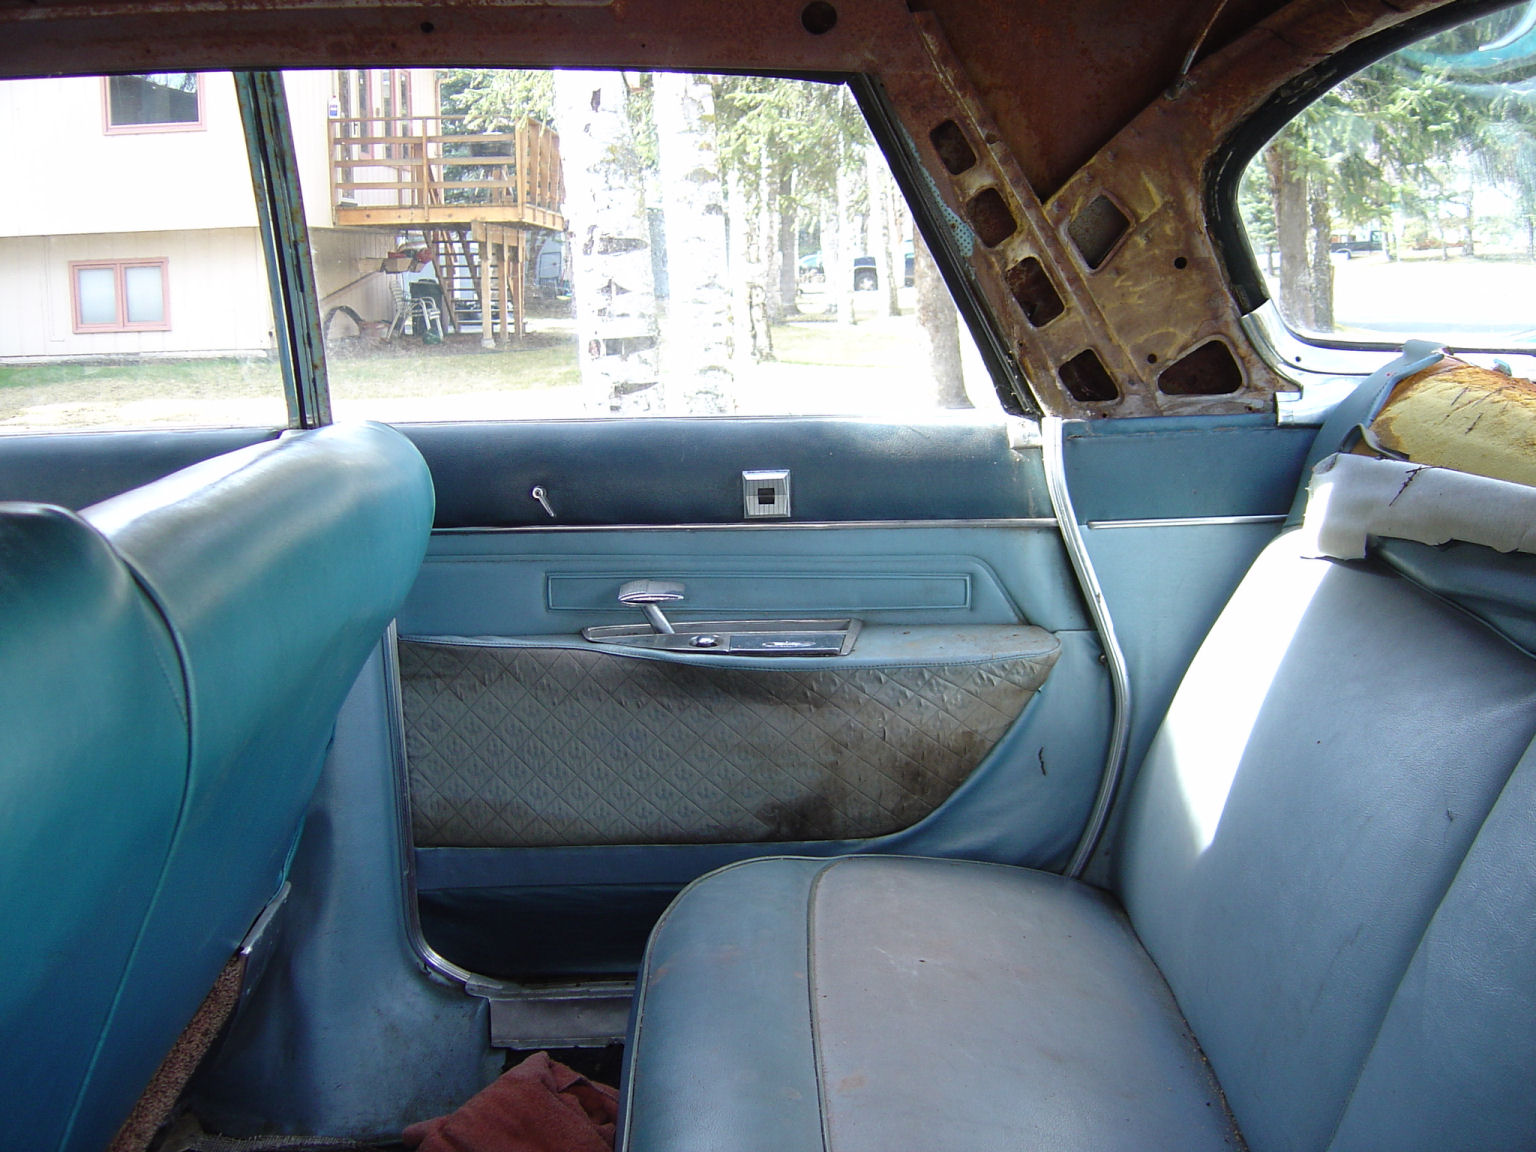
C pillar after installation |
Post installation pictures |
Headliner after installation |
Now it�s time to reinstall all the chrome bits.
Locating all the screw holes can be a tedious task, at one point I had to
detach the headliner sides where the coat hanger hooks go to find the attaching
screw hole. Another option might be to install the screws without the
accessories prior to headliner installation.
You can then find the screw heads easily and carefully slit the headliner
at their locations and back out the screws through the headliner for final
installation. I didn�t test this
but it sounds feasible.
Reinstall the roof moldings and the dome light switch and
you�re all set.
There will likely be a few faint wrinkles left over from the headliner being folded during shipment. These will work themselves out over time. You can also use a heat gun (carefully to avoid burning or melting your new headliner) to smooth out wrinkles. An upholstery guy I talked to about this some months later said using steam to smooth out wrinkles is better, there is much less chance for heat damage.
Headliner removal |
Further Examples:
These photos are from Richard Burgess when he installed a new headliner in his 1960 Imperial LeCrown |
Headliner removal |
 |
 |
 |