By Jim Gathmann
In honor of both the Chrysler Imperial, and the Dodge Dynasty, I have embarked on the quest to build the "ultimate" Dynasty/Imperial.
Basically I will be taking a 1992 Dodge Dynasty, restoring it, and then hot roding it. The engine will consist of a 3.3L V6- the same engine used in the early Imperial (and the engined used as a model in making the 3.8L V6 used in all post-1990 Imperials).
The project will consist of several parts. The first part will be complete restoration. Any body problems, mechanics, etc. will be fixed. The second part will be the performance sector. I want this car to scream when I press on the gas- enough so that it will get the attention it deserves. The third part will be the body work. This is when I plan on making the car appear to be a cross between a Dynasty and an Imperial. Basically the car will be 1990 Imperial from the front bumper to the front doors. From the rear doors back, the car will be Dynasty. I will not be putting on the vinyl roof, but only because I don't like them (and it may not hold up as this is my daily driver).
The end product will be a car which has the comfort and style of the traditional Imperials, with the performance level of the toughest Mopars since the RWD big blocks.
Here's a run down of the project with pictures.
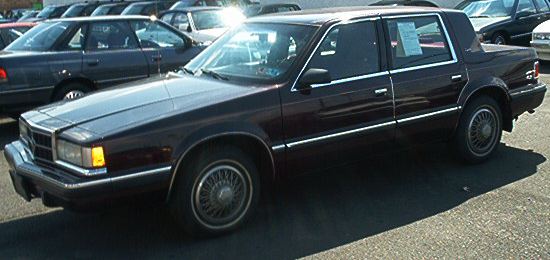
First I had to find the car to start with. I located a used 1992 Dynasty with the 3.3 V6 for under $3,000 (US). The car was near mint, mostly due to great care and its home location of New York City, where road salt usage is minor. The car pictures above is a similar model, though not the one I had gotten. My car was in such good shape that it even had the original factory stickers on parts of the car (and I got the car in 2002- after 122,000 miles and ten years!).
The car needed minor work, and basically just needed cleaning. A new set of tires and some weeks of removing pine needless and sap, I was ready to begin.
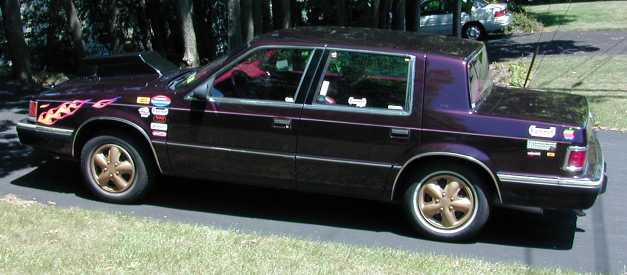
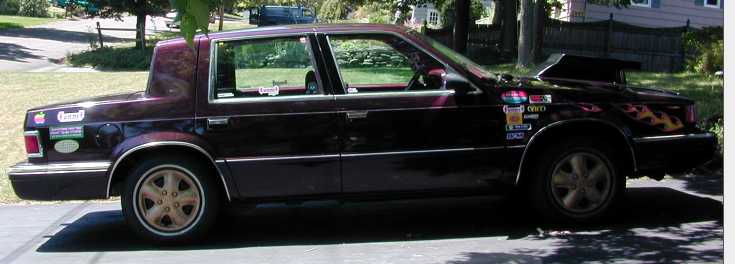
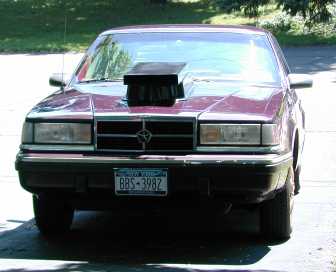
I wanted to start with the body work. I figured getting that done first would allow me to focus more on the mechanics of the vehicle. I went out and got a decent set of hub caps, and decals with logos of the companies whose products I have or plan on getting for use on the car. Then I went out and had some custom flame decals made for the front fenders, and I was able to use an old ex-NHRA pro-stock hood scoop which I had left over from an earlier project.
I then set out to start getting ready for the performance modifications. In the end I plan on sticking in a supercharger, then after that (depending on how that goes) a large turbo for each block of three cylinders. But before I can jump into that, I need to be able to monitor my engine with some decent gauges.
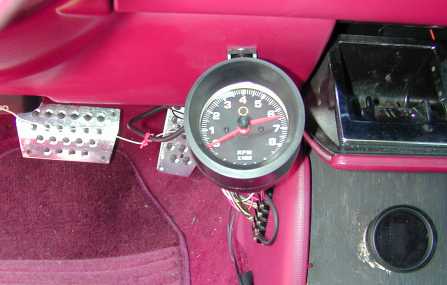
These cars (with possibly the exception of the Digital dashes) lacked a tach, and many other gauges which would be required when putting the 3.3/3.8 under boost. I throw in a tach, boost gauge, coolant temp, oil pressure, and amp meter, and an A/F gauge in, and in time I will add an EGT and a digital-programmable coolant temp gauge (which can be used to trigger circuits depending on coolant temp).
With my tach positioned near the steering wheel, I put in a A/F, boost, water temp, oil pressure, and voltmeter into the car. The A/F in the mini console was later relocated to an A-pillar gauge pod, and the wood placed in the mini console was replaced by steel so that future gauges can go in there. The wires shown by the tach have been cleaned up, and there is a mini gauge cluster on the other side of the steering wheel by the headlight switch.

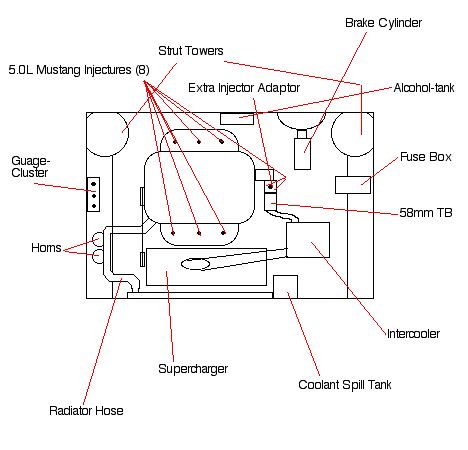
Here is a basic layout of my envisioned setup. The finished product will have an under the hood supercharger, with the air filter in the hood scoop. The car will use a 58 or 60mm throttle body, a mid 90's 3.3L manifold, water/alcohol injection, two extra injectors with a separate fuel injector computer, 5.0L Mustang injectors, and much more.Now I found the stock engine bay to be quite full, so I had to change allot to get the room for all this.
I relocated the battery to the trunk, relocated the coolant overflow tank to the battery tray, eliminated the airbox, and will soon relocate the upper radiator hose so that I will have room for my gear-driven supercharger. Here are the pictures of my "in progress" operation.
Here is my battery in the trunk, along with my spare battery, 7176 tranny fluid, and other "must have" items that I keep in this car- after all, this is my daily driver!
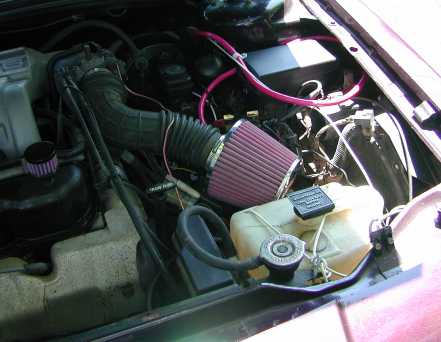
Here is my temporary air filter, and overflow tank setup. The stock airbox was about where the air filter was, and the overflow tank is where the battery sat. Notice the through switch for the battery's power by the fuse box.
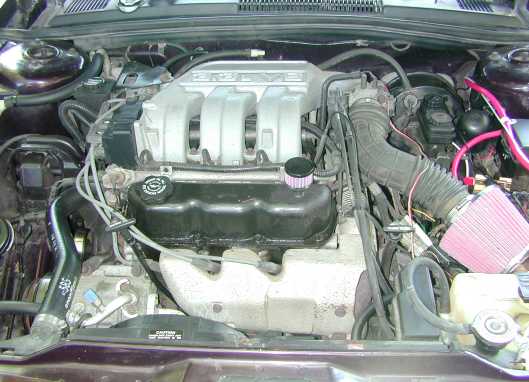
Here it is for now. Hopefully I can do some more soon!