
Imperial Home Page -> Repair -> Body & Paint -> Paint & Body 101 -> Part 10
Final block and first color
Feb 17-20
Monday was a holiday and my long suffering wife was off so I did not get to go out and play. Poor me :) Tuesday, I blocked the whole car with 400 grit. I had a couple small spots that needed more primer so I sprayed that so it would sit for a day or so before sanding. Interesting enough this was a new can of primer. Same brand and everything but for some reason, this batch sanded MUCH easier???
Had a few personal issues that kept me tied up most of the day Wednesday and Thursday morning which really cut into my work.
Wednesday I finished the 400 grit and discovered holding the sandpaper in my hand had worn a hole in my fingers. Now I can say I gave blood for this car! While at WalMart this morning, I picked up a bottle of liquid skin. Neat stuff and made the sore spot on the finger bareable.
When I got back about 10, I started wet sanding the car with 600 grit.
I don't have any photos of the process because I was wet and did not want to get
my camera wet. I used warm water with JOY dishwashing detergent in
it. Not a lot. Joy makes the process work better by lubricating the
paper. I did this in my lift room and the water really makes a mess but it
was too cold to go outside with it so I just had to get with it. 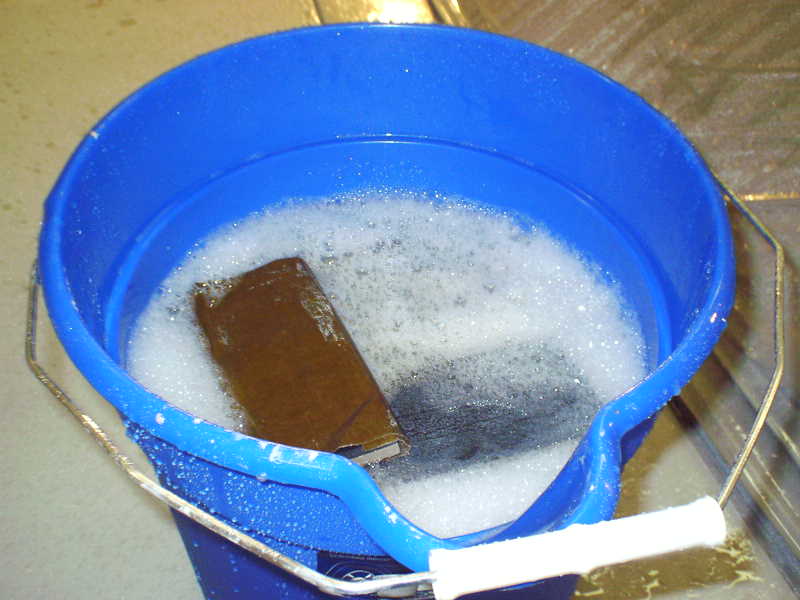 It did not take long to wet sand the whole car. It is very easy to tell
when the 600 grit is working as the drag changes. I was careful on the edges but
still got a few that I'll touch up the primer with my airbrush and be SUPER
careful next time. After it was wet sanded all over, I pulled the old
plastic and tape off it and drove it outside for the final washdown with lots of
clean water. Some time back I learned about TING, a slight acid paste that
both cleans and etches the primer. It really helps to prevent
fisheyes. It looks like paste wax and you can apply it with a gray
scotchbrite pad and wash off with plenty of water.
It did not take long to wet sand the whole car. It is very easy to tell
when the 600 grit is working as the drag changes. I was careful on the edges but
still got a few that I'll touch up the primer with my airbrush and be SUPER
careful next time. After it was wet sanded all over, I pulled the old
plastic and tape off it and drove it outside for the final washdown with lots of
clean water. Some time back I learned about TING, a slight acid paste that
both cleans and etches the primer. It really helps to prevent
fisheyes. It looks like paste wax and you can apply it with a gray
scotchbrite pad and wash off with plenty of water. 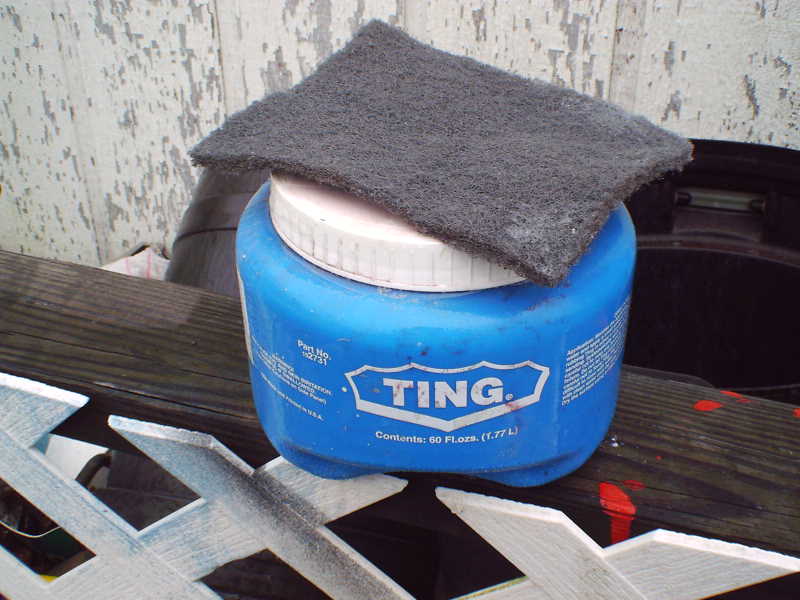
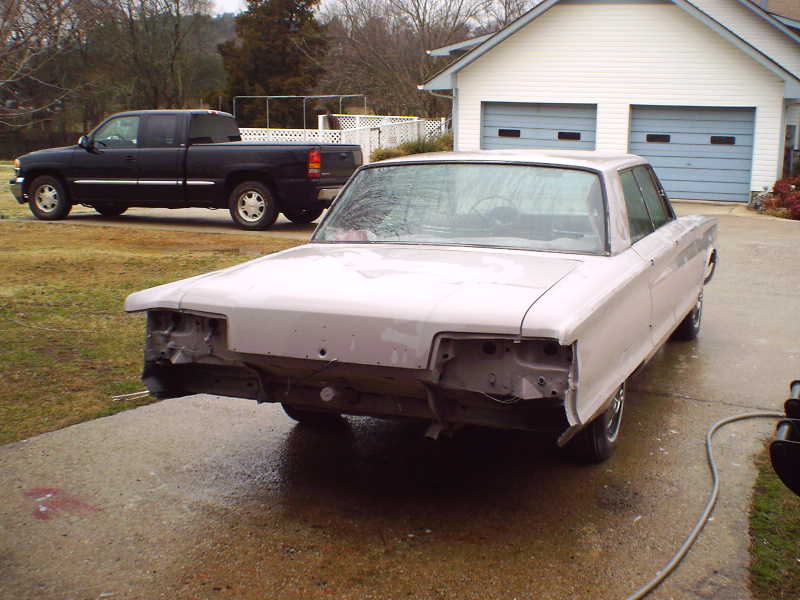
 Here it is at last. ALMOST ready for paint. Just needs to dry and
mask. Randy recommends drying with blue paper shop towels instead of
regular household towls or chamois. He believes they can contaminate the
paint and cause fisheyes. My plan is to spray base and clear on the
top. This will really help from a fatigue standpoint when we do the rest
of the car Saturday
Here it is at last. ALMOST ready for paint. Just needs to dry and
mask. Randy recommends drying with blue paper shop towels instead of
regular household towls or chamois. He believes they can contaminate the
paint and cause fisheyes. My plan is to spray base and clear on the
top. This will really help from a fatigue standpoint when we do the rest
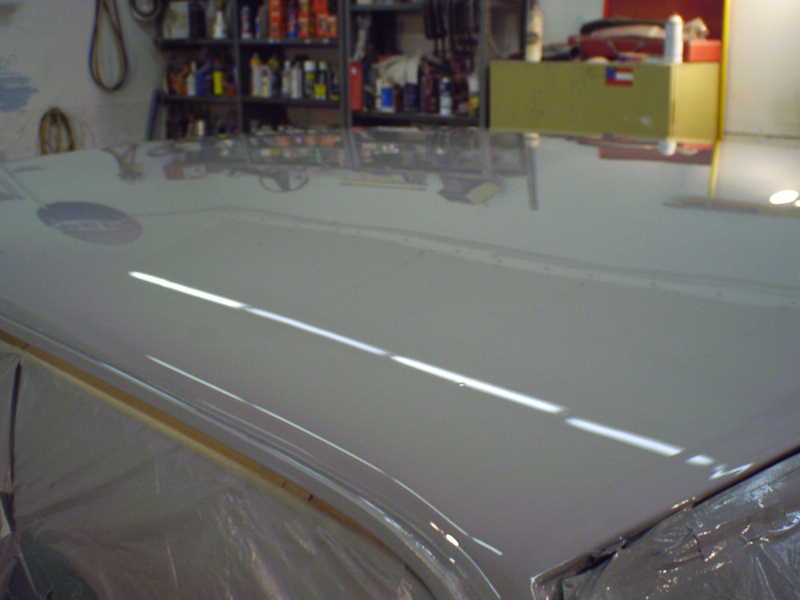
of the car Saturday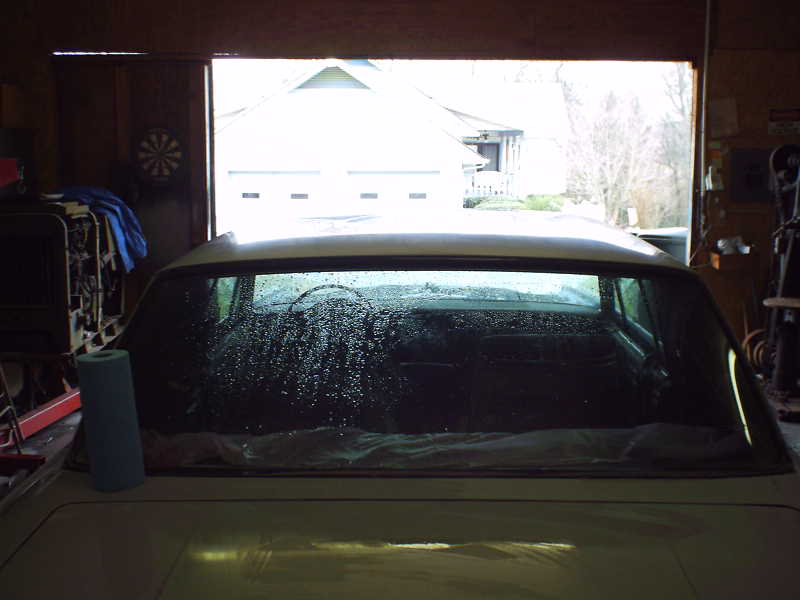 With the car sanded to 600 grit and clean I can see how straight the car
really. I'm very impressed. This old girl is STRAIGHT!!
With the car sanded to 600 grit and clean I can see how straight the car
really. I'm very impressed. This old girl is STRAIGHT!!
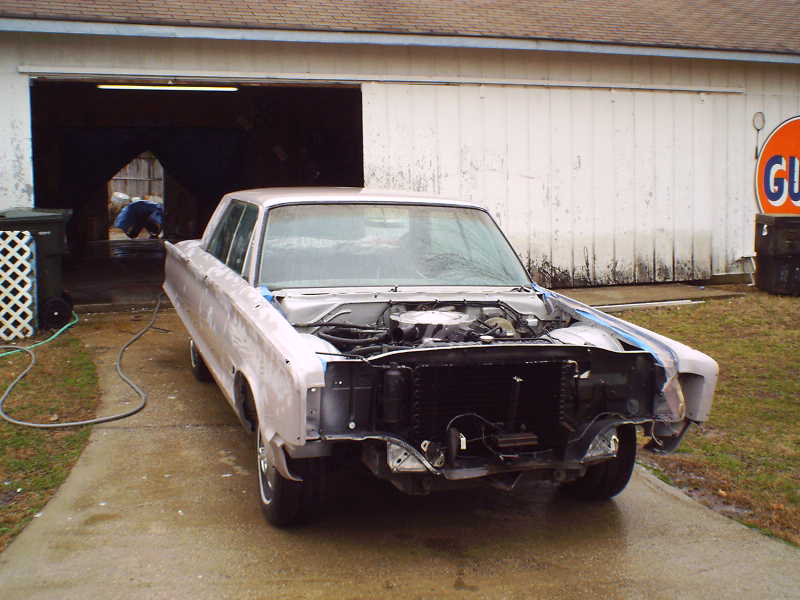
Since I was only going to paint the top, I draped the rest of the car with
plastic and masked off the windows.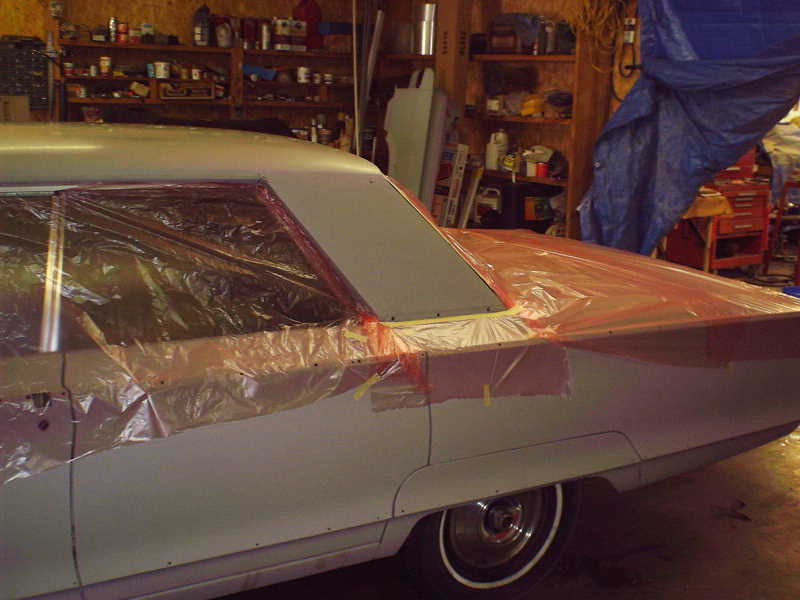
 Before spraying, I wiped the top down twice with a TACK cloth.
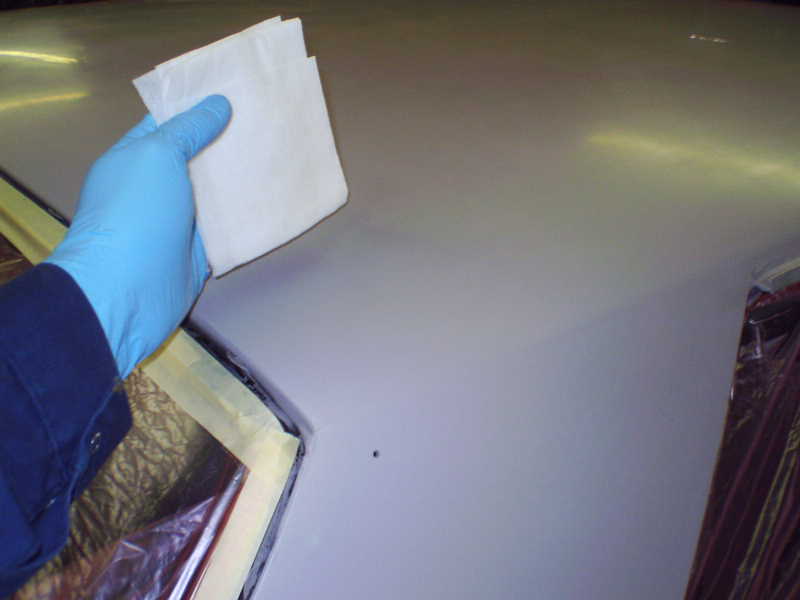 Who is this gas masked man??
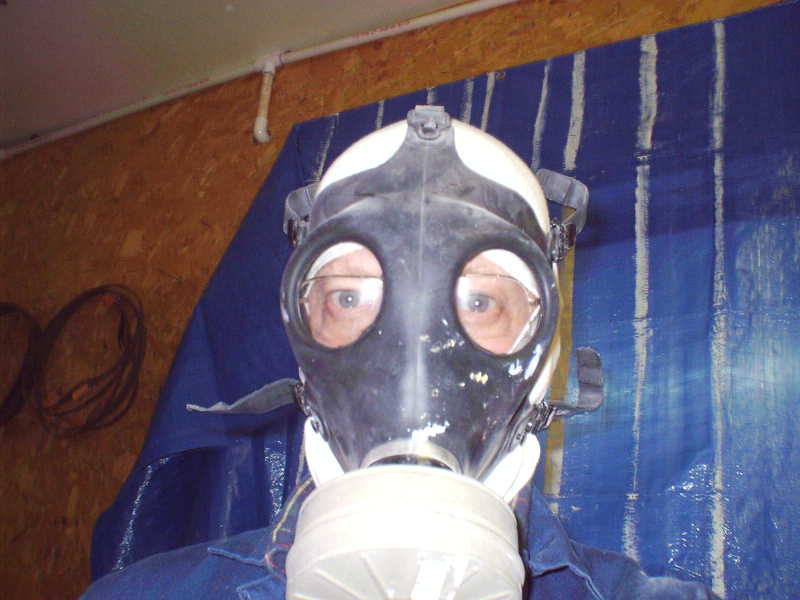
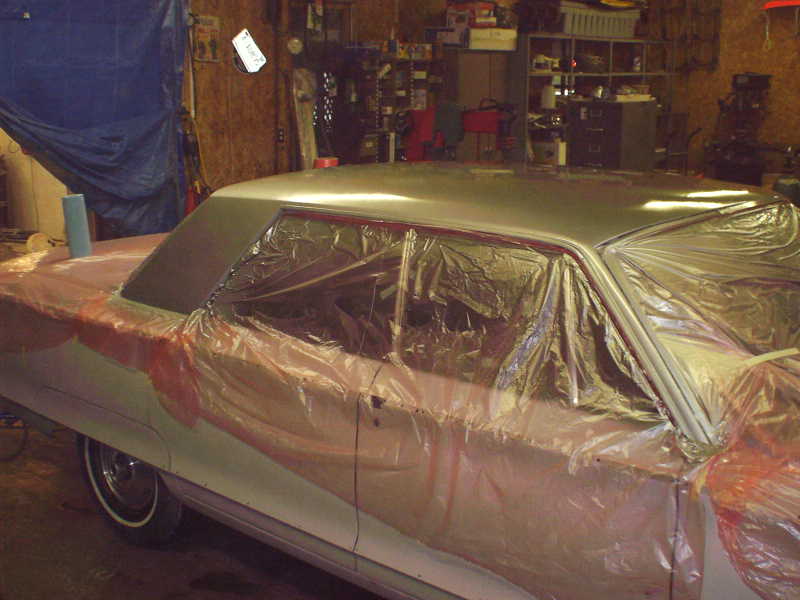
I forgot to take photos of the base coat. I'll get some Saturday while
we're doing the rest of the car. I am VERY PUMPED about how this came
out. The top is smooth and slick. Notice how straight the
reflections are? That means there panel is straight! 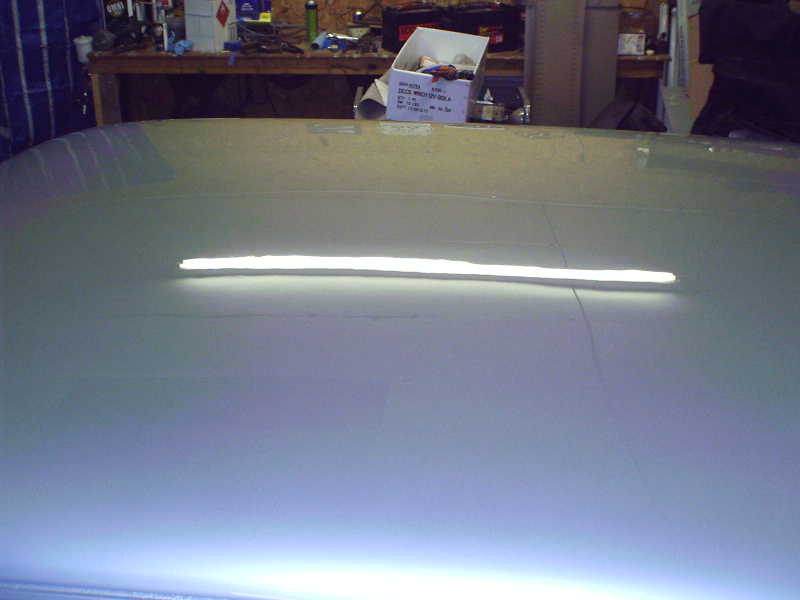
 I did have some problems and this was a good way to learn before I did the rest
of the car.
I did have some problems and this was a good way to learn before I did the rest
of the car. 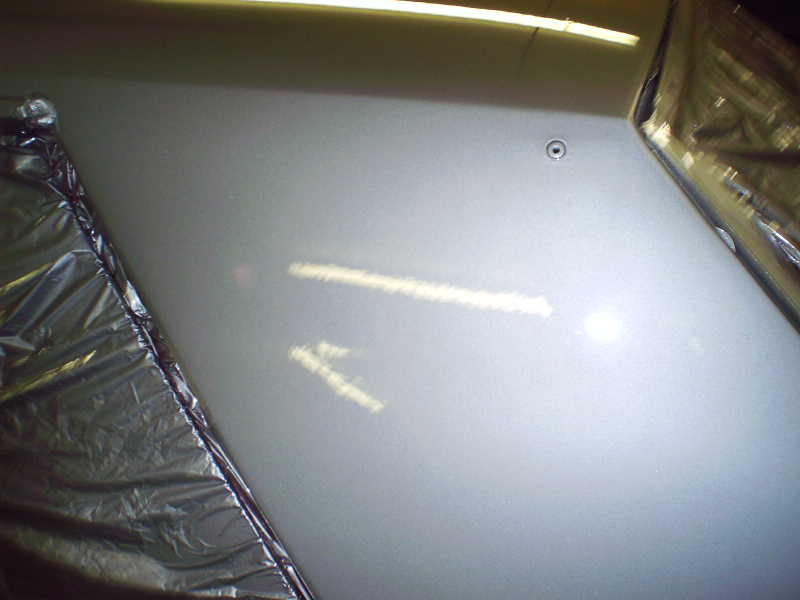 On
the C pillar, I have some runs. See the lower reflection? The jagged
top is a run. This is a VERY simple problem to fix. Especially with
Base/Clear. I'll show the process later.
On
the C pillar, I have some runs. See the lower reflection? The jagged
top is a run. This is a VERY simple problem to fix. Especially with
Base/Clear. I'll show the process later.
Getting closer and I can tell how good this color is going to look on the car! Added up the total hours of primer and blocking and was surprised it was ONLY 57. I understand why pro paint jobs are 5 grand now. I've never put this much work in a paint job before but the result will be worth it.
Some more wisdom from Dr. Randy follows regarding painting.
Hi Kerry,Better get in shape!! That's nothing compared to what your facing when you get ready to paint. You'll be shooting about 7-8 coats, so just think your whupped!!I have to be imaginative and think things through before I start in order to reach everything and keep it wet enough to flow nicely. Remember when I painted the '50 Caddy? I painted the roof separate for a reason!! I couldn't have painted the roof and sides at the same time, without getting into wet paint on the sides. Fortunately, on that car, there is a belt molding that runs around the car, and that's where I made the break. I had to let the air out of the tires and stack two 2x12 planks one on top of the other on each side of the car to reach the middle. When I paint vans, I have to shoot the roof seperate too. The same applies to extended cab pick-ups. It's a real challenge, believe me, but my love for painting overrides the difficulty.I spray the top, deck and hood from side to side, and of course you have to do some "banding". In other words, the front and rear edges of those panels need to be painted, going with the flow of the body lines.When spraying base coat I start out with the roof, say on the driver side, at the belt line of the sail panel and where the A-pillar meets the cowl. I will get those sprayed up to the roof line and spray any exposed areas of the widow openings and drip rail. I will then spray the windshield and backlight edges, then continue across the roof and down the other side until I reach the belt line. I then go the lower rear edge of the quarter panel and start with the bottom edges, including the wheel opening flanges and rockers, working the entire length of the car. Then begin working upward, still walking the length of the car up to the belt line. Now get the front and rear edges of the hood and work your way across it. Now work down the other side of the car, at the belt line and when you get to the end of quarter panel, go ahead and shoot the decklid. The go back to the quarter and work from top to bottom, doing the lower edges last. Repeat the process until full coverage is achieved. There are many ways to go about it, but this is the routine I've grown accustomed to.I spray clear a little differently, but not much. When spraying the clear, I get all the 'hard to get to' areas out of way first. This will cut down on runs too!! I then do the roof first, just like I do with the clear, but now, instead of starting at the lower corner of the quarter, I start at the back of the door, leaving the quarter panel for last. Starting at the lower rear corner of the rocker, work clear to the front wheel opening, so your shooting the entire rocker. Keep spraying end to end, from wheel opening to wheel opening (yes I know, part of that is on the quarter, no biggie) working your way up the side of the car and across the hood. Continue down the side of the car, walking the length of it, working from top to bottom, when you reach the bottom of the rockers, do the decklid and quarter on the starting side, blending slightly onto the door. By doing it in this pattern, you should end up with the oly dry spray area being on the door where the overlap is. I've found, that if I shoot the roof, hood and decklid first, then go back to shoot the sides, that I get considerable more dry spray , resulting in orange peel, on the hood and roof, which is much more noticeable that if it's on the side, and since you are probably buffing anyway, it will cut down on sanding the texture out. You should only have the one door with slightly more texture than the rest of the car. You achieve smoother results too by walking the entire length of the car and you greatly reduce the chance of runs due to overlapping at panel edges.The only tips I can give is don't kick up any dust the day you intend to paint. Allow plenty of time for dust to settle before beginning the painting process. Have the car all masked off, final wash done, blown off and tacked twice the day or two before. When you're ready to spray, tack it off twice more, making sure to tack off the masking paper too. (BTW, the green paper is cheap, but isn't good for topcoats, use it when spraying clear, but spend a little extra for the good coated paper when topcoating) I've not found a great deal of difference of whether I have the floor damp or not. I usually wash down the floor, walls and ceiling (best I can) the day before, but quit wetting the floor as I'm spraying. Most dirt particles that get in the paint is in the air, not on the floor. Good air movement is a must, not just while spraying, but long after, as well. Todays paints like air movement during the drying process. a couple of box fans set up along each side of the car is nice after the final coat of clear has skinned over good and is no longer tacky. This will allow the evaporating solvents to be whisk away, resulting in a better finish.I honestly don't see that HVLP helps at all with kicking up dust. I move more air actually with HVLP guns that I ever did with conventional. I spray in a constant fog. I shoot base coat at about 30psi and clear at about 35-38psi at the gun, not at the tip. I keep within 6" of the panel and move pretty quick. I also overlap the spray pattern by about 75%, instead of 50%. We all spray different, that's for sure.When sanding, I just get on the floor with it. I usually lay down some cardboard or a creeper. You've got a lift, so use it!!I work alone 99.9% of the time. I've learned to adapt to what I have to work with, and just go with it.OK, FISHEYES!!! I just got into a bad case of them yesterday evening, at about 4:00. I had plans to to take my wife out last night for dinner and a movie and this job had to be finished before I left, so it could be put together and ready to go on Monday. I was planning to blend the base, so I applied a wet coat of color blender, which is a clear base coat, basically. Anyway, as soon as I started spraying that I knew I had problems. Now, I told you the other day, that I've learned to work around this right? What I did was allow the color blender to flash for about 2 minutes, then I sprayed two dry coats over the entire area to be painted. I allowed that to flash for about 5 minutes, laid down the first coat of color, not dry, but not really wet either. I could see that the problem was pretty well taken care of by this point, so I continued, with the same type of coats, allowing the flash time between coats until I was satisfied with the blend. The base coat went on good. I thought I might have trouble with the clear, where there was no base, and just as I suspected, FISHEYES!!!! Lots of 'em. but only where there wasn't any base coat, which was a pretty small area. Now for the fix!! I allow the clear to flash off to the point it no longer strings before applying the next coat. (I always do this) but particularly for this. Then I spray a medium wet coat over the problem area, allow it to flash, and repeat if necessary. Normally once will do. Then, after that has flashed off good, I will apply the second, full wet coat over the entire area again as I normally would. The fisheyes have disappeared for the most part and what tiny bit of a divot that may be left, can easily be removed with just a light sanding with 2000 grit and buffed. This may not be a highly recommended fix, but I've been doing it for years and have yet to have one come back on me. I rarely have a fisheye problem, but once in a great while they'll pop up. I don't allow any silicon sprays, Armor all, and such products into my shop. They only cause problems. When I know I'm going to have a problem, such as spraying the primer and it fisheyes, and nothing else has cut whatever is on the vehicle causing them, I'll wash thoroughly with Westley's Bleech Wite. It works every time. The bottle says not to spray directly to painted surfaces, but I've never had any problems with it. It works great to remove bugs from those plastic bumper covers before repair and painting too!!
Bottom line is this. I never use fisheye eliminator. Don't even have any and didn't know it was even available for urethane products. I had been told it was not several years ago. The reason they say you have to keep using it once you start is because it contaminates the paint in reality, which is why I won't use. I would definitely see what happens without using it. It sounds like you've found the source of the problem. Diesel smoke is a killer too. I hate when we have those in the shop.
Hi Kerry,The way you have worded it is what I meant to say. When I said work from one side to the other, that was assuming we were on the same page in thinking a front to back pattern. What I've seen a lot of guys do is start at the middle of the hood, roof and decklid and work toward them, then move to the other side and repeat the process. This leaves a dryspray/overspray patch on half of the panel, which "could" result in a noticeable change in texture and color. Remember that even though the clear will be buffed, the texture of the base is always visible. I've seen several B/C paint jobs that look pretty good from a distance, but upon closer inspection, the base coat is rough and grainy looking. One such case was at a DuPont booth a couple years back. The car looked great from ten feet away, but a close look at the paint job proved a very poor quality base coat application.If you have the option of doing the roof separately, by all means, go for it. It will make your job much easier and actually better, because you will have less over spray to contend with. I need to take a good look at the car, I haven't done that yet.You shouldn't have a problem masking the next day. It may leave a slight tape mark, but nothing that won't buff out. Mask so that you have as little tape contact with the freshly painted surface as possible.Have you sprayed silver before?? It has a tendency to want to mottle (blotchiness) If you want tips on avoiding this, let me know. Also, if you get in a jamb while painting I'm around most week-ends and evenings
Hi Kerry,Mottling is a common occurence with metallic colors. There can be several causes for it, and seemingly, just as many cures. The most common cause is the guy behind the gun, but fortunately, with a little knowledge of what the problem is, he can cure it by his own adjustments. In most cases, it's due to spraying the product too heavy or an improper solvent selection. I've never worried about mottling in the first coat or two of color, as chances are there will be at least three coats of color applied anyway. Light blues and silvers are among some of the worse to mottle, but any metallic or pearl is prone to do so. I don't like to recommend spraying dry coats to avoid this problem, as a loss of adhesion is then promoted. Spray two coats just as you would a solid color, but monitor the outcome very closely. If it doesn't mottle, great, but if it does, not to worry, you can rebound pretty easily in most cases. Again, over-wetting is usually the problem. This can be due to several things though, so pinpointing the cause is up to the guy with the gun in hand. Improper spray technique covers a wide range of causes, including overlap, distance from surface, uneven spray pattern, gun setup/improper equipment (which I'll touch on later) and flash time between coats, just to name a few. All of these can be corrected by the painter. Low shop temperature and solvent selection come into play also, so don't rule those out. Solvents should be selected to match shop conditions. If the product is drying too slowly and you think that is the cause, go with a faster solvent. You can also 'cocktail' your solvents so don't limit yourself to just what's available across the counter. Sometimes, a mixture of mid temp and fast solvents, for example, is just right for your shop conditions, whereas off the shelf thinners may be too fast or too slow. Don't be afraid to experiment a little if the need arises.
Now let's say the solvent selection is right on the money, but you are still fighting the dreaded mottling. Is the paint gun spraying an even pattern? This can be checked by holding the gun at the distance you are spraying the vehicle at and spraying a spot on a piece of masking paper, taped to the shop wall. Just a quick trigger pull is all that's needed. There should be a nice uniform pattern on the paper. If it's heavy to one end, then the gun has problems, and should be taken apart and cleaned thoroughly. If that doesn't cure it, check the vent hole and any fittings on the gun that may not be sealing properly. An uneven spray pattern can cause severe mottling and what we like to refer to as 'tigerstriping'.
Spraying at too low of air pressure can also cause mottling, so a slight increase in pressure could be all that's needed.
Improper overlap can cause streaking and 'tigerstriping', as well as just plain old mottling. I like to overlap by quite a bit more than what is recommended, but I also have to move faster to make up for it. I feel that I achieve greater uniformity by painting this way. This can get you into trouble though, as the product definately stays wetter by increasing the overlap. Again, I don't usually worry about it in the first coat or two.
Spraying too close the the surface also increases the risk of over-wetting, and, I'm guilty of this too. I like to spray close, especially with HVLP equipment.Proper flash time between coats is very important. Allow the base coat to dry to a semi gloss to flat finish before applying additional coats. In the case of an overall job, you can normally just keep on spraying, without waiting, like you would for spot/panel repairs.
I think this has covered most of the more common causes of mottling. There are more, but they are in some way related to what we've covered already.Let's assume now that we've achieved hiding (full coverage) and we have a mottled condition to deal with. Hopefully, we've done everything possible to cure the problem to this point, but it just hasn't gone away. What we can do is increase the distance from the surface just a little and spray a drop coat (some call it a mist coat). We are now just applying a light, even coat to the entire surface of the vehicle to achieve proper orientation of the metallic or pearl flakes. Don't get too far from the panel, or it will cause bad overspray problems and leave you with a grainy texture. I usually do this in very quick strokes with 75% or more overlap. In this case, instead of walking the length of the vehicle for each pass, I'll shoot an area that is comfortable for my reach, maintaining the horizontal spray pattern, I'll start along the beltline and work down to the rockers. Once I've gotten that area, which bear in mind, only takes a few seconds, I move down about 18" and repeat the process. This allows me to keep the panel somewhat wet, but still get eliminate the mottling. I only use this method on the sides. On the roof, hood and decklid, move quickly, with lots of overlap, but work the panel from end to end. This should eliminate the mottling. I've seen several experienced painters struggle with this, so don't feel bad if you have trouble getting the hang of it right off. The main thing is, if you have big problems with it, don't apply the clear. Clearing it won't make it go away, but rather only waste time and materials. Worse case, you can wet sand the base with 1000-1200 grit and apply two light coats of base and probably be fine. This makes for a really slick job anyway.Something else I may also add, while we're on the subject of sanding base coat, is that you can wet sand minor imperfections out of the base with 1000-1200 grit paper, tack and apply 1-2 additional coats to the problem area before applying the clear. I always like to make sure the base looks really good before application of the clear coat. Urethane base coat is very forgiving stuff and any problem spots can be cured before you apply the clear.Now, I said I would touch on spray gun/equipment setups later. Well, it's later! I'm not a big advocate of HVLP equipment, especially for the home hobbiest. Most guys aren't set up for it, and it's hard to go from knowing how to use conventional equipment and make a smooth transition. HVLP guns take a huge volume of air. I tried using one of my HVLP guns in my shop here at home and the results were far from satisfactory. I have enough volume of air, but wasn't able to deliver it to the gun, as I only had the 1/4" fittings on my hoses. I've found it takes the 3/8" hose fittings to make these guns spray properly. Mottling is one of the biggest issues I faced when I first made the switch to HVLP guns (which I would not have done, had I not been forced to) I found that the main problem was that I was not getting a sufficient amount of air to the gun and the recommended pressure just wasn't getting it, so keep that in mind if nothing else seems to work. No matter what type of gun is being used, the proper setup is vital to achieve excellent results. Clean, dry air is a must for a good job also. I would recommend the use of a good filtering system with the addition of a desiccant drier. It's also a good idea to have a designated hose for painting only. This will insure that you're not getting cross contamination from other air tools. Keeping the compressor tank drained will cut down on moisture problems and also maintain maximum air volume.
If you will use a good sealer, the light spots will not give you a problem. It's 'best' not to have them, but you can get by with it. Glad to hear it's working well for you.Randy
Randy, technique question. I realize that the 220 will eventually take all the primer down. However, the 320 and even the 600 will also remove the primer. Knowing this, should I take EVERYTHING out (guide coat wise) with 220 before I switch to 320 or is it OK to leave what you are confident will come out with the 320 etc. I think the answer is yes but its always best to ask the master.
Hi Kerry,As I mentioned in an earlier message, I like to remove ALL traces of the guide coat before progressing to the next level. Your thinking is right, in that the 320 and even the 600 WILL remove additional product, BUT, what I've observed in my own experience is that more often than not, finer paper will remove the guide coat, but not necessarily always remove slight imperfections. My belief is that you will get better results by sanding with coarser paper until all the guide coat is gone. Don't ask me why this is, but it just seems to be the case. I THINK, possibly the finer grits load up and tend to follow the highs and lows, whereas the coarser (220) paper sheds the sanded material better and rides only on the high spots. This is especially true with wet sanding, as the water tends to create a vacuum and sucks the paper right up against the surface. I like to be positive that the panels are as straight as I can get them before proceeding to the wet sanding operations. A guide coat applied after final blocking with the 220 will allow you to monitor your progress without eye strain. Chances are you will not have any low spots to contend with, but you will be able to see that you have no deep sand scratches left.
Randy's information is priceless and we are lucky to have it written down.
This page was last updated October 1, 2003. Send us your feedback, and come join the Imperial Mailing List - Online Car Club
