
Imperial Home Page -> Repair -> Body & Paint -> Paint & Body 101 -> Part 14
Final detail and reassembly
Rest of March, 2003
Been a while since the last post but not much new has been going on. In addition, my Uncle who had traveled with me to pick up several of my cars passed away suddenly and we also took vacation. Funeral was bad, vacation was good in spite of allergies. Claritin rocks!
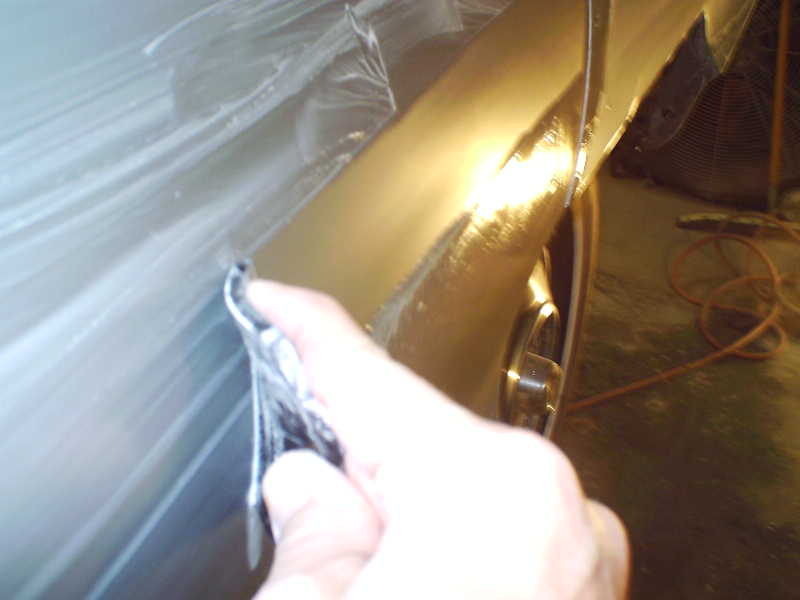
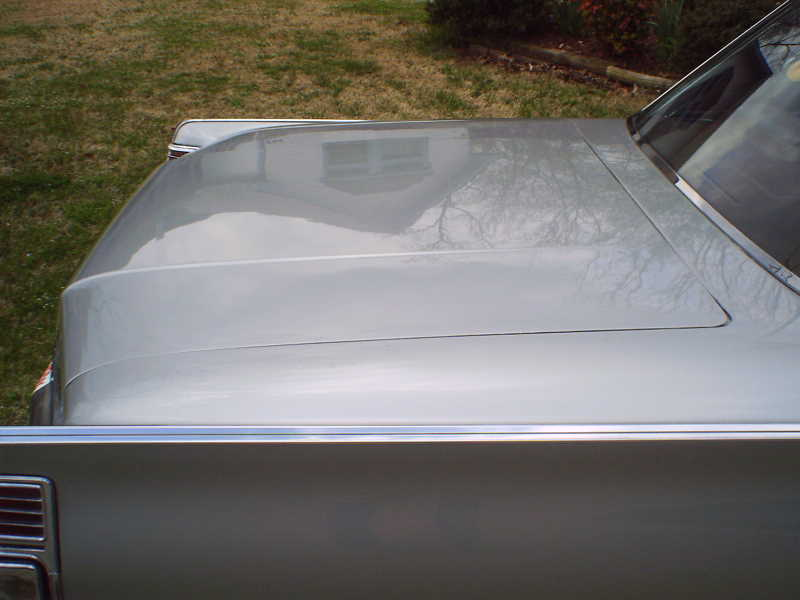
One final note on wet sanding per Randy's suggestions. The following photos are the 3M squeege that Randy mentions. It works really well at clearing out the sanding mud and showing the result without having to wipe down the whole panel. If you still see orange peel, you need to sand some more.

The buffing process is not much to show. I use 3M Perfectit products and an air buffer. It is simply a matter of following the instructions and staying with it. The if the refection shows orange peel or haze, go back and sand some more or buff some more.. Be careful not to sand through any edges or character lines.
I also had some problems I had to deal with. I got in a hurry dealing with some drips and tried to scrape them before they were completely hard and they lifted off the primer. This caused me to respray the right fender top, TWICE! Patience is a virtue! I also did not completely drape the car while I resprayed the fender and got some overspray on the roof and decklid which caused me to have to rebuff it. Bummer!
The final goof was because I lifted the car while the drivers door was open and the lift post cut the paint *&^^%^$#@))( . I touched it up but it's pretty visible and I suppose one day I'll respray the door between the upper and lower trim.
Final assembly
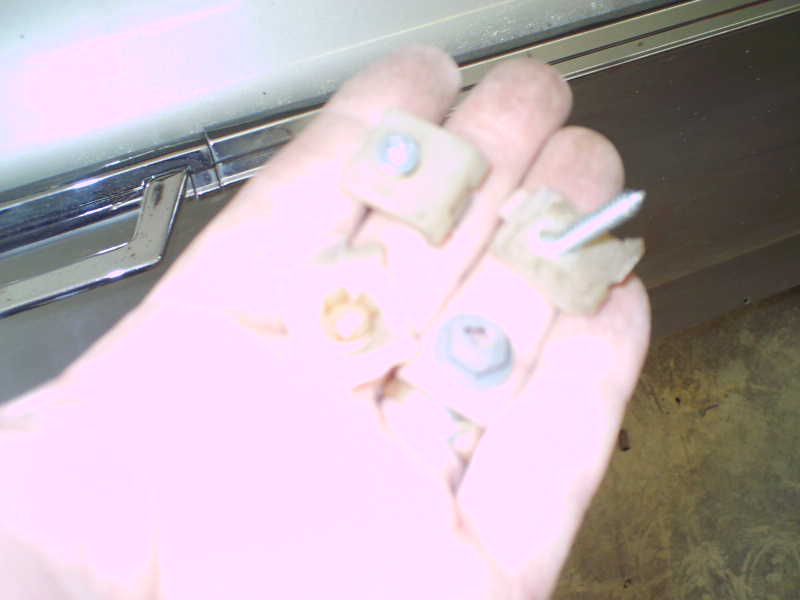
As I mentioned early on, many of the trim clips self destructed upon removal. Partly because I did not realize how to remove them and partly due to being 40 years old. The large trim clips are not available as far as I can tell. Or at least I could not find them What I ended up doing was making a bunch of clips out of various things. For instance, using the clips that broke, I put a screw in it and a speed nut on the back. I did this where I could reach them and used my surviving clips where I could not reach.
 Last week was crunch week and there did not appear to be any way I could get the
car finished before Anniston. My good friend Robert Soule came to the
rescue and we managed to install all the trim in two days! LOTS of trim on
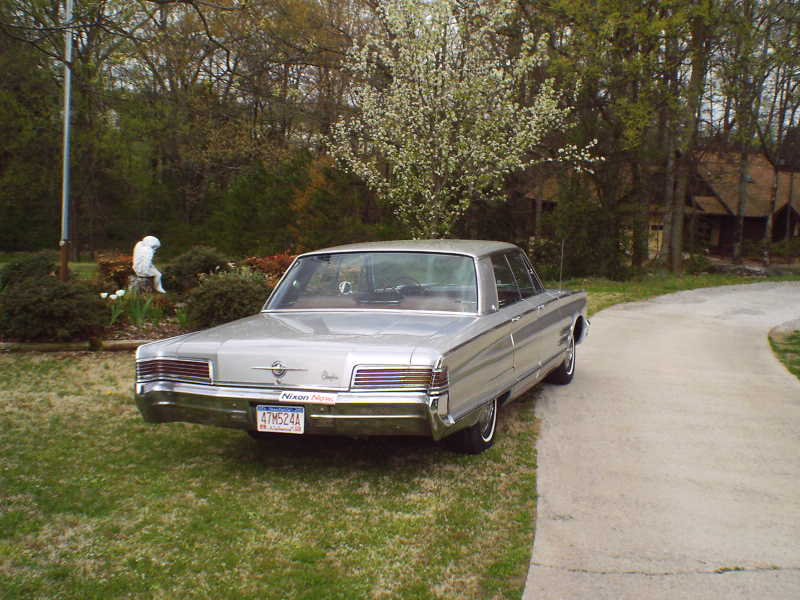
a 66 300. In retrospect, I regret taking off the lower C pillar trim shown
in this photo. You have to remove the back seat, package tray, trim and C
pillar headliner in order to remove the two screws that hold it in. In the
process the headliner came apart at a seam and does not look as good as it
had. In addition, putting it back together took me the better part of TWO
DAYS!!!!! Next time I paint a 66 300, we will just mask off this piece.
Last week was crunch week and there did not appear to be any way I could get the
car finished before Anniston. My good friend Robert Soule came to the
rescue and we managed to install all the trim in two days! LOTS of trim on
a 66 300. In retrospect, I regret taking off the lower C pillar trim shown
in this photo. You have to remove the back seat, package tray, trim and C
pillar headliner in order to remove the two screws that hold it in. In the
process the headliner came apart at a seam and does not look as good as it
had. In addition, putting it back together took me the better part of TWO
DAYS!!!!! Next time I paint a 66 300, we will just mask off this piece. 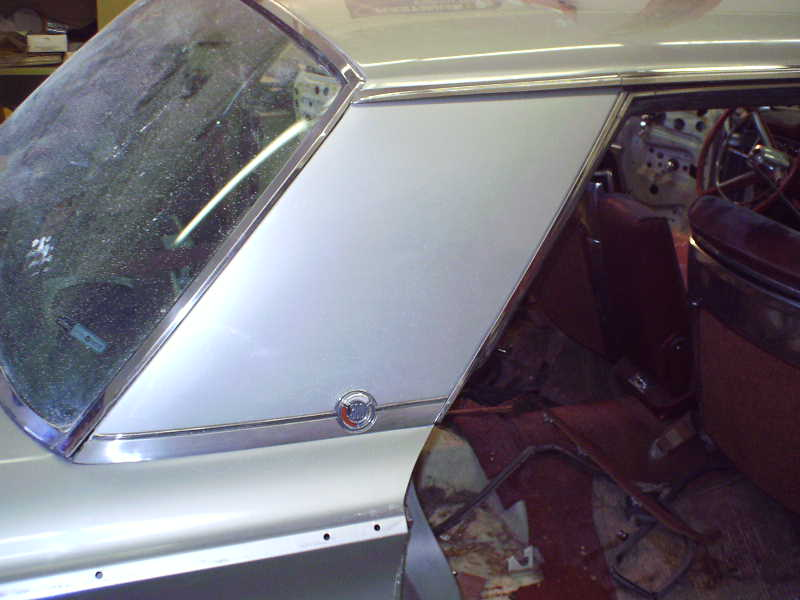
While I did the side trim, Robert jumped on the grill and front end. 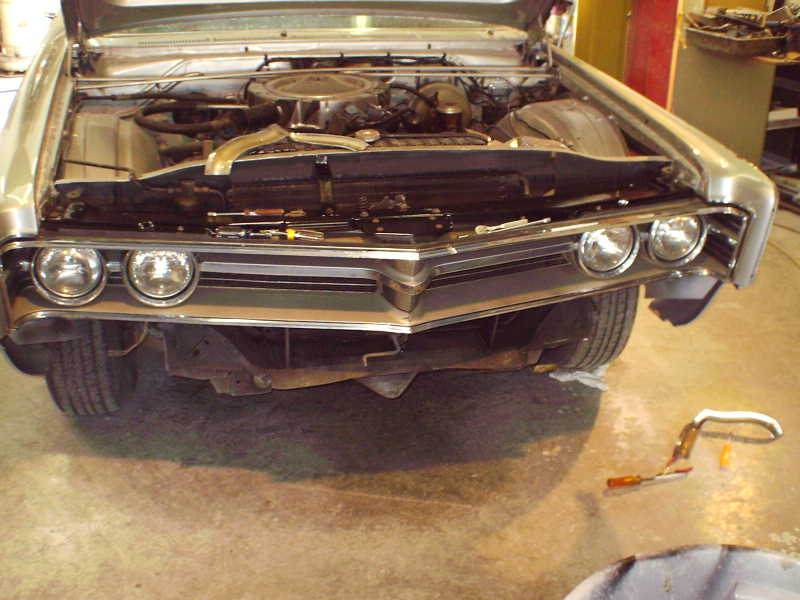

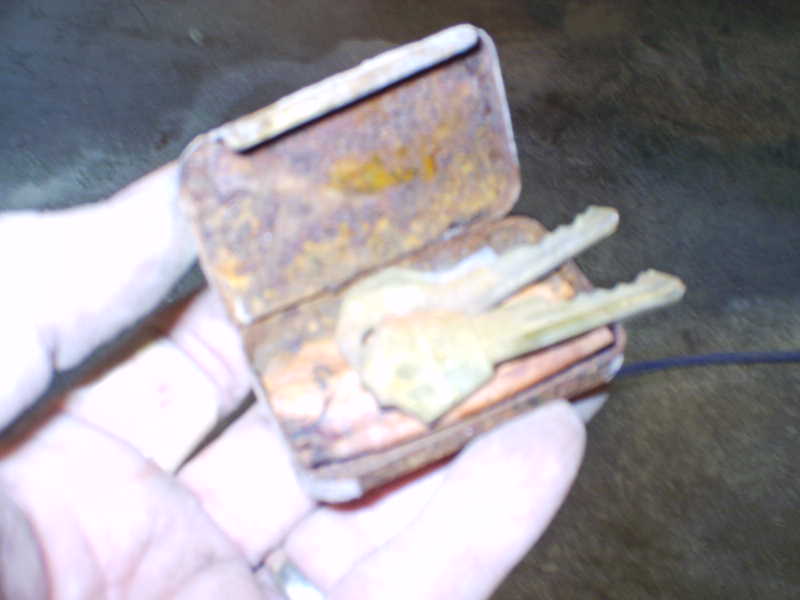 He found an antique magnetic Hide-a-key that still contained the keys in good
shape.
He found an antique magnetic Hide-a-key that still contained the keys in good
shape. 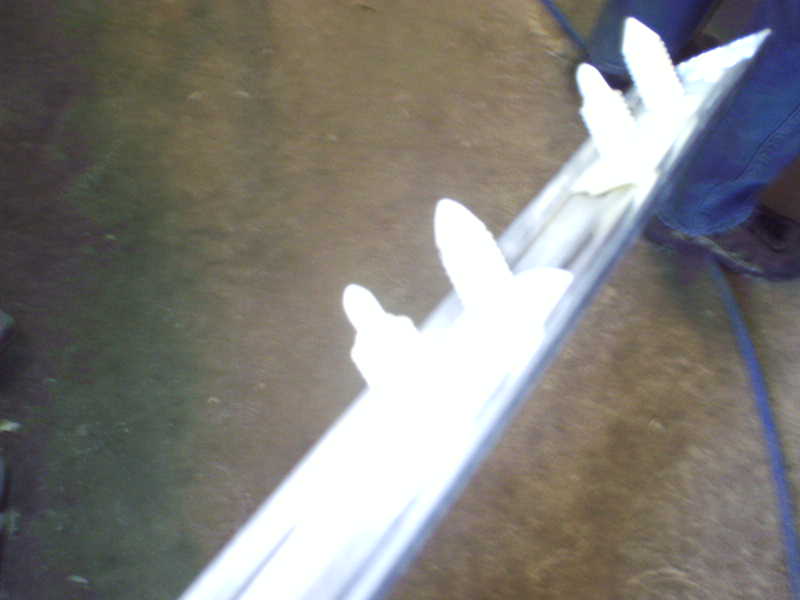 One thing I used for the trim clips were some nylon push in clips. Works
great.
One thing I used for the trim clips were some nylon push in clips. Works
great.
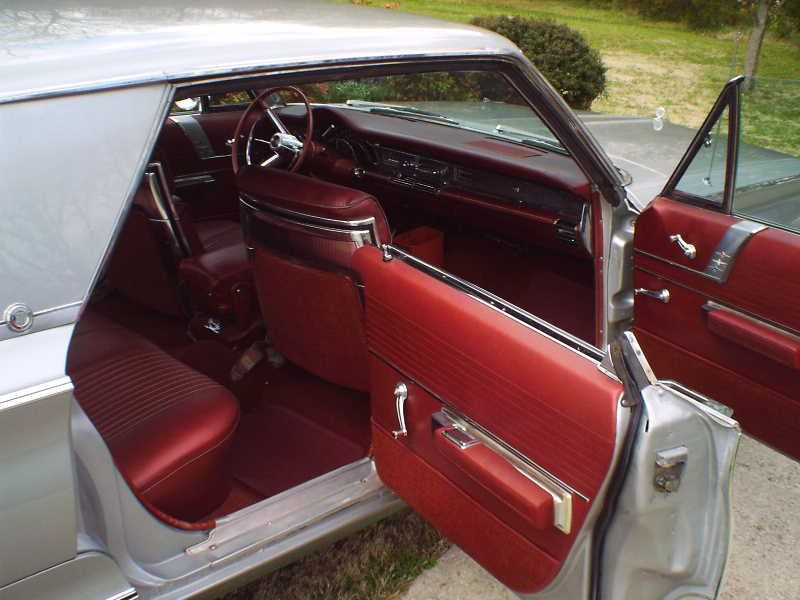
Robert also started on the door panels and had them re-installed in short
order. Robert is an intergalactic expert on 65-68 Imperials and C bodies and has
some parts cars that we plundered for various things such as a piece or two of
trim. In addition, he drove his 66 300 over so we had it as a reference
while reassembling mine. It was very handy and we walked out to see how
this or that dodad fit on several occasions. In spite of all the documentation I
made while taking things apart some reinstallation was not obvious. 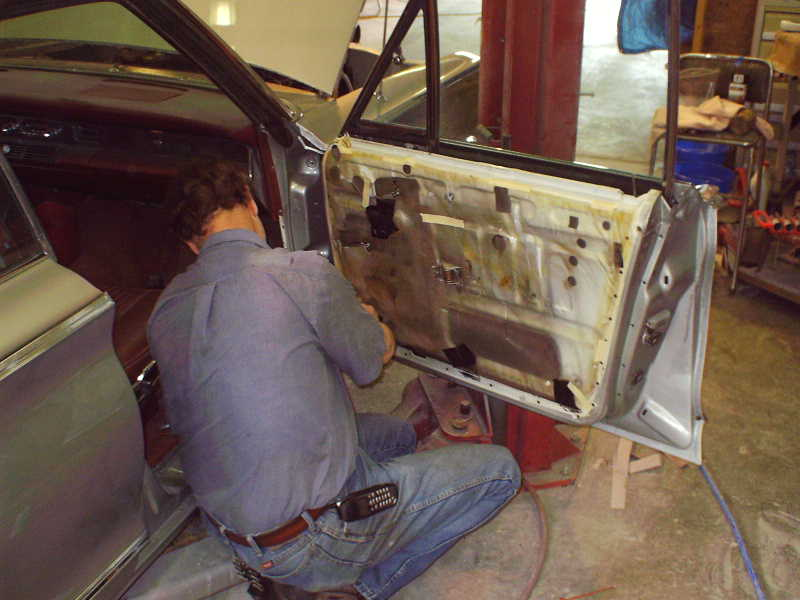
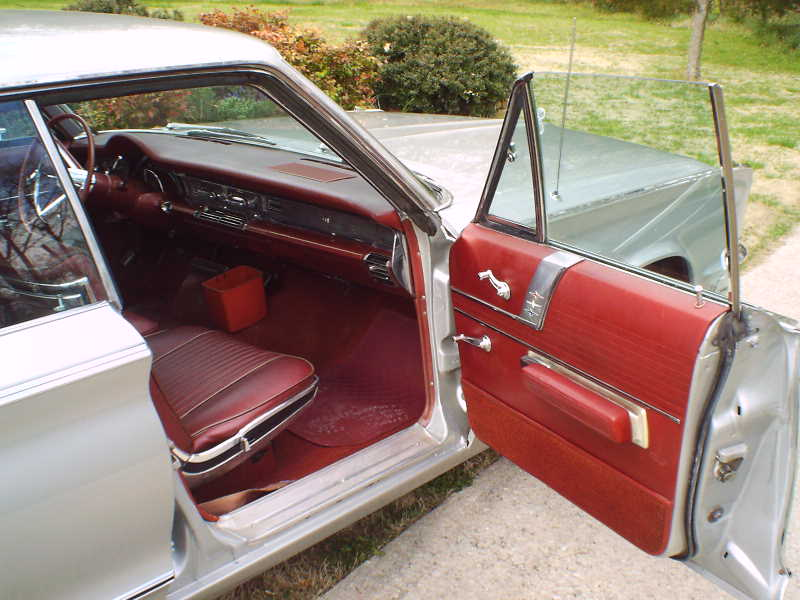
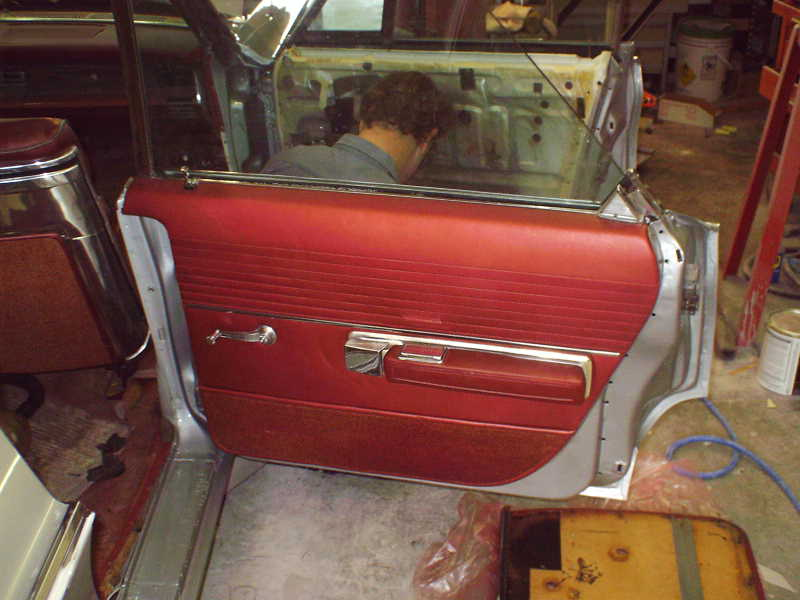 One thing to note on the door panels. Do NOT forget the plastic
shield. If you do your door panel will quickly deteriorate. You can
tape most any plastic in place on the top and sides and tuck it into the slot at
the bottom.
One thing to note on the door panels. Do NOT forget the plastic
shield. If you do your door panel will quickly deteriorate. You can
tape most any plastic in place on the top and sides and tuck it into the slot at
the bottom.
My long suffering Wife and Grandson came out to inspect the progress.
We wanted a shot of Mason (worlds cutest Grandson) sitting on the hood but he kept
sliding off! 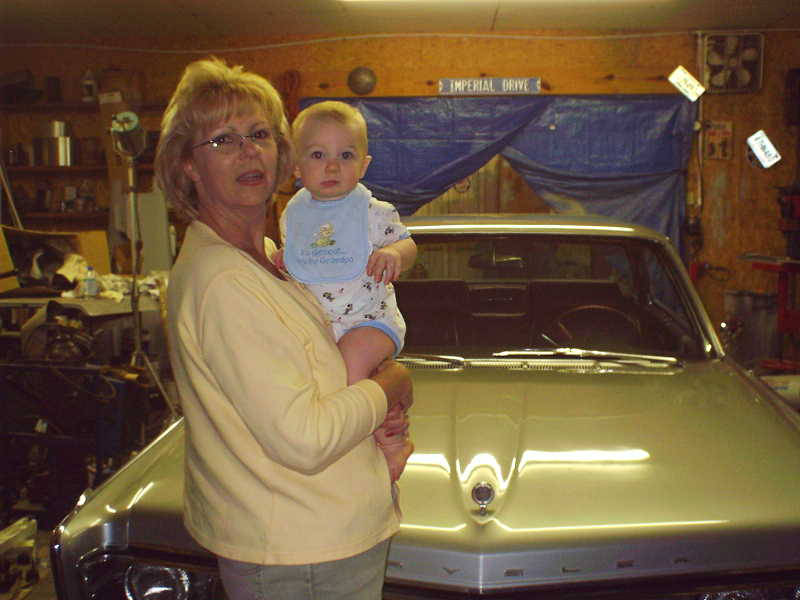
I bought some door weather stripping from JC Whitney that was a VERY nice match. It was 15 bucks for enough to do two doors and came with contact cement. I cut the ends off the originals and the JC Whitney stuff mated up very well. The stuff from Gary Goers would have included the ends but I did not want to wait for it. I already had some trunk weather stripping that I had bought at Carlisle for the 64 Imperial. Turns out to be the same stuff.
My paint guy let me down on the interior paint. I left a trim piece with him a week while I was on vacation and when I returned he was off and had not done the mix. I was not happy. The package tray was badly faded and I wanted to touch up the B pillar posts. However, we found some burgundy fabric spray at Advance for $3.50 a can that worked great. In addition, it made the faded carpet look great! They also have a burgundy vinyl dye.
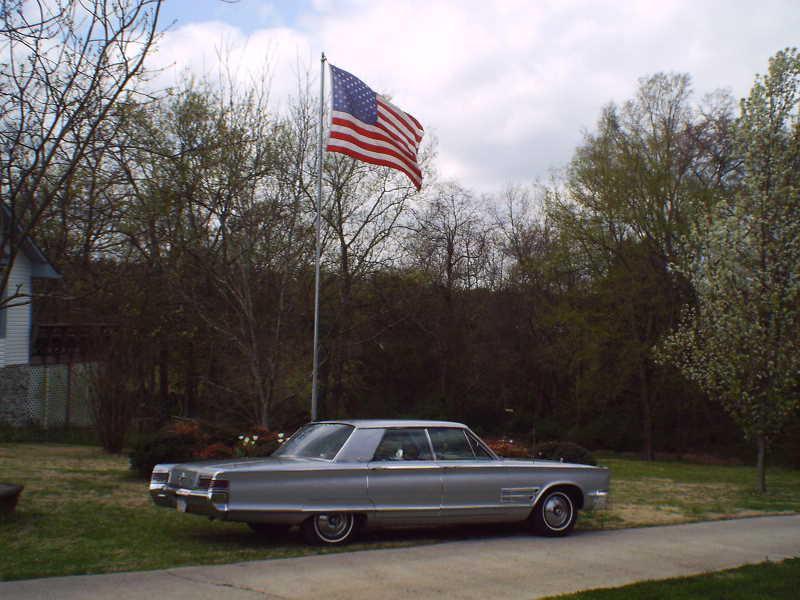
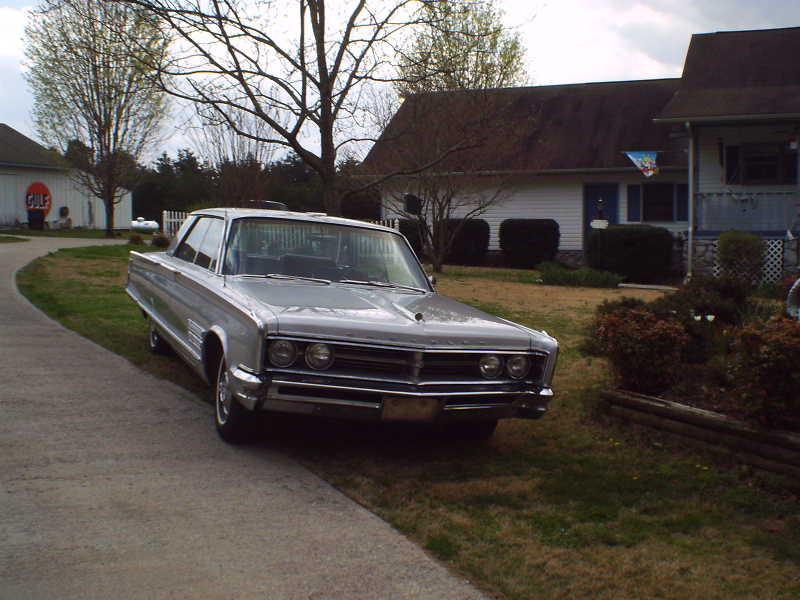
FINISHED!
Here we are ready to leave for Anniston. I'm VERY pleased with the outcome. The silver color is a wonderful combination with the burgundy interior and really looks sharp. The quality of the paint job is not perfect but, if I say so myself, is dang good! I'm not trying to brag as I think what was accomplished was more a testament to patience than skill and is not that far beyond the talents of many of you.
Ok for the costs:
|
Sandpaper |
Tools |
Primer |
Paint |
Buffing |
Misc |
Filler |
Total |
|
$54 |
$14 |
$173 |
$376 |
$84 |
$33 |
$26 |
$759 |
I probably had a little more than that in it because I had some supplies on hand. I tend to accumulate 'stuff' when I find it reasonable. I've purchase a bunch of sandpaper and stuff at Carlisle over the past couple years.
247 hours was the final man hour estimate. At an internal rate of 15 bucks an hour that comes to $3705 + the material of $759 which comes to $4464. Given most shops charge a lot more than 15 bucks an hour that makes a 4500 buck paint job sound much more attractive than before. But then I don't charge myself for my time as this is supposed to be fun and was most the time. At least it was fun enough that I will do it again.
Total wall time was a little over 3 months which is an indication of how much I goofed off. Seems like more though
Well, that's it. LOTS of work but I believe I learned a ton. The body work exceeded my expectations and I now believe I could have painted the car black which encourages me to think about a color change on the 68 convertible to black. Hummm Well that will be Painting 102 and should start later this year. I'd like to have it finished by Fall Anniston.
I still have some detail stuff to do on the 300. The expansion valve has stuck on the AC so I need to replace that as well as fix/replace the heater control valve. Other than the radio antenna and cable, everything else works great!
We also got the gas guage working after we discovered the float was full of gas. DUH! I soldered it but it leaked anyway. After searching the IML repair manual, I discovered that Ford part # COAZ-0902-B for $3.50 is a direct replacement in brass. I got two.
On an aside, the trip to Anniston (100 miles) was smooth and uneventful. The car ran flawlessly although I realized when I arrived that I had reinstalled the accelerator linkage wrong and 'discovered' another 1 1/4" of gas pedal. WhooHoo! Such fun! Then I drove Robert's 440 powered 66 300 and realized that there really isn't a substitute for cubic inches. Ah well, it's still quite fast and a real ball to drive. I like it a lot and it gets lots of thumbs up.
The only problem I had was the ignition lock stuck. I fought it a while Sunday morning and got it to turn. Monday, I went to Autozone and picked up a new switch LS 472 ($7.95) and lock assembly (about 4 bucks). I had it re-keyed for another 13 bucks and it's good to go.
I hope this saga was informative and helpful to those readers who are considering their own paint jobs. Many, many thanks to Randy Ferguson for his many tips and techniques and to Robert Soule for the hours of help and fellowship. It's much more fun to work with someone, especially someone with compatible work habits.
Kerry Pinkerton
May 31, 2003
This page was last updated October 1, 2003. Send us your feedback, and come join the Imperial Mailing List - Online Car Club
