Imperial Home Page -> Repair -> Body & Paint -> Paint & Body 101 -> Part 8
Never too old to learn
Hi Randy, a paint question for the pro if have time. I'm painting my 66 300 and have just finished blocking the first primer coat. It came out well but I had a couple low spots to fix which I'm doing today and will shoot another coat of primer. Hopefully this will be the final primer and I will block it with 600 prior to the base/clear.
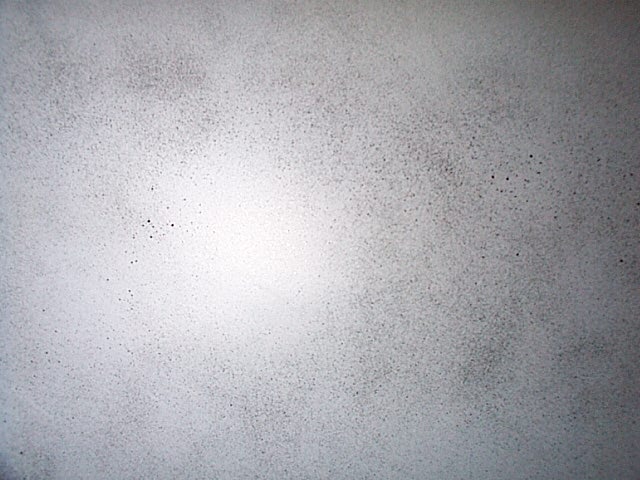
Wow Randy, GREAT input. Thanks a ton. One final question is about the sanding tools themselves. Should I use a long board ( I've got 6,12,18" flat and 12" curved) or do you use mainly hand pads? I've been using the boards except in tight spots.Hi Kerry,I guess it's best I start at the beginning, and take you through my whole process.I prefer to use epoxy based primer OR self etch primer to all bare metal before any filler work is done. I would prefer not to do ANY filler work, but most guys won't pay for a fully metalfinished body for some reason. Stinking tight wads!!!If you use a self etch, it must be covered by a primer surfacer before application of filler. Body filler will not stick to self etch primer. Epoxy is best, especially if it's one that is sandable. I've found House of Kolor epoxy to be the best primer I've ever used. I start out with 3 heavy coats of primer and walk away from it for a minimum of 1 week before doing any sanding.I shoot a guide coat over the primer before doing any block sanding.This can be done with either some cheap rattle can flat black or some old red oxide lacquer primer thinned to a consistency of water. A light dusting is all that's needed (see pic)
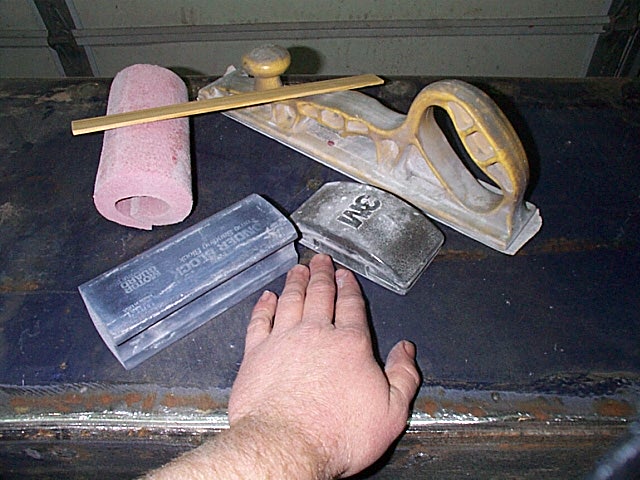
I then begin the sanding process with a variety of blocks and whatever lends itself well to the challenge (see attached pics) I go over the entire vehicle the first time with 220 grit paper. I begin sanding in a straight line pattern, going from one end of the panel, clear to the other, without stopping.
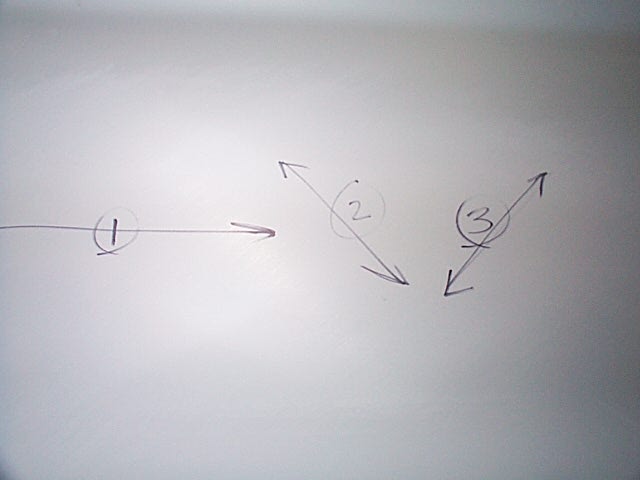
If you don't work end to end, it will result in a low spot at the overlap. I then switch to a diagonal pattern, sanding at 45deg. or more to the straight line of the panel, but, always keep the block held in the position you sanded from end to end. This will insure that the entire block is riding on the panel, rather than rocking on it. You always want maximum surface contact. I then switch directions and go at the opposite angle, creating an X pattern. (I drew a diagram to help explain this) The guide coat will tell you if there are any low areas and/or pinholes that need extra attention. Don't allow yourself to stay in one spot trying to sand out a minor flaw or low spot, it will only make the condition worse. Always work the entire panel very methodically.
In most cases, I won't block the first coats of primer any finer than 220. Once I'm satisfied with the results of the first round of block sanding, I'll apply 3-4 more coats of primer, wait another week, apply the guide coat and repeat the process, starting with the 220 again, just to knock off the orange peel and make sure there are no problem areas to deal with. I will then go to 320 grit, still sanding it dry, and repeat the entire process again, until all the 220 grit scratches are removed. Again, a guide coat will aid greatly in telling you when those sandscratches are gone. After sanding with the 320, you should be able to see a slight reflection in the side when sighting down it. A little final wash solvent wiped over the panel will help to get a better look at it. You should be able to sight down the length of the vehicle and not see any waves. It should be arrow straight. If not, it needs more work. This is the process that makes or breaks an otherwise great looking job. Blocking requires a great deal of work. I would say I spent 100-150 hours blocking out a show car, so it's not a fast process by any means.
Now, once you've looked down the side, and are completely happy with the results, use some hot soapy (*Joy dishwashing detergent) water and some 600 grit paper, wrapped around a rubber block or 3M squeegy to remove the majority of the 320 scratches. This is the step that really takes a sharp eye. You want to remove all the sandscratchs possible, as this is what makes for a really slick paint job. Once your done wet sanding, use a gray scothbrite pad and a fresh batch of hot soapy water and wash the vehicle thoroughly. Then, with plain hot water, and the scotchbrite go over it again, one panel at a time, rinsing well as you go. When you've completed that step, rinse the whole car off good and dry as soon as possible with soft Scott towels. Old rags and chamois are not good, as contaminates could be present. Your now ready to mask for paint!!*It's been brought to our attention that Joy dishwashing detergent is the best choice for using in prep work. Dawn has been what most of us used for years, but has been found as a source of contamination. The old plain jane stuff is best, rather than the stuff with all kinds of fragrances and lotions added. Men are supposed to have rough, dry, cracking, peeling, sore, bloody hands anyway!!Which, by the way, my fingers are normally literally bleeding by the time I'm done blocking primer on a show car!! Have fun!!!!In reading part of your website, I noticed you mentioned the use of fish-eye eliminator. Fish eyes are ALWAYS caused by contamination. Find it, and eliminate it!! Fish-eye eliminator, added to the paint is NOT recommended. It's worse than rubbing salt in a wound. It's not even available for most base/clear products. In fifteen years of doing this, I used it one time, and that was only after exhausting all other possibilities.Randy
Learned a bunch from this. Especially about doing the whole panel in one stroke. I was not doing that.
Couple more questions. Assume you have a low spot, just a touch, door ding or paint scrape. How do you fill it? I've noticed when I fill it with primer or urethane putty that it always makes a high spot that I have a difficult time bringing down without bringing down the surrounding area.Hi Kerry,I should have been more clear on that. Yes, use the longest board possible on long, straight runs. That's what I meant when I said you always want maximum surface contact. Some areas you are better off with a shorter, more controllable block, but that becomes a judgment call on the users part.Randy
How do you keep from going to metal on sharp edges and panel edges? masking tape?
Couple more questions for the doctor. You say soft Scott towels. Is that plain old scott paper towels or the blue paper shop towels?Hi Kerry,For those tiny imperfections, I use a razor blade as the spreader and apply just enough material to fill the problem spot. I've found 3M finishing glaze to be the best stuff for this. Most glaze putty is thick, and hard to spread, but not this stuff. I use it for filling rock chips, scratches and minor door dings. The razor blade will leave the filler just barely below the surface, so a couple coats of primer will then take care of the rest. I think it's nice to have the filler buried in primer. It's not necessary in these tiny spots, but if you know it's there, you can see it. The trick is to not build up an area of filler around a minor low spot. The same applies to primer. When trying to fill with primer, extend each coat out slightly beyond the previous one. This will hold down on the problem in question. On panels where I have a low spot that just doesn't seem to want to sand out, without going through the primer, but yet you know that a couple more coats of primer will cure, I'll spay a coat in the low area, allow it to flash, come back over the entire panel with another coat, flash, re-coat the low spot with two additional coats, each one extended out slightly further, and allow for flash time between coats, then give the entire panel one more full wet coat. Much of this will get sanded off, but at lets you know you will have enough product to work with, without fear of sanding through on the edges.Edges are a tough spot. I try my best to get as close to the edge as possible, just to make sure it's straight, but keeping off the very edge, so not to sand through. I don't use masking tape, because you will end up sanding up to it, or even over it, and it'll leave a nasty edge every time. Just get as close to the edge as possible, then hand sand the edges lightly with 320 grit after you're done blocking. If you're nearly done and you sand through just a tiny little bit, you can spray a very light, over reduced coat of primer on, just before you spray the sealer. OR, some sealers can be used direct to metal on very small areas. I use PPG K36 primer, and by using a different mixing ratio and hardener, I can also use it as a sealer, so I don't worry too much about very slight sand through. I try not to get it, but it still happens occasionally.Randy
Can I take it that you recommend a sealer before the base coat? I had thought that with Urethane primers, you did not need a sealer?
Hi Kerry,The Scott towels I refer to would be more like the blue shop towels. We get them in a large roll that fits the wall hung dispenser, but I've seen similar towels sold by the box. I'll try to remember to get a picture of them tonight. I buy them at the local farm supply store. The blue towels will work fine.It isn't necessary to apply sealer, but I think it's a good idea. I never used to use it when lacquer and acrylic enamel were the norm, but back then, there were no good sealers. The stuff we have now is so much better. The beauty of today's sealers, are that you can tint them close to the desired color, so you end up using far less paint than you would if you sprayed directly over primer.What brand of paint are you using?? I can give you several tips if you go with PPG.I would stay as far away from Martin Senour/Sherwin Williams (same stuff) as possible. I won't use it.
Randy is a great guy and offered his email address if anyone wants to email him directly: rodbuilderandco@frsb.net
Well, after this reality check I realized I was doing some things right and some wrong.. I definitely had not been sanding each panel end to end and would sometimes concentrate on a high spot. I also did not have enough primer on the body before I started sanding. The good news is all was not lost and I could consider the past weeks work just more body prep. School's over, back to work!
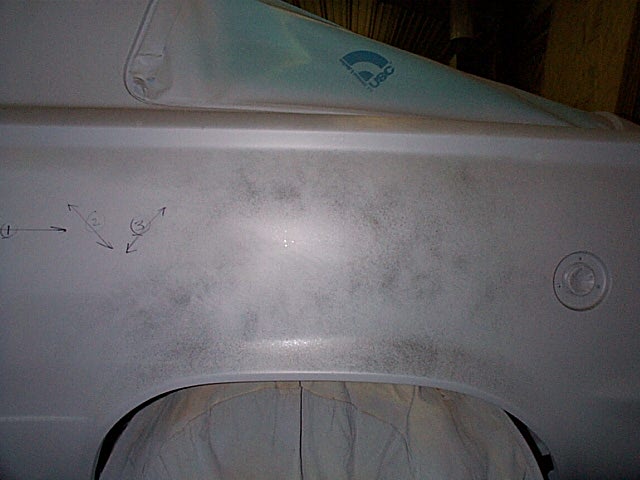
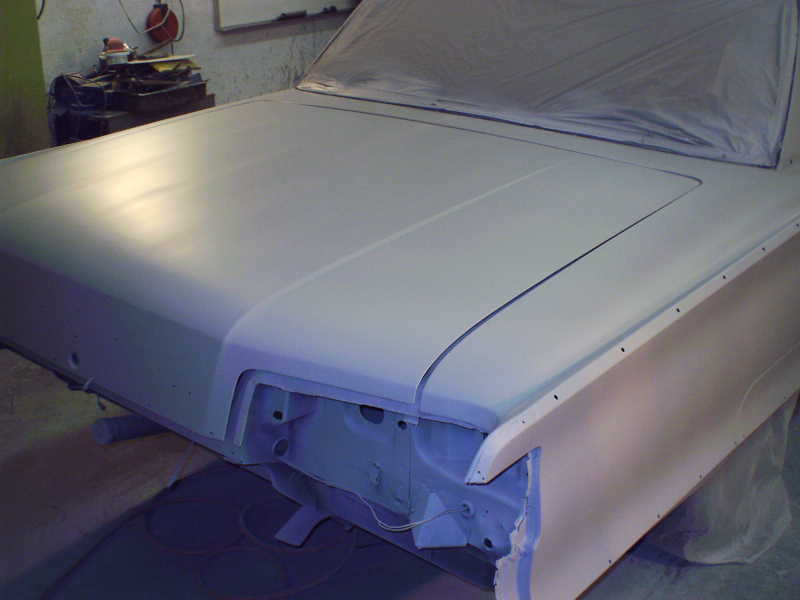
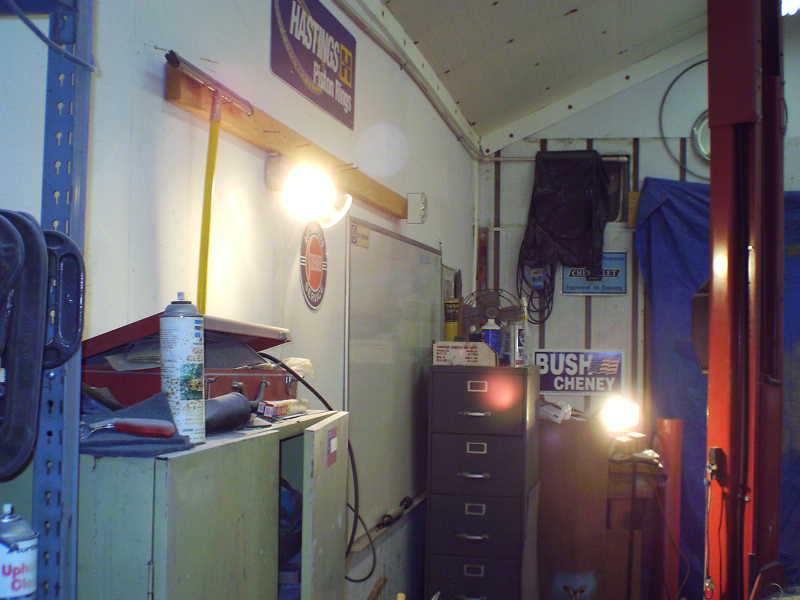 One trick worth noting are the extra lights.I have around the room. These
are just duplex floodlights picked up at Home Depot. I just plug them in
when I'm working on bodywork and it really helps to see things. If you
look closely, you can notice a light down low. It is a portable 400W light
that works really well at showing up problem areas. Put it at one end of
the car, go to the other end and look down the side. Any low/high spot just
jumps out.
One trick worth noting are the extra lights.I have around the room. These
are just duplex floodlights picked up at Home Depot. I just plug them in
when I'm working on bodywork and it really helps to see things. If you
look closely, you can notice a light down low. It is a portable 400W light
that works really well at showing up problem areas. Put it at one end of
the car, go to the other end and look down the side. Any low/high spot just
jumps out.
I still had some pretty low spots so I mixed up some primer and dabbed it on
with a hobby brush.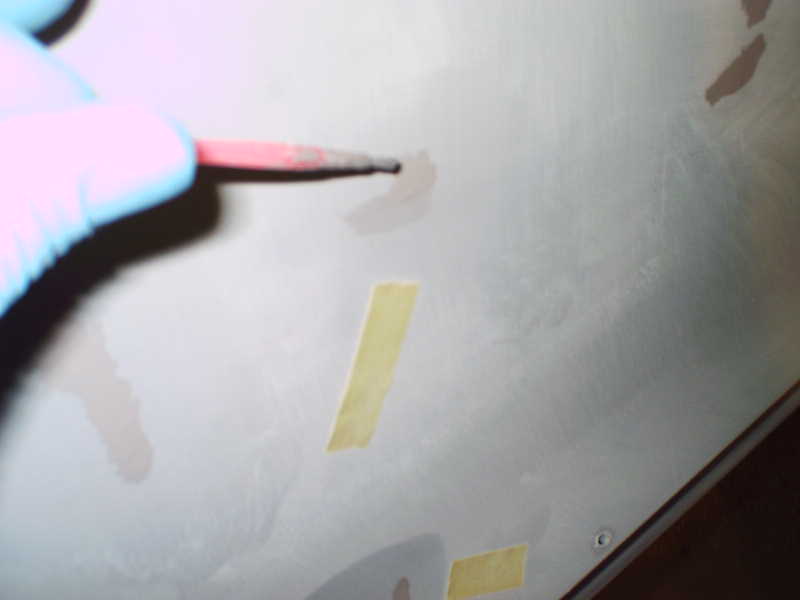
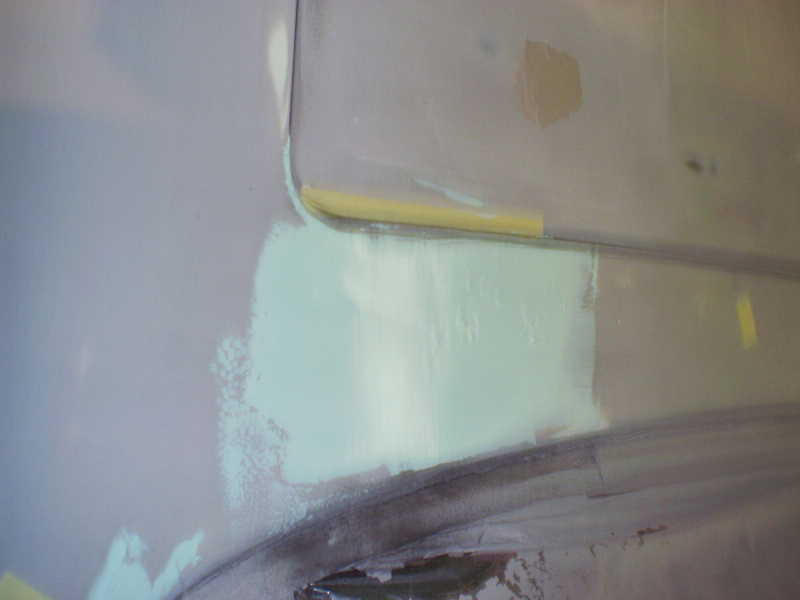 I put a think coat of the urethane putty on the body seams that had the high/low
spots.
I put a think coat of the urethane putty on the body seams that had the high/low
spots.
After sanding down my putty and primer repairs, I followed Randy's advice,
sprayed extra primer on low panels and then put on three good coats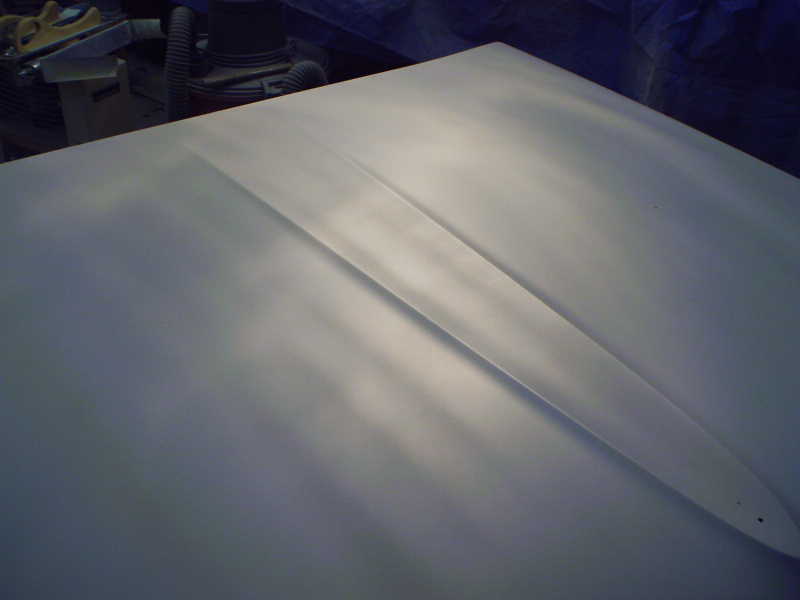
 This time, I put some reducer in the primer and the finish came out MUCH
nicer. There is barely any orange peel. Monday I'll start blocking
per the Doctors instructions.
This time, I put some reducer in the primer and the finish came out MUCH
nicer. There is barely any orange peel. Monday I'll start blocking
per the Doctors instructions.
Another 6 hours to get the primer down.
This page was last updated October 1, 2003. Send us your feedback, and come join the Imperial Mailing List - Online Car Club