Part Three - The 1964 Imperial's Old Leather Interior: The Problem
Imperial Home Page -> Repair -> Interior -> Leather Seats -> 1964 Old
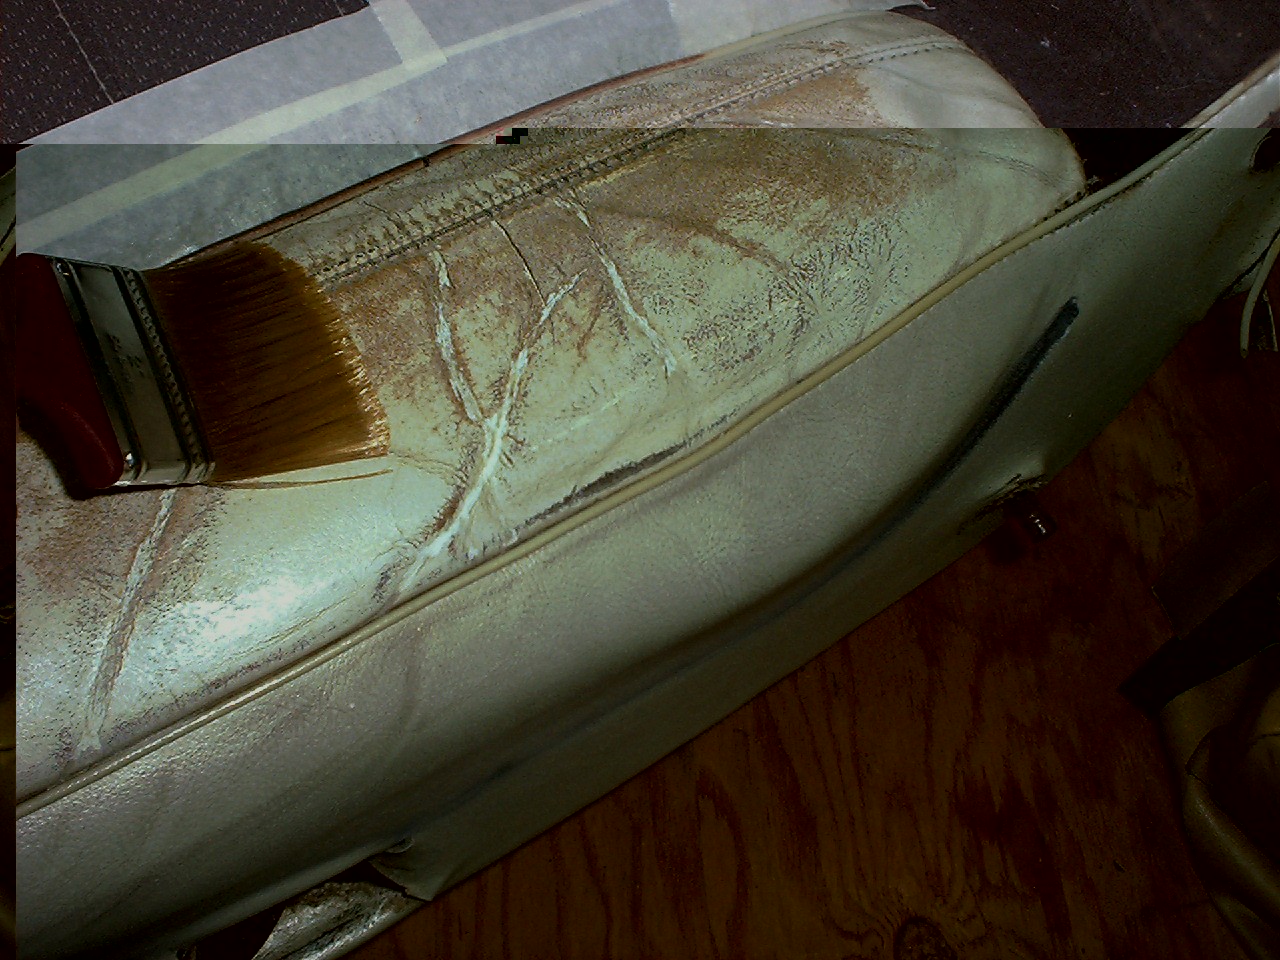
The 64 Imperial seats were actually much more of a problem. In addition to the cracks shown on the intro photo, the dye had completely faded to brown where the sun had hit it. (Or the leather baked through the dye...at any rate, it was brown). On the 73, I did not condition the seats correctly with rejuvenator oil but they were in pretty good shape so I think I'll get away with it. While waiting for the custom dye from Leatherique, I decided to do the 64 'right'.
According to the instructions, the treatment is best done on hot summer days but since I don't want to wait, I'll just proceed. I liberally 'painted' rejuvenator oil on the leather.
After about 20 minutes it had all soaked in so I put on another coat, and another, and another. Each took a little longer to soak in. I did this for about 3 days and tried to keep the shop over 70 degrees during the day. At one point, I covered the leather in plastic wrap thinking it would keep the oil from evaporating but I could tell it did any good. After 4 days the leather was noticeably more supple.
A product called Pristine Clean is used to remove any dirt and oils from the surface. The rejuvenator oil will bring natural oils and dirt to the surface to be removed. Must work because the cloth I used picked up a lot of brown stuff.
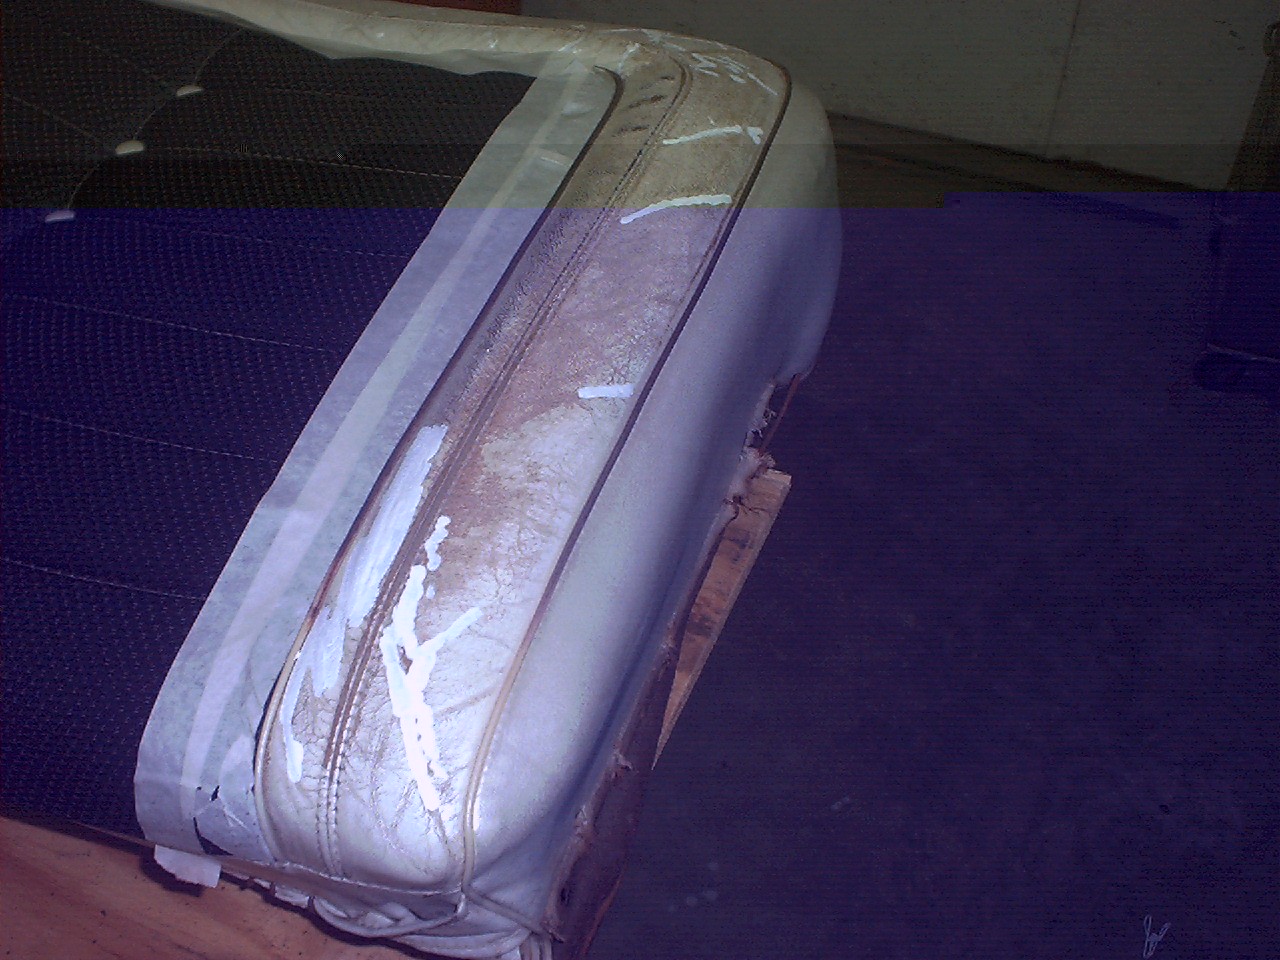
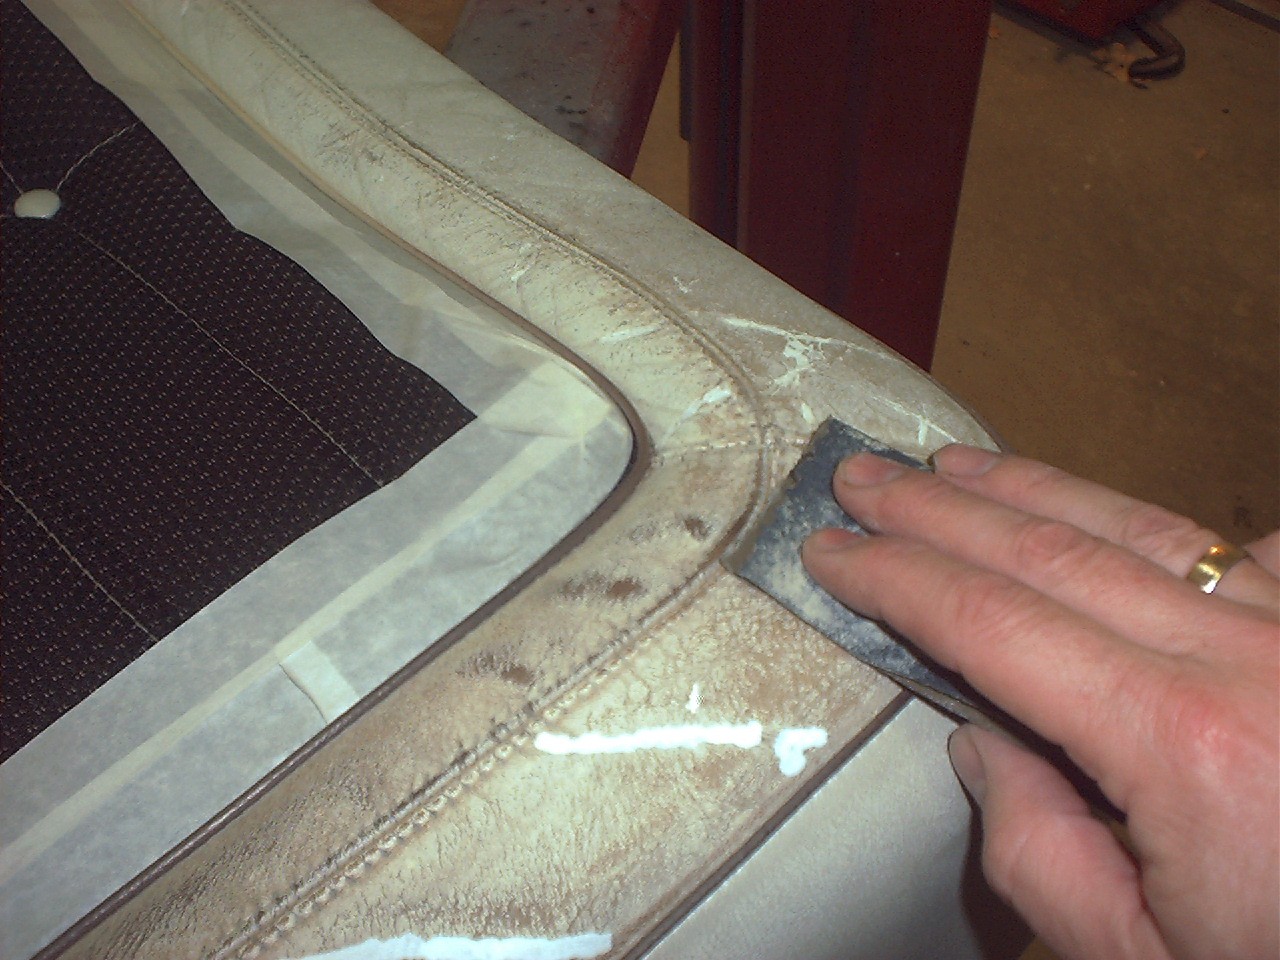
The next step is to wet sand the surface using 180 and 320 wet-or-dry sandpaper. Put a little dishwashing soap in the water, it makes the paper clean better and slide better. Warm water is nice. I kept a towel handy and wiped the excess water and sanding residue off often. Because my fabric inserts were perfect, I masked them off as tight to the bead as I could. Crack filler was applied to the cracks. Hairline cracks do not need crack filler. The dye fills them pretty well.
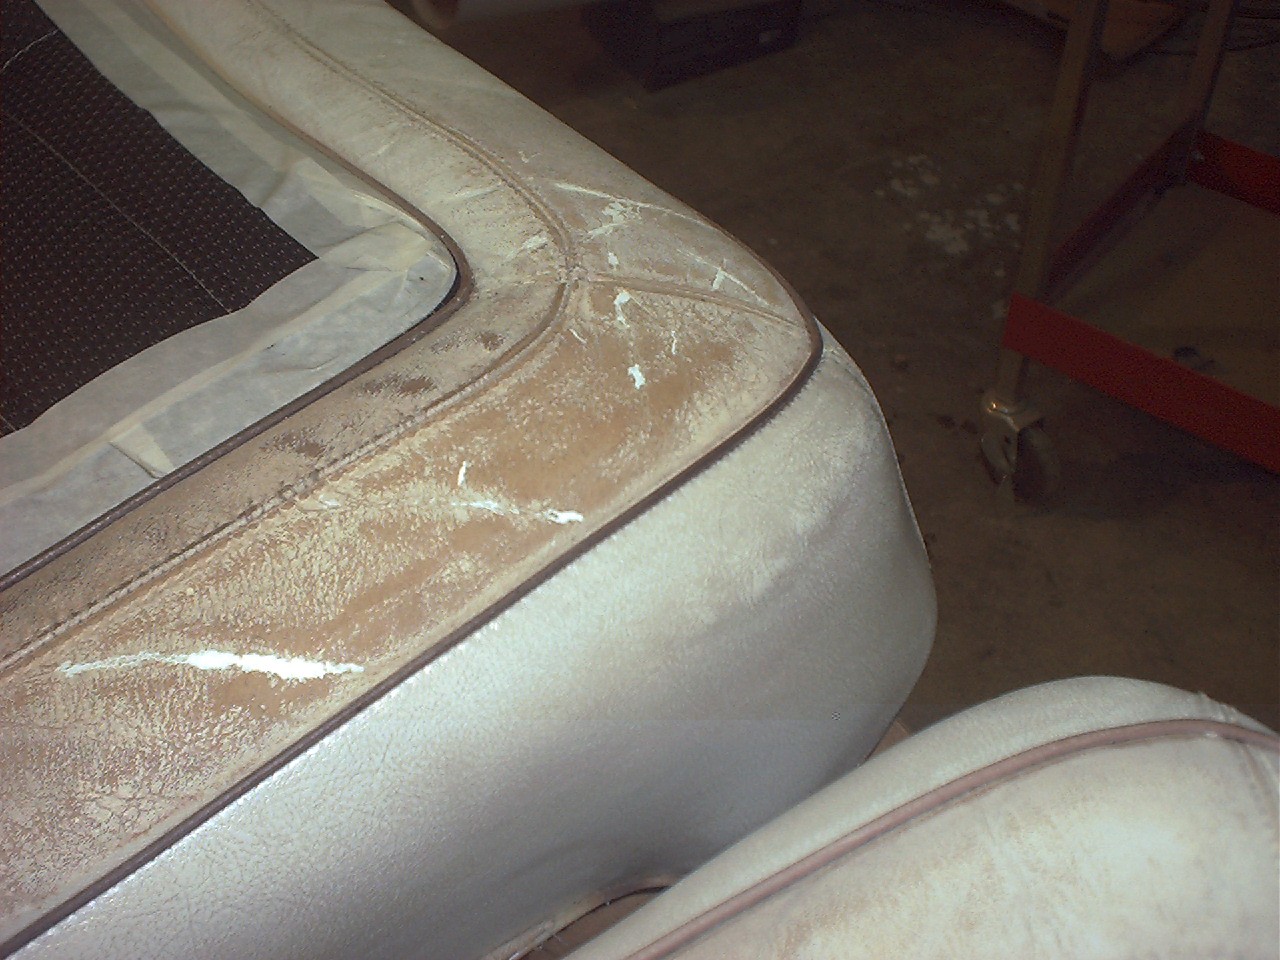
This last shot shows how the finished seat looks just prior to applying dye. You can see that, just like body filler, most the filler is sanded away. If you can feel any bumps or cracks, you WILL see them after the color is applied. I had a couple and had to re-sand and re-dye. This part of the process is well documented in parts 1 and 2.
Continue on to the next chapter, Part Four - The 1964 Imperial's New Leather Interior: The Solution
This page last updated October 25, 2001. Send us your feedback, and come join the Imperial Mailing List - Online Car Club.