
Imperial Home Page -> Imperials by Year
-> 1957 -> Kerry's
Restoration
-> part 26
Early February, more patches...Lots of stuff going on. This is the strangest February I can remember. It is very warm but there still is a chill in the air and I need some heat in the shop.
This is my propane heater. It is adjustable up to 100K BTU and will raise the temperature in my entire shop by about 20-30 degrees in about 20-30 minutes. If it is VERY cold, I put a tarp over my lift room and just heat the half of the shop I am working in. My shop has no insulation but does have a finished interior (1/4 inch waferboard). I came up with a neat idea for the ceiling. Putting up plywood or something is very hard because one person can't easily do it. I came up with the idea of using 1 inch styrofoam. It is white, light, can be put up with 1 hand by one person, and provides about R=4 of insultation. Much better than nothing. I put it up with plastic washer nails like those used to hold roofing paper down. Been there for 10 years now. It does creak some when it is very windy.

This is my little Miller Mig welder. Mine is a 120Amp "Cricket XL". They don't make it any longer but do have a 130 Amp that is still 110 volt. The torch you see in the foreground has a spot welder gas shield. The very sharp eyed amoung you may notice the leaf blower that I use to keep the shop clean. This is a great trick I learned from Dick Benjamin.
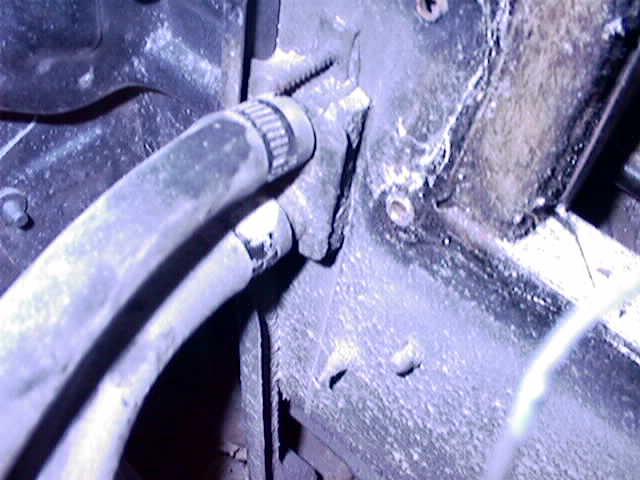
I get tired doing the same thing for days on end so I switch up when I start to get bored. Bondo work can get pretty boring so I decided to finish the passenger side rocker and wheel well.
This is a close up view of a spot weld in progress. I have cut out the old rotten rocker panel and cut a piece of sheet metal to fit. If you look close you can see the step down where the flanging tool makes the step. You can also see a spot weld near the middle right of the photo. I normally start in the middle and work out, or from one side. NEVER do both and try to work toward the middle. I will assure you that you will have a bow if you do.

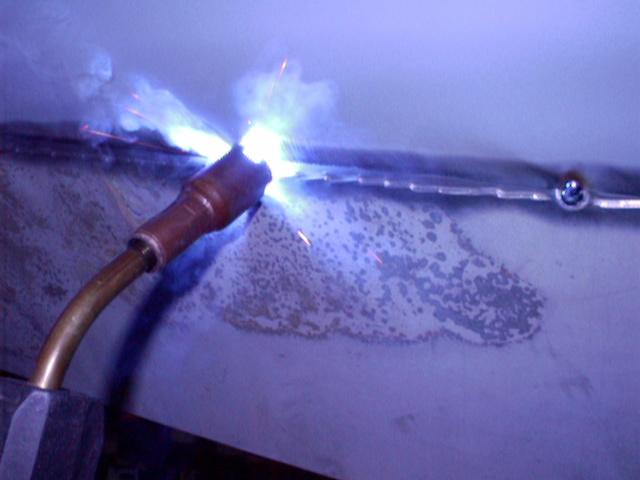
One of the fun things about our hobby is trying to figure out how to do everything all by yourself. There never seems to be anyone around when you need help. In this case, I needed to bend the new rocker up so I could weld it to the frame. It finally dawned on me that gravity could be my friend for a change. Remember my long board sander I built to keep my panel flat? Well, I just raised the car on the lift and lowered it down on the sander. Worked great!. I just kicked the bottom out and moved it when I needed to do another spot weld.
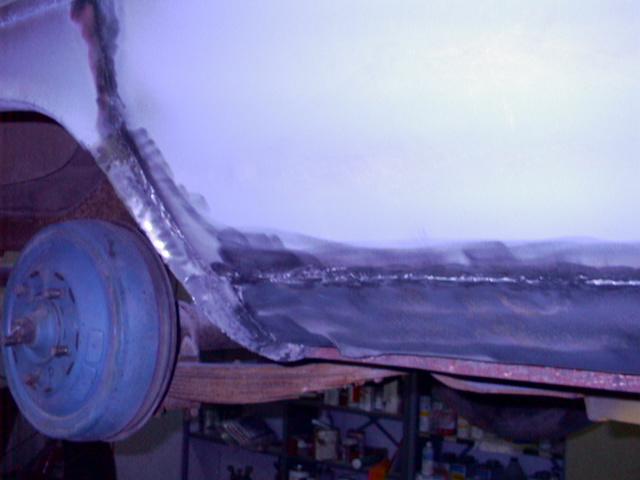
Now for the hard part. Earlier I had rebuilt the top of the passenger wheel well. What was left was the front 'dogleg'. This is a nasty shape that twists in three dimensions. Last time I used them I had my strecher/shrinker mounted on my vice but it was a pain to switch between them. We were throwing away an old disk drive cabinet at work and I brought it home, put a piece of plywood on top and mounted the two tools so I could use them both without having to play games moving them around. On the other end of the wood, I mounted a 4 inch vice I bought at an import shop.


This is the finished dogleg. I started with a 10 inch piece of 26 gauge about 1 1/4 inch wide. I bent it in the middle and got to work with the strecher and shrinkers. This is the result. This came out VERY well and is probably the closest thing to metal craft I have done yet. You can see how it will fit. I will butt weld it to the top piece and fill the gaps with metal.
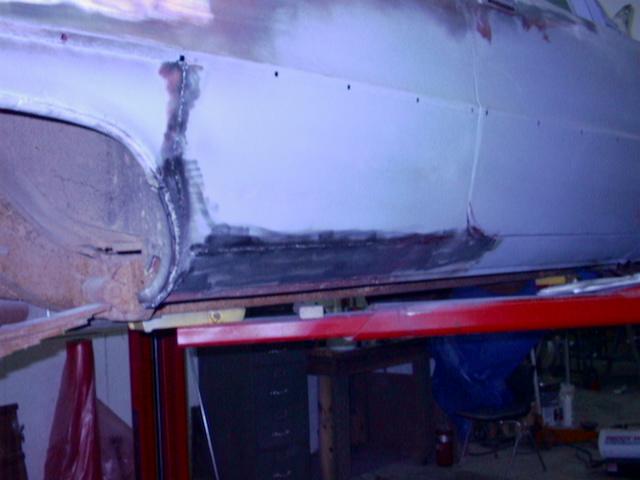
And when I was finished it looked like this. Ready for bondo
Well, its' time for more bondo. Oh joy! One thing I haven't shown you yet is how a cheese grater works. Its not really a cheese grater but that is what it's called. Actually it is a "sureform" tool. They come in flat, curved, and other shapes. When the filler 'kicks' but is not yet hard, you can take the high spots off with the cheese grater.
(Cheese.jpg photo unavailable.)
If you don't have air tools, filler work (I have a bad habit of calling filler bondo) can be nearly impossible. Air tools are pretty cheap.
(fin25a.jpg photo unavailable.)
I have been focusing on the bad rear fender with most of the photos and it is SOOOO bad that it's hard to see how the low spots show up when you prime it and sand it with the long board. This is how it looks. I will need to add some filler in the dark spot in the middle of the photo.
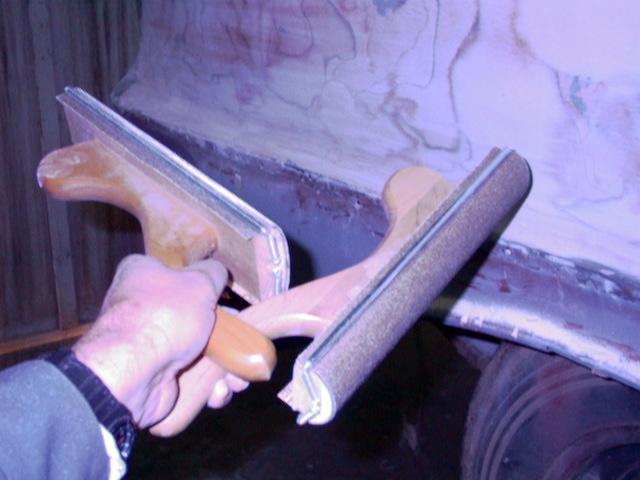
I am a sucker for new tools. One of my parts houses was having a tool sale last month I I picked up these two hand sanders for 3 bucks each. This is one of the rare good deals I find every once in a while. These two sanders have differenc contours and between the two of them I was able to get the filler shaped just right above the beltline. In the photo this is the area just above the sanders.
(Dust.jpg photo unavailable.)
Speaking of dust. Remember me saying that I had already used a gallon of filler but most ended up on the floor. Well, here is a shot showing what I mean. Literally a LOT of your filler gets sanded off. This stuff gets everywhere. The leaf blower is great at keeping everything as clean as possible. But I would never say that my shop is spotless....spotted is more like it.
This page was last updated October 19, 2003. Send us your feedback, and come join the Imperial Mailing List - Online Car Club
