
Imperial Home Page -> Imperials by Year
-> 1957 -> Kerry's
Restoration
-> part 29
February 20-21, 1999 pulling the dash
What a sight! This old girl was designed to be a roadster. I am really motivated to make the convertible top work. But before I can really get down to the top, I need to get the dash out of the way.
I am going to describe what I did then I will try to describe how it should have been done. I did it the hard way and took several things apart which did not need to come apart.
For months I have tried to understand how to get the fresh air vent out and it is obvious that it comes out from inside somewhere...but where I cannot tell. Well let's start with the firewall and work backward.
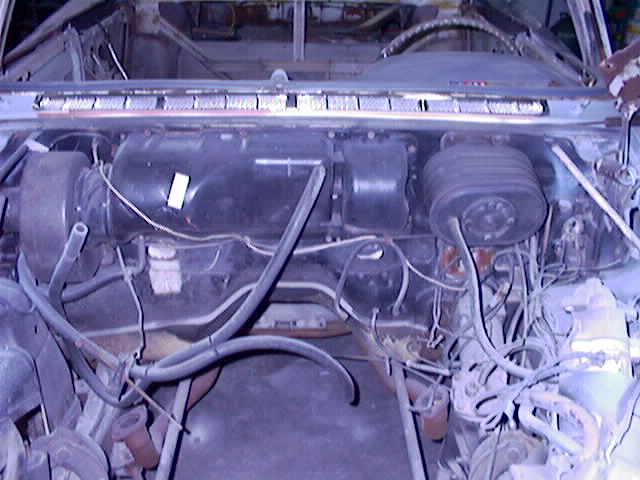
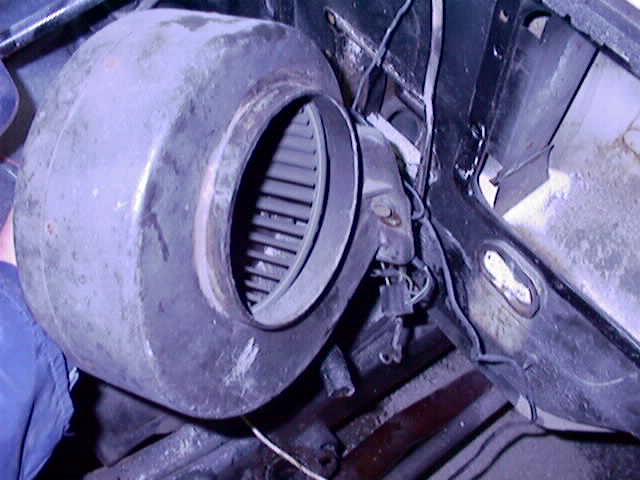
Since my engine is out, it is pretty easy to climb into the engine compartment and work. I laid a fender cover on the fender and put an assortment of sockets and wrenches on it so I would not have to climb back out. Three trips back over the radiator support and the heater box is out.
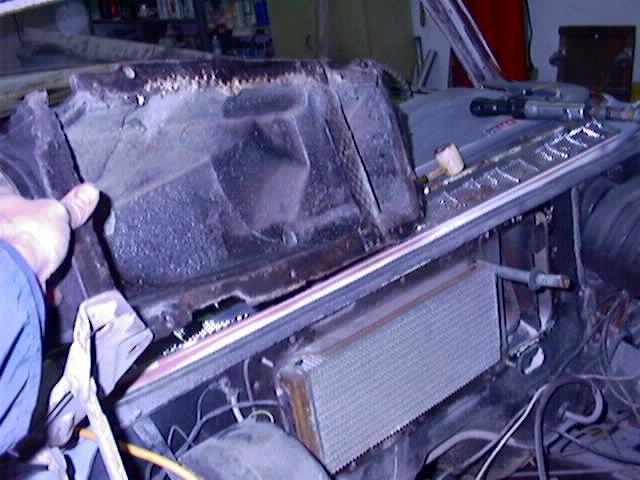
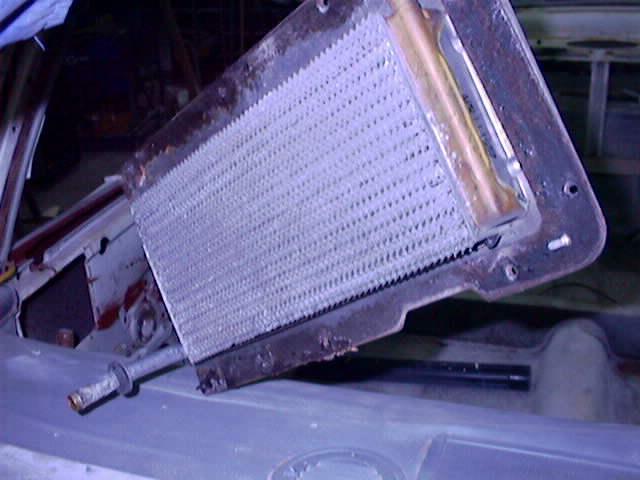
Now I can see the heater core. It just pulls out. Dang it is big!
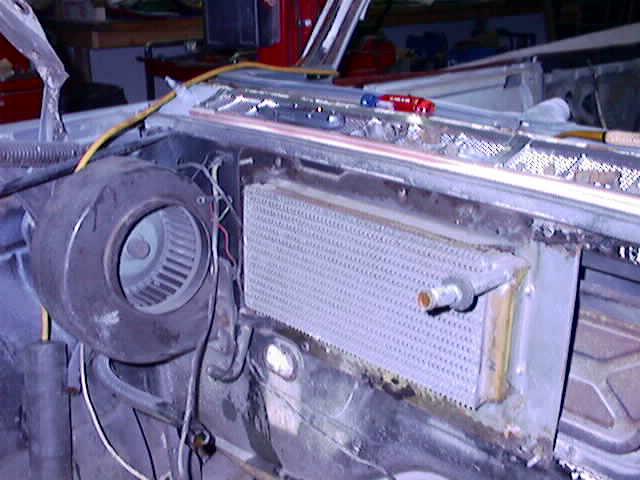
The fan is next and it just has a few bolts. The heater hoses run to a connector on the firewall that took me a few minutes to figure out. It is the heater control valve and is operated by a cable from the dash.
The passenger side seems simpler so I will start there and hope that as I get toward the middle I can see how to disassemble the instrument. My problem is that I wear bifocals and when you are on your back looking up you can't see shi- looking through the top of the glasses. Getting old and blind is a bitch! And doesn't help one's temperment.
The glove box is easy. It is about the only thing that is. Several bolts hold the door and several screws hold the cardboard box. Mine is in pretty good shape and once I clean it up will be reused.
The radio knobs pull off and there are only a few wires. I label the wires with masking tape so I can put them back where they belong. I hate wiring. The radio has only a big bolt to hold it down on the back. By the way, I would NEVER try this with the seat in the car unless you are about 3 feet tall. I would not even want to do this with the windshield in the car.
The speaker has 4 screws that can easily be reached when the radio is out. The air defroster vents are held in place with a single phillips screw that can be reached from between the louvers if you are patient. Be careful not to break the vent.
The next big thing that seems to be pullable is the fresh air vent. It has a cable going to the heater controls and several screws. It LOOKS like it will come out without pulling the inner heater distribution plastic box but that is only because the lower screws are well hidden behind it. It is also a BIG help to have the hole in the dash where the speaker was to look through and the radio hole to reach through. Since it won't come out before the heater distribution box it will come out. It has a few bolts that aren't too hard to reach. The uprights to the defroster are held in place by 4 screws and come out pretty easy. Once the box is out the lower air vent screws come out and with a little effort comes off the firewall. It has a lot of body caulking that make you have to PULL. The caulking has the consistency of fresh modeling clay and there is quite a bit of it on the car everywhere there is a bolt through the car to the outside that needs waterproofing.
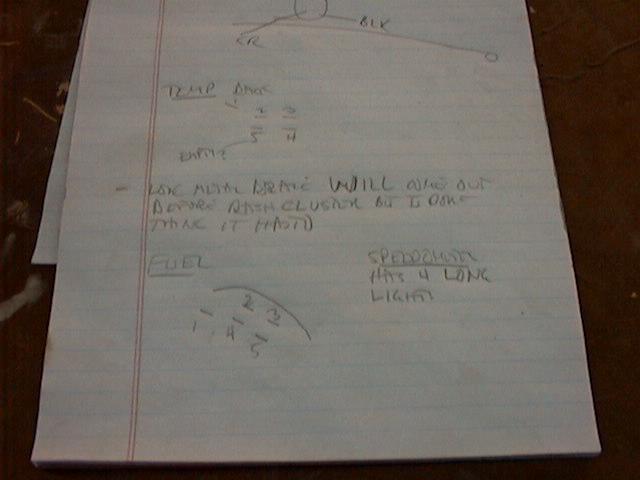
I still can't see crap up under the instrument panel. I have taken off everything that is loose. Some stuff has wires connecting it to things that hold it in the way. I mark what is in the way and take it off. Because I will forget everything before I put it back together I made some drawings so I hopefully can get it back together without losing my religion.
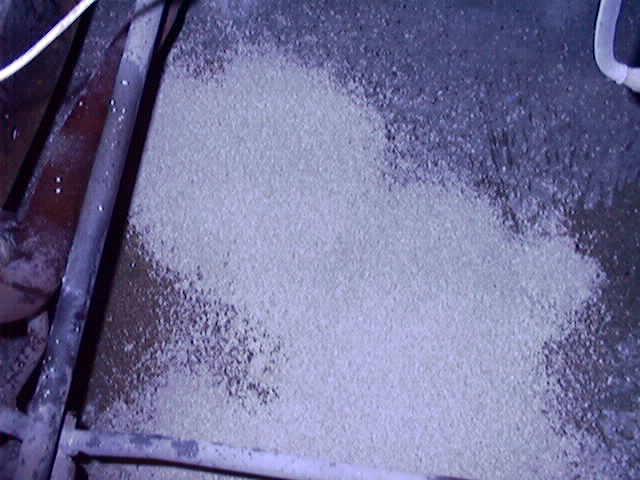
My dash pad was pretty far gone so I pulled, cut, cussed and got it pretty much off. The padding was dust and I vacummed it off. By the way, invest in a good shop vac before you start a project like this. I have a 32 gallon Craftsman that I've had for years. Also, there is a lot of sand and dust inside the dash that keeps falling out in my face and elsewhere.
Once the crud was gone, I could see some screws holding to the windshield frame and instrument cluster. If I can get it out of the way, I should be able to get to the instrument cluster from the top so off come the screws. Things move but won't come apart. Something is holding it on the ends but I can't see what it is. With the doors open, I can see some screws holding the stainless trim but even with them out it still won't move. It's Saturday afternoon. I'm dirty, tired, sore, and more than a little frustrated. Dang this is fun but I've had all the fun I can stand today.
Sunday afternoon, back in the engine compartment, the power brake booster has 4 bolts. I sure hope it works! The master cylinder is already off from my previous work, otherwize I'd pull it. From inside, the brake pedal has a few bolts and when it is out of the way you can see a little better what is up under there. A little..
There is a metal channel that runs completly across the dash on the bottom. It has several bolts to the sheet metal and one to each side of the kickpanel. When all those are loose it will come out if you wiggle it around the steering column. Of course the instrument cluster is still in place.
Ok, what the heck is holding the top plate in place. There HAS to be something. With a flashlight I can see two philips screws holding the stainless end cap on. With them out the dash sheet metal comes off at last! Hooray!
Go to the rest of this chapter...
This page was last updated October 19, 2003. Send us your feedback, and come join the Imperial Mailing List - Online Car Club
