
Imperial Home Page -> Repair -> Body & Paint -> Paint & Body 101 -> Part 12
Paint repair, sand, and buff
February 23
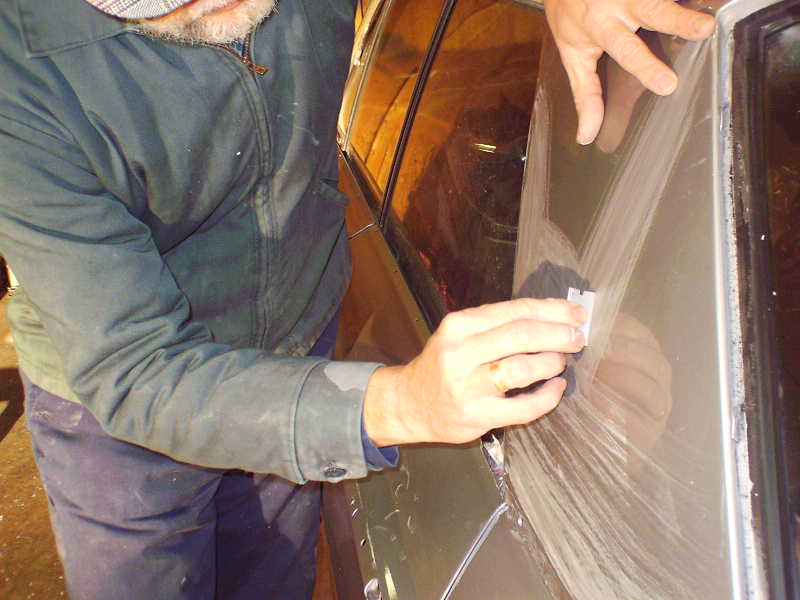
Got an early start Sunday but was delayed when the propane heater would not fire off. Finally got it going and warmed the shop up. First thing I wanted to do was start fixing the runs and sags on the roof. I use a single edge razor blade held just past vertical. When you drag it over a run, it scrapes a little off the top. If you keep gently scraping you will eventually lower the surface to the same as the rest of the paint. You have to be careful not to let the edges gouge into the paint but once you get the hang of it, it is pretty easy. Monday, I bought a nib sanding block at my paint store that works very well also but is considerably slower. However it does not dig in so it's safer.
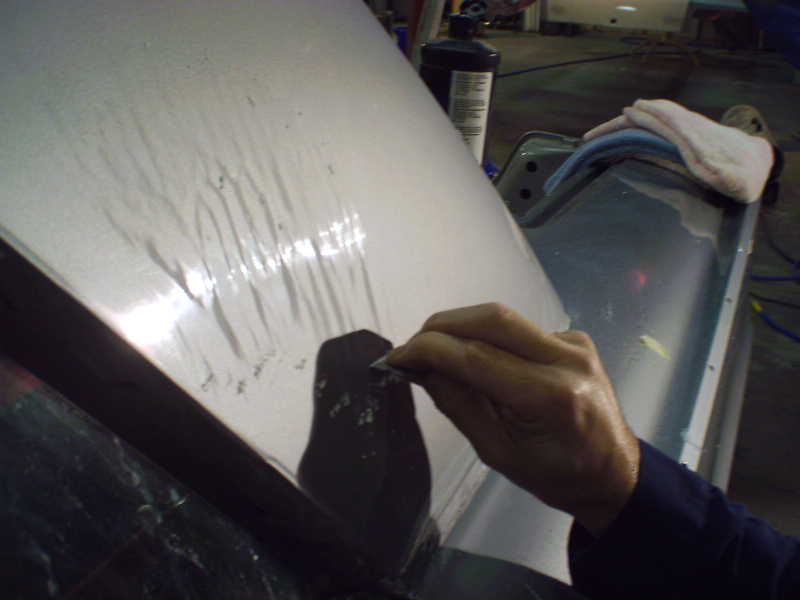
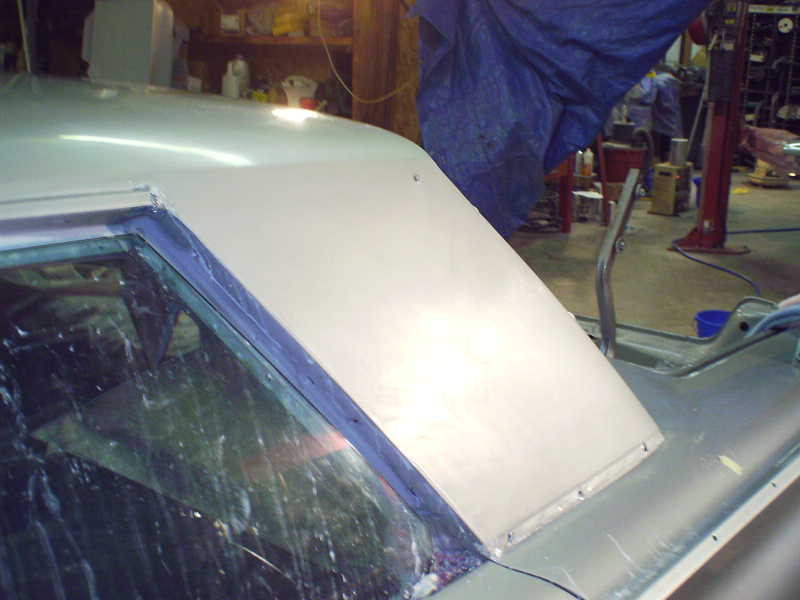
 The sag on the left C pillar was pretty large.
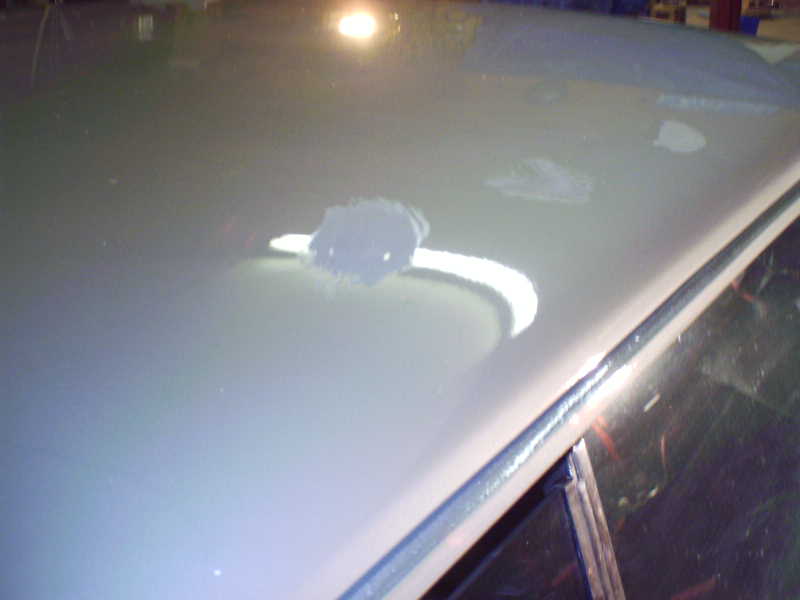 There were a couple small runs on the left side of the roof also.
 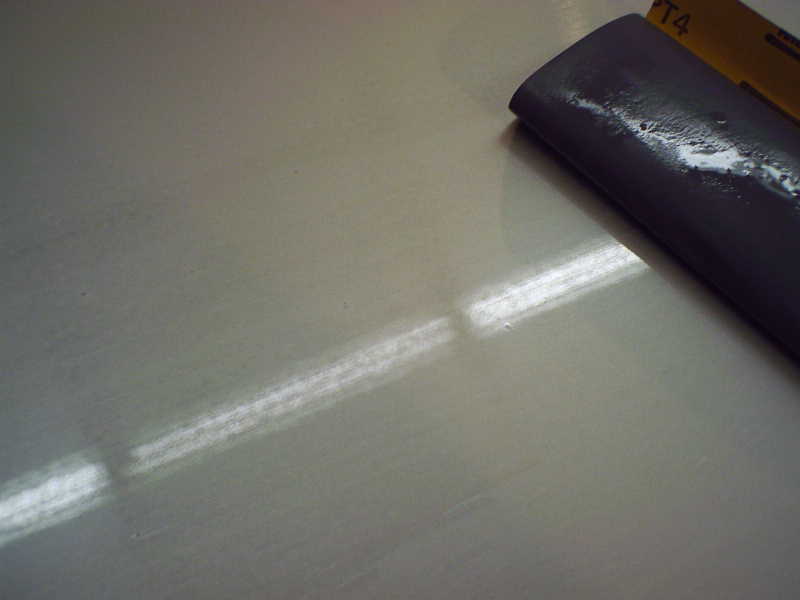 Once the high spots were scraped down, it was time to wet sand. Normally
I start with 1000 grit but discovered my stash only had 1200, 1500, and 2000 in
it so we used 1200. Again, warm water with some joy for lubrication.
Once the high spots were scraped down, it was time to wet sand. Normally
I start with 1000 grit but discovered my stash only had 1200, 1500, and 2000 in
it so we used 1200. Again, warm water with some joy for lubrication.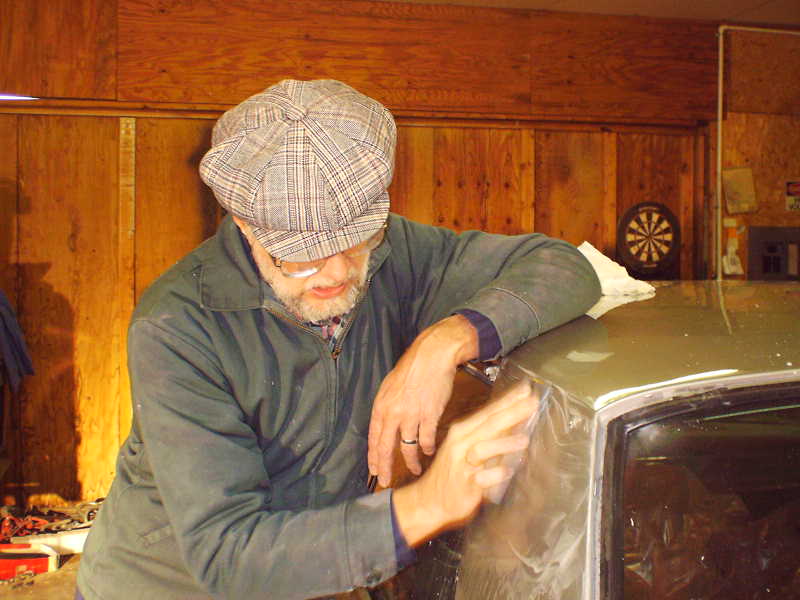
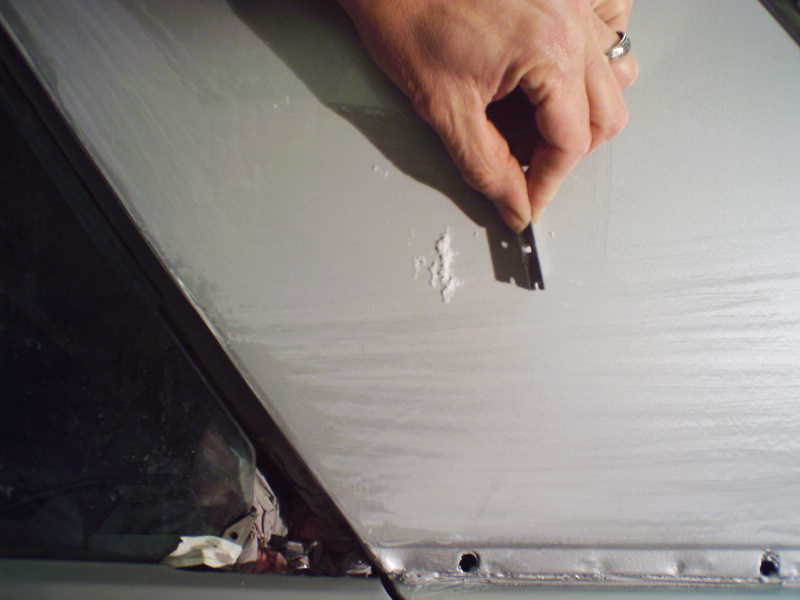
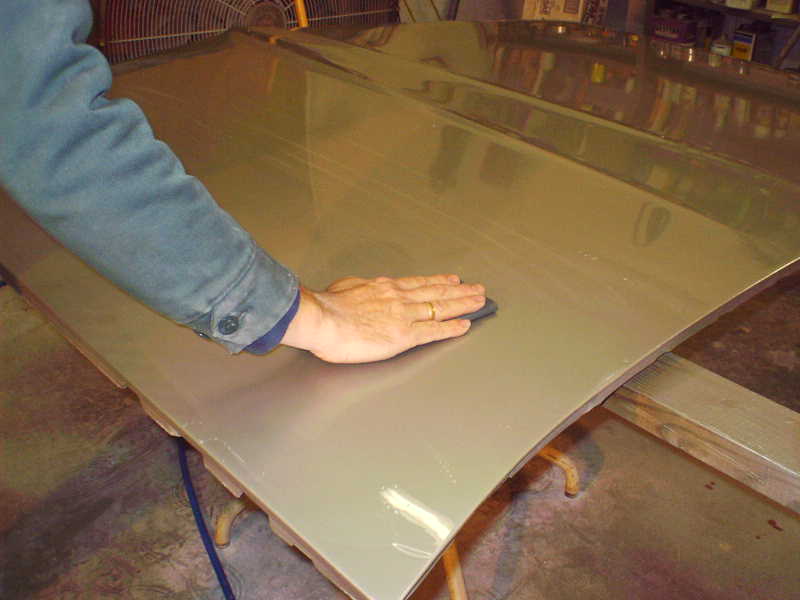
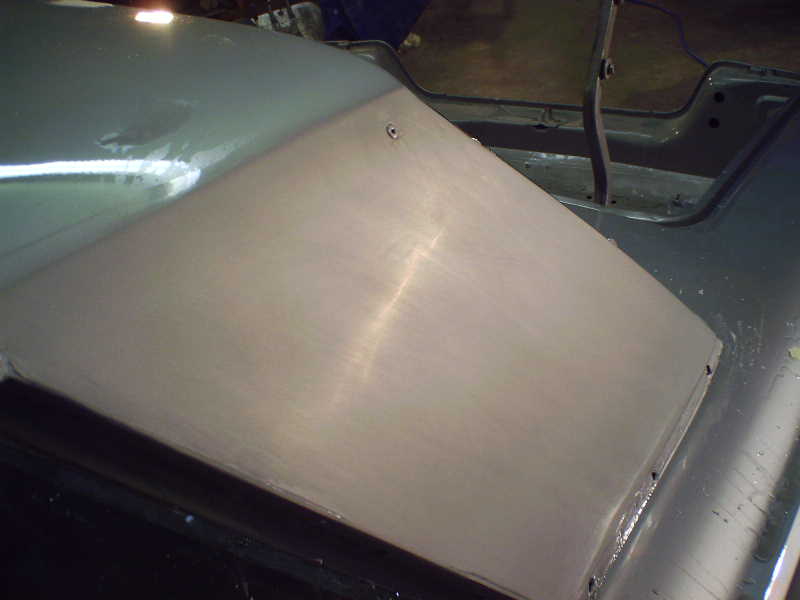 Again the technique is straight forward. Just work the entire panel methodically.
When you have it 'right' it will be uniformly dull. Any shiny spots will
show up as dimples in the final look.
Again the technique is straight forward. Just work the entire panel methodically.
When you have it 'right' it will be uniformly dull. Any shiny spots will
show up as dimples in the final look. 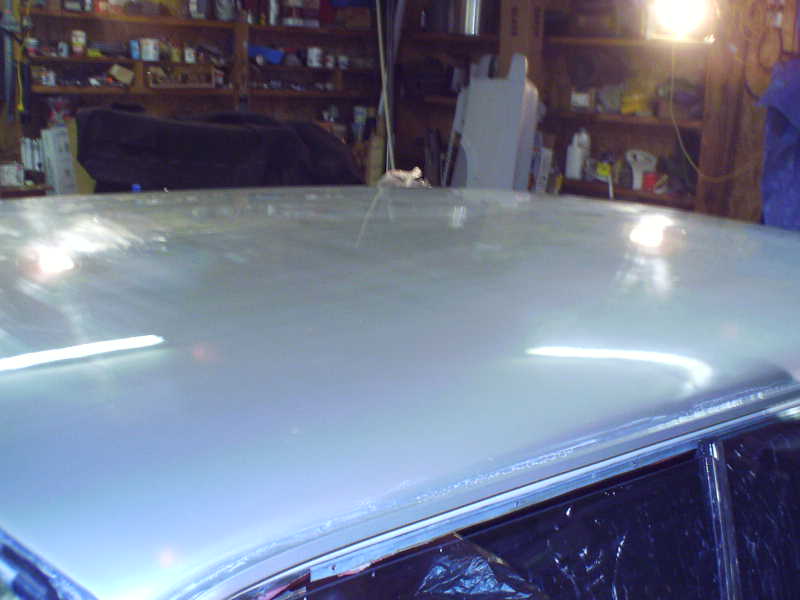 Make sure you sand all the nibs and any trash out on the surface also.
This is a recursive process so you might scrape, sand, then buff, see more
problems, and repeat until you are happy. BE SURE to keep your sandpaper
clean and use plenty of water. Any grit you pick up can ruin the job in a
single stroke. Be careful where you lay your sandpaper and rinse often.
Make sure you sand all the nibs and any trash out on the surface also.
This is a recursive process so you might scrape, sand, then buff, see more
problems, and repeat until you are happy. BE SURE to keep your sandpaper
clean and use plenty of water. Any grit you pick up can ruin the job in a
single stroke. Be careful where you lay your sandpaper and rinse often.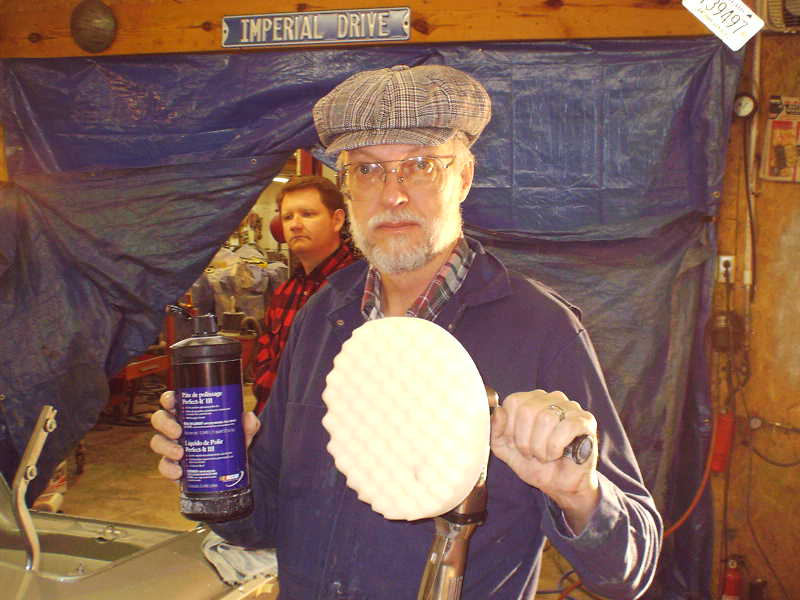 OK, time for buffing. Jeff had never seen this part of the process before
and was eager to see how I could save a panel that he thought was trashed.
I'm using 3M Perfect III rubbing compound for the first step with a 3M waffle
pad on a 4500 RPM air sander. The pad is Velcro backed and quickly
attaches to the backing pad on the sander.
OK, time for buffing. Jeff had never seen this part of the process before
and was eager to see how I could save a panel that he thought was trashed.
I'm using 3M Perfect III rubbing compound for the first step with a 3M waffle
pad on a 4500 RPM air sander. The pad is Velcro backed and quickly
attaches to the backing pad on the sander.
Shake up the compound and put some on the pad. Smear it around BEFORE
you start the motor or you'll sling it EVERYWHERE. It's a pretty messy
job. 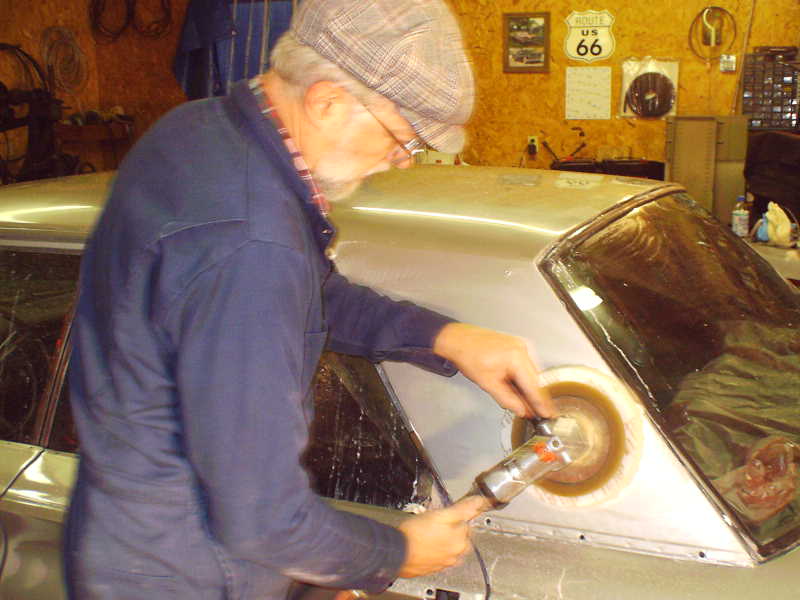
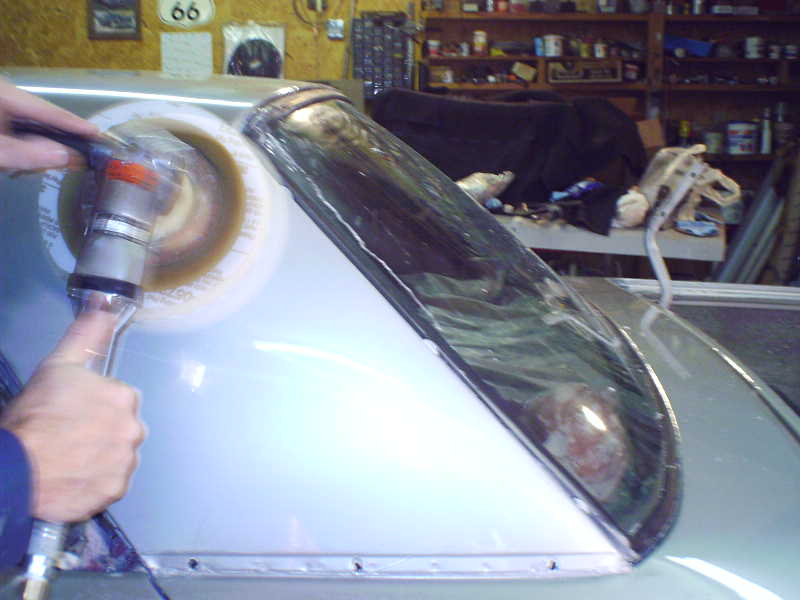 Work the panel all over being careful around the edges. I try never to let
the rotation of the pad cut INTO and edge but rather AWAY from it. Foam
pads are not supposed to burn through the paint but I'm paranoid.
Work the panel all over being careful around the edges. I try never to let
the rotation of the pad cut INTO and edge but rather AWAY from it. Foam
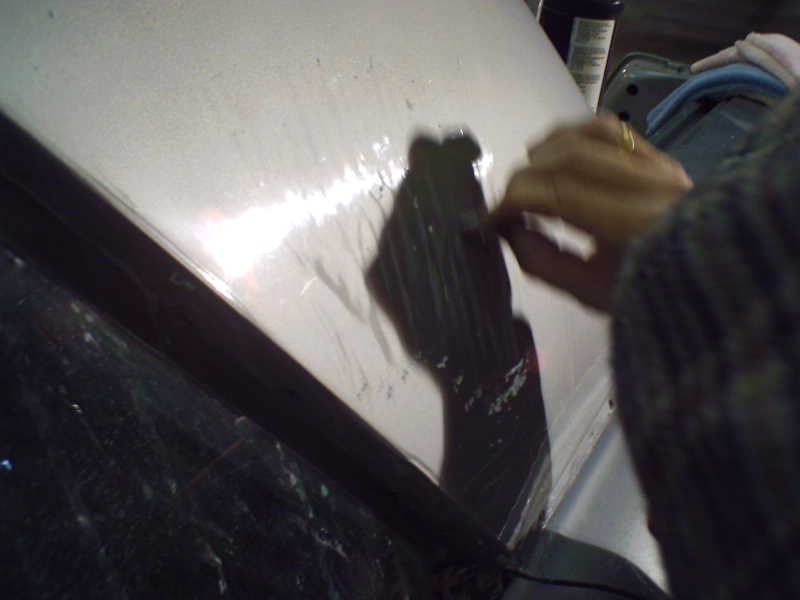
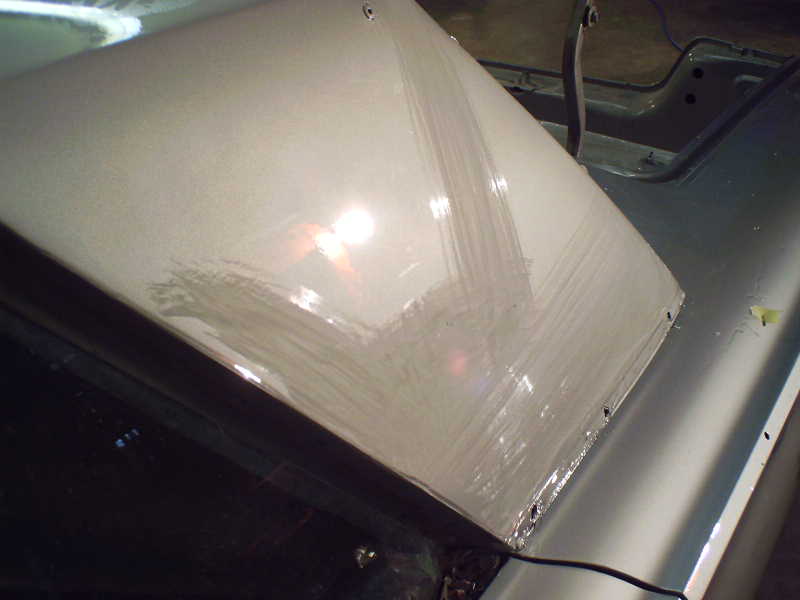
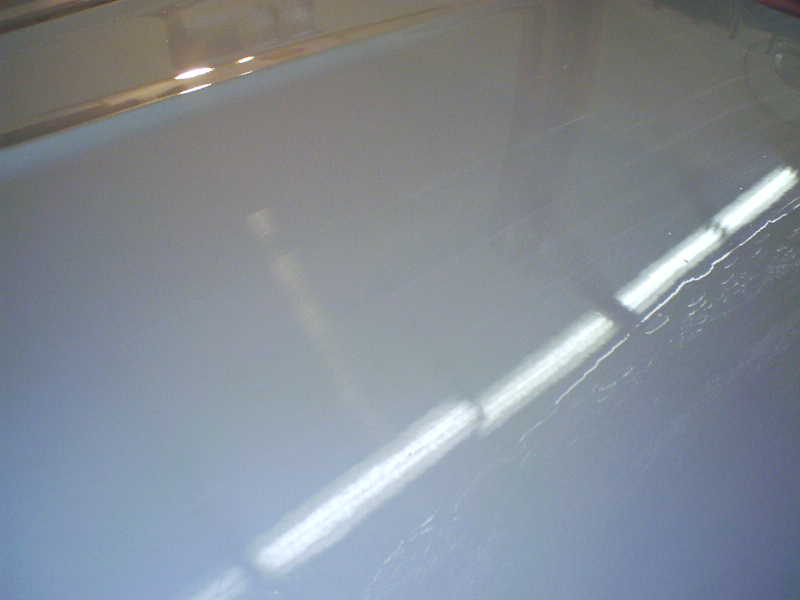
pads are not supposed to burn through the paint but I'm paranoid. 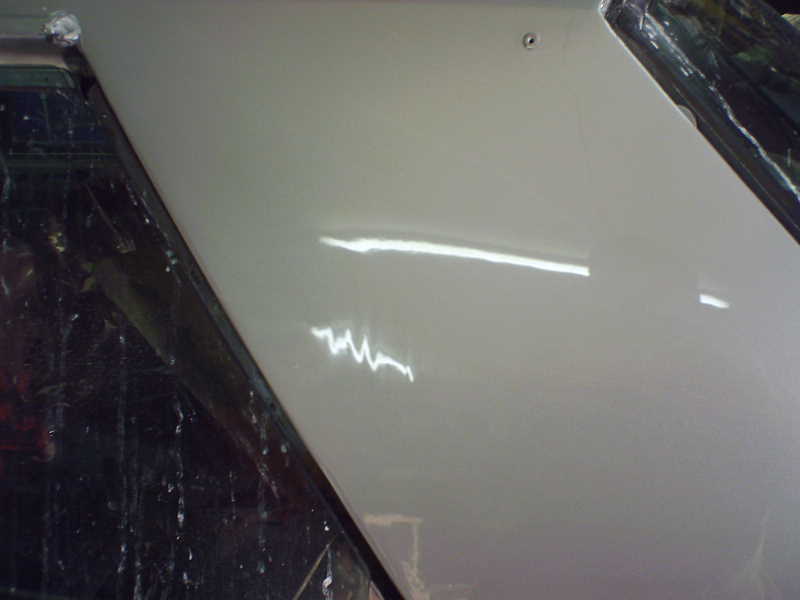 The gloss comes out in a heartbeat and Jeff was amazed. See the jagged
lower reflection? That is where the runs are still high and need further
attention. When you have it right reflections will be smooth and straight
or curved based on the panel.
The gloss comes out in a heartbeat and Jeff was amazed. See the jagged
lower reflection? That is where the runs are still high and need further
attention. When you have it right reflections will be smooth and straight
or curved based on the panel. 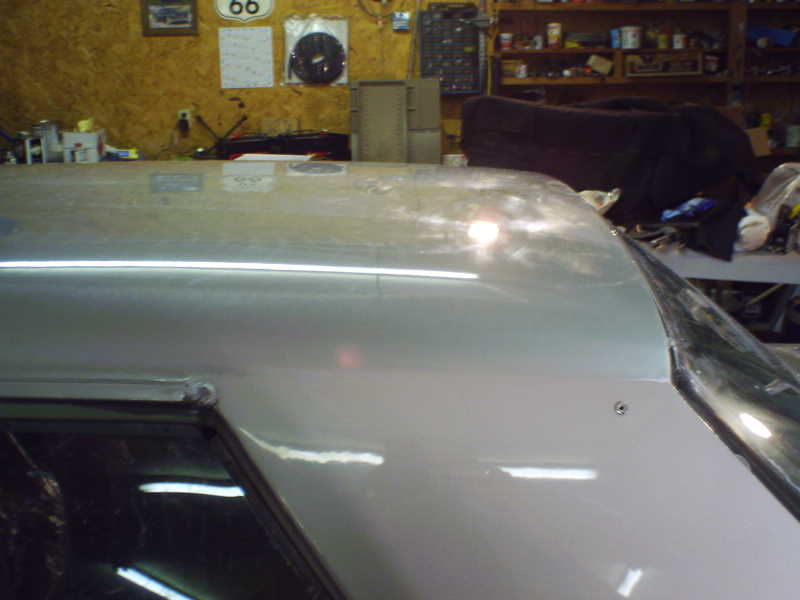 Getting better.
The top came out GREAT. The haze will come off with polishing compound
later on.
Getting better.
The top came out GREAT. The haze will come off with polishing compound
later on. 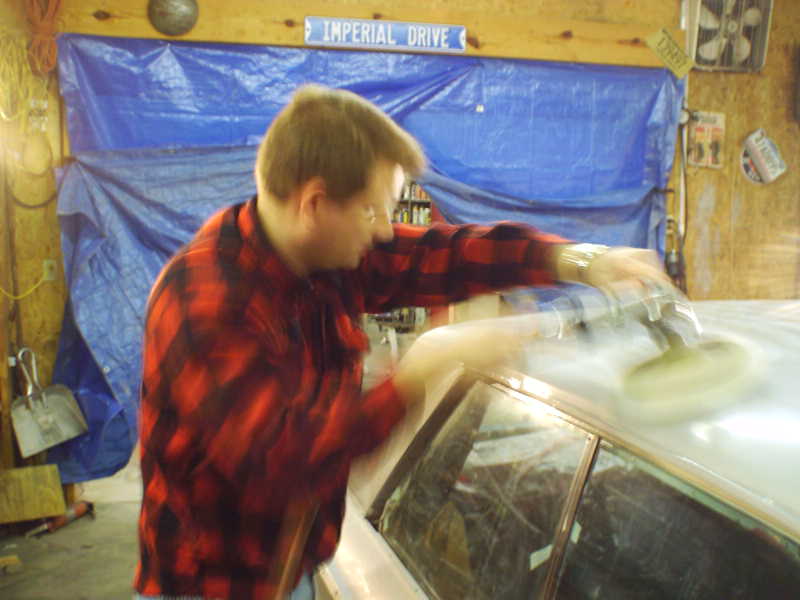 Jeff tries his hand on the buffer.
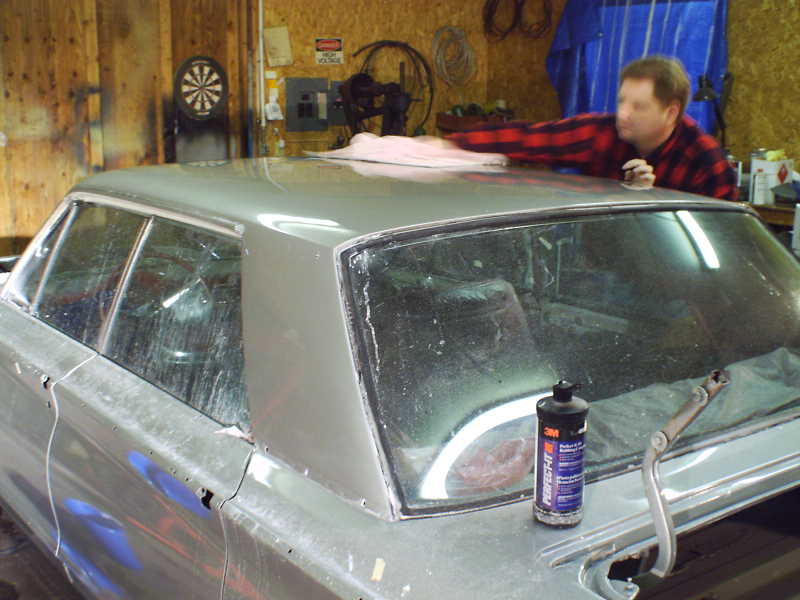 Then wipes the dried compound off.
 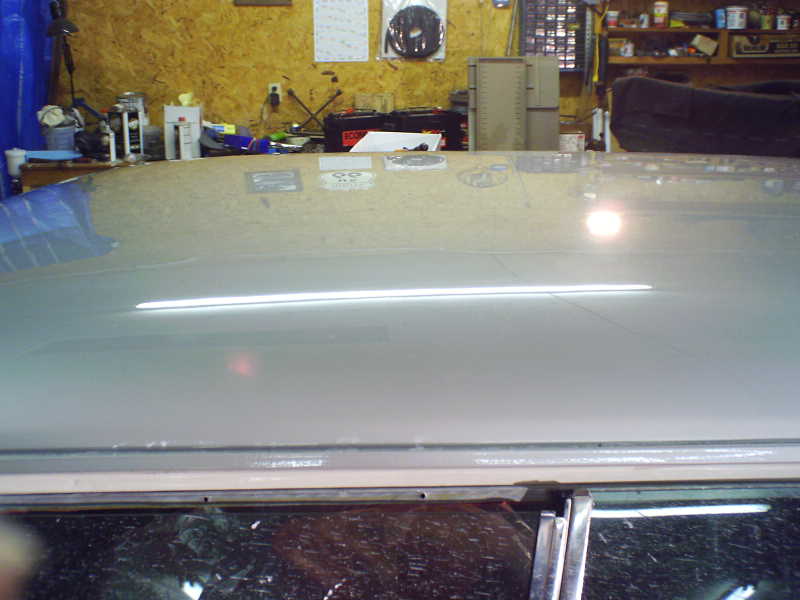 Getting there!
 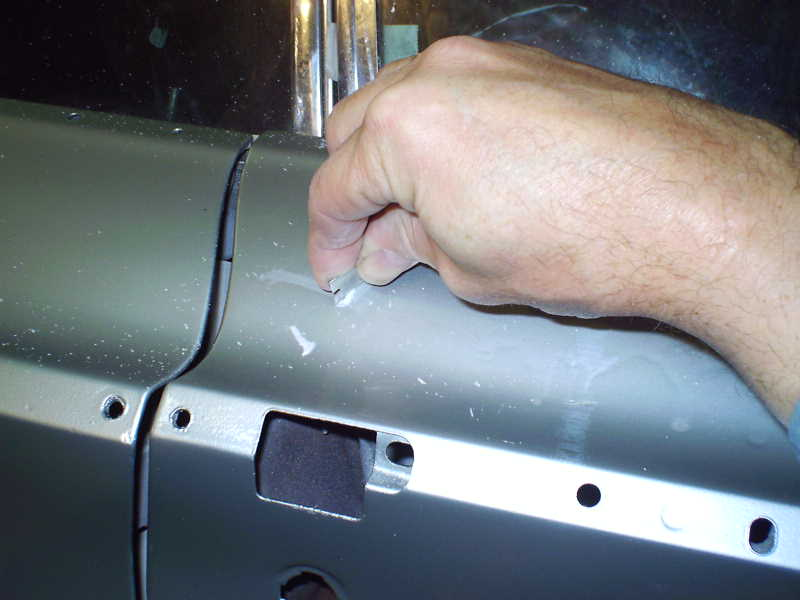 Also had a few spots on the upper parts of the doors that needed work.
We had a problem on the hood. While spraying clear, I noticed a hair in the paint that we were unable to pick out with tweezers. Wasn't gray so it wasn't mine! Ah well, stuff happens. I should have stopped and just dug it out but instead I tried to paint over it with some base in the airbrush. The color came out darker so I decided to sand it smooth and repaint. Jeff and Elijah wet sanded the entire surface with 600 grit and made sure it was perfectly straight and all nibs were gone.

 I'll paint it Monday Still quite a bit of work to do but this part is what
brings out the "oohs and aahs" Everyone was very impressed with
the straightness of the panels and so was I. You really never know until
it gets shiny but it would have been good enough for black. I do like the
silver color though and it looks great with the burgundy interior.
I'll paint it Monday Still quite a bit of work to do but this part is what
brings out the "oohs and aahs" Everyone was very impressed with
the straightness of the panels and so was I. You really never know until
it gets shiny but it would have been good enough for black. I do like the
silver color though and it looks great with the burgundy interior.
We also did some work on the decklid but really need the 1000 grit. 1200 is just too fine for the first cuts. With 4 coats of clear, I have plenty of material to sand smooth without fear of going through.
Total man-hours 8 on Sunday before Jeff and Elijah had to leave. Robert left Saturday night so he could drive to Savanna Ga and check out a 60 Imperial for Mark Harris.Lots more work needed before I take it to Anniston on 3/28.
Monday 24, Tuesday 25
Spent Monday doing taxes *&^&*%%$#@
Tuesday spent about 5 hours doing the trunk and hood. I had some more photos of the wet sanding process but lost them in the computer. I'll get back and retake them.
This page was last updated October 1, 2003. Send us your feedback, and come join the Imperial Mailing List - Online Car Club
