
Imperial Home Page -> Repair -> Body & Paint -> Paint & Body 101 -> Part 2
More Stripping -- Day 2
Did not get out to the shop until about 10 this morning (I'm retired by the way). I had some more insulation blown in my attic and watched the guy wade in the fiberglass. Glad I don't do have that job.
Once the shop warmed up I took down the headliner on the C pillar and unbolted the trim piece. The headliner is pretty fragile and I may have problems getting it back right. One seam came apart but I think I can re-stitch it. Once that trim was off, I pulled the left side roof trim and, started on the other doors. It's amazing how much faster it goes once you know the drill. The plastic clips that hold the trim on are going to be a real problem. 80% are self destructing. Took a lunch break about 1 and had just gotten back to work when my wife called and said the kids (and more importantly the Grandson) were coming to dinner. Knocked off at 3 and went in to clean up and start supper. I still have to do the front fenders, grill, and hood. I'm hoping I don't have to pull the inner fender to get the top trim off but I think I will have to. Hopefully tomorrow will see it done. The weather guys are yelling about snow tomorrow. I always say they can't predict dark at midnight but every once in a while they luck up and guess right. Just in case someone new is reading this, I live near Huntsville, Alabama and snow is a pretty big deal. If we get an inch they will close the schools and there won't be a loaf of bread or quart of milk to be found!
 Other than the bolt I had to grind off on the rear bumper I only had 1
problem. On the right front door, there was a phillips screw that was at
an angle and was stripping. I had to drill a hole in the door panel so I
could get a straight shot at it. The hole will be covered by the door
panel anyway.
Other than the bolt I had to grind off on the rear bumper I only had 1
problem. On the right front door, there was a phillips screw that was at
an angle and was stripping. I had to drill a hole in the door panel so I
could get a straight shot at it. The hole will be covered by the door
panel anyway.
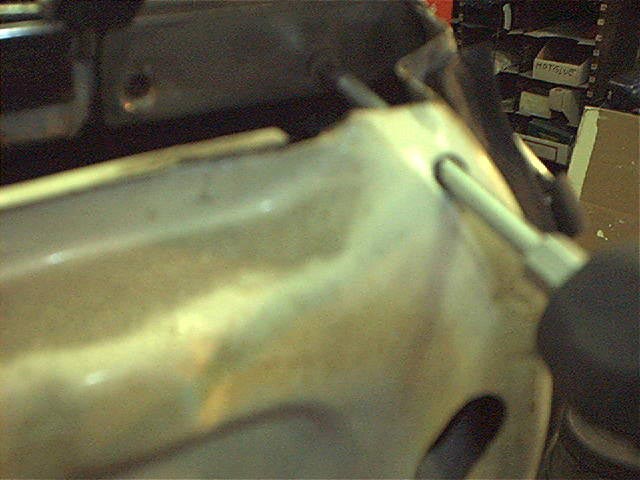
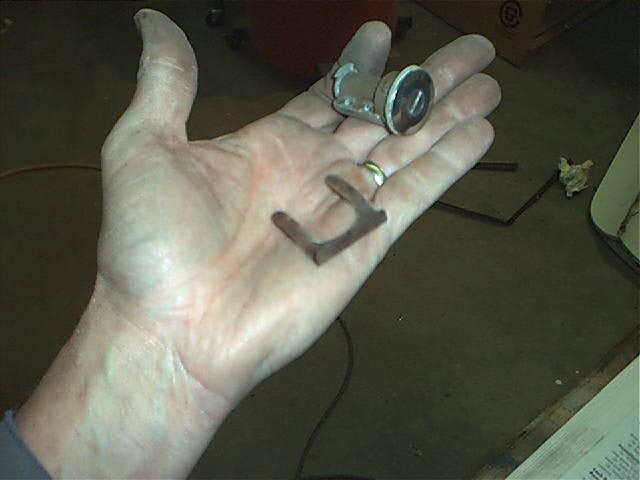
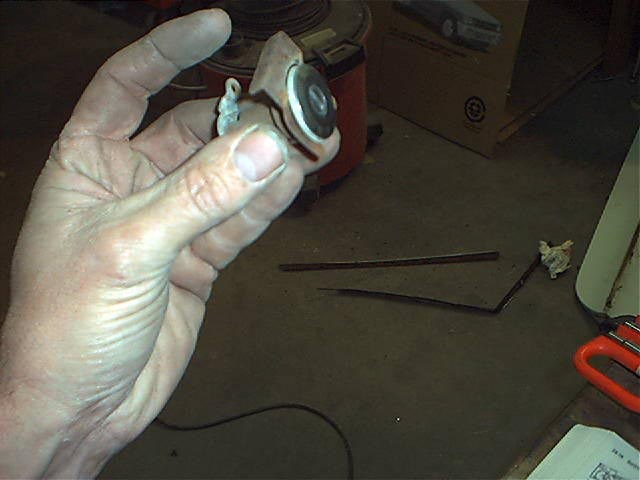
Following are a couple shots of the door lock mechanism. That little
clip in my palm holds the lock in as shown in the second photo. Pretty
standard. It's easy to reach once you have the door panel off and crank the
window up. Lack of power windows is a blessing because there is a lot less
'stuff' in the door.
 The door handle is held on with two nuts and the linkage is held by a spring
clip.
The door handle is held on with two nuts and the linkage is held by a spring
clip. 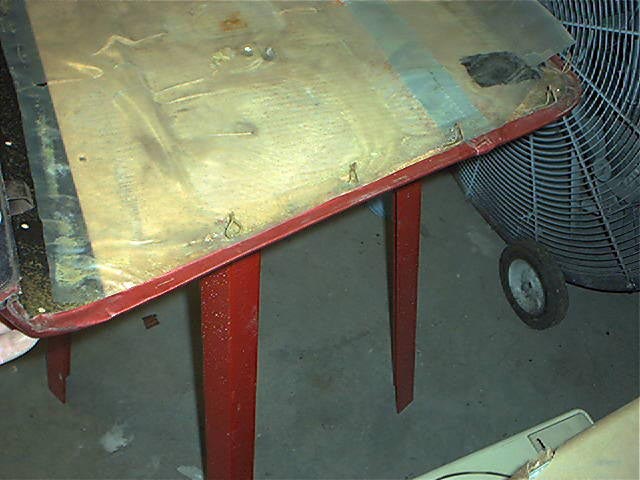 The door panels themselves are just like Imperials, ie spring clips. Use a
wide flat screwdriver or trim remover tool and GENTLY pry up beside each
one. They will pop right out.
The door panels themselves are just like Imperials, ie spring clips. Use a
wide flat screwdriver or trim remover tool and GENTLY pry up beside each
one. They will pop right out.  Robert Soule taught me something else a few weeks back. The vapor barrier
(plastic) is supposed to tuck down INSIDE this slot in the bottom of the
door. Water then drains back down inside the door instead of outside under
the panel. Makes sense to me but every one I've pulled has been so trashed
I've never seen one correct. I'll build new ones out of 4 or 6 mil clear
plastic.
Robert Soule taught me something else a few weeks back. The vapor barrier
(plastic) is supposed to tuck down INSIDE this slot in the bottom of the
door. Water then drains back down inside the door instead of outside under
the panel. Makes sense to me but every one I've pulled has been so trashed
I've never seen one correct. I'll build new ones out of 4 or 6 mil clear
plastic.
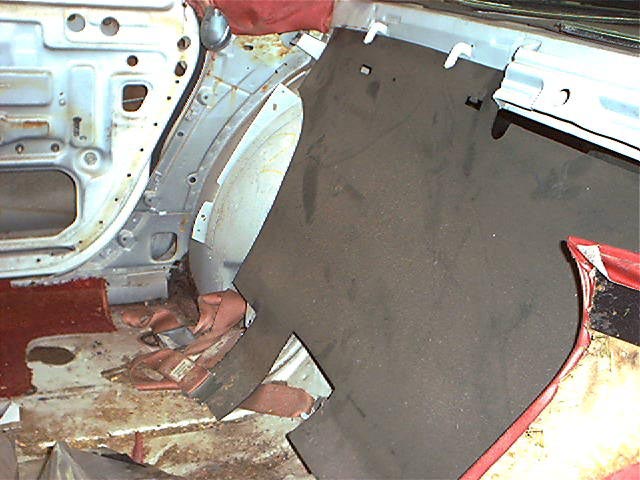
Here is the back seat and at the top you can see the headliner where it's now loose. Don't have a photo of the C pillar.
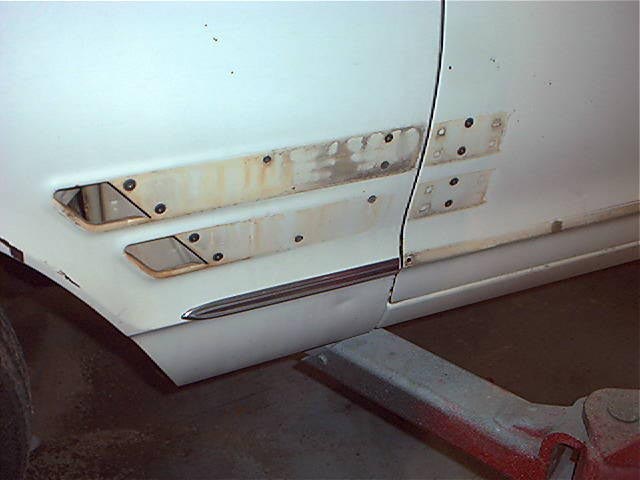
The fake vents on the front fender are held on by a bunch of funny phillips screws and then pop right off.
The motor in this car is a 383 which was rebuilt professionally about 5 years and 500 miles back (along with brakes, tranny, and radiator) Unfortunately, they painted it Mopar blue instead of aqua. More work. I've about finished a dual snorkel air cleaner for it. Robert brought me an original and I took two singles and made a dual. Still have to do some finishing on it but once complete no one will be able to tell it isn't original.
Grandson is asleep and I'm fading fast. About 4 hours today and 6 Monday so far on the project.
Still More Stripping -- Day 3
COLD here today, 21 degrees at sunrise. Snow is still in the forecast but nothing yet so I packed the wife off to work and fired up the heater. Still stripping trim. Most the trim on the front doors and front fenders has an 3/8 acorn nut at the end that you can get to with a nutdriver on an extension. The one's on the front fender are a bear because they are tight and obstructed by the door hinges. A few months ago I found a neat little 1/4 drive flexible extension for my nutdriver. Works GREAT. Some nuts require a deep well socket to clear the bolt. A set of 1/4 inch deep wells are really handy
 To get the trim off the front fenders the inner fender panel has to come
off. With a 7/16 socket on an air ratchet, this only took a few minutes.
To get the trim off the front fenders the inner fender panel has to come
off. With a 7/16 socket on an air ratchet, this only took a few minutes. 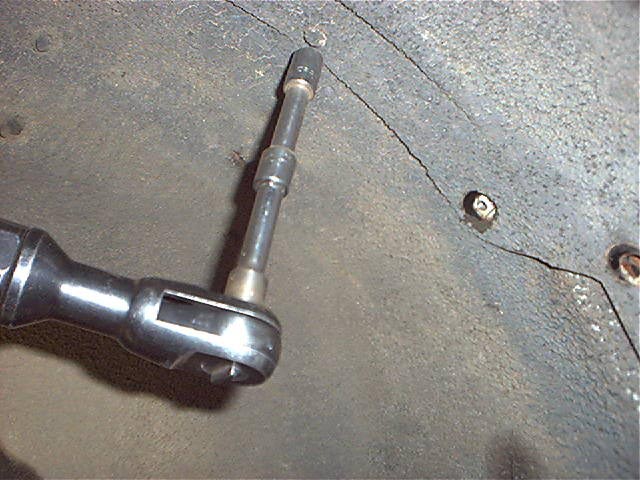
And then it was easy to get to the trim clip nuts with the nutdriver. 
The grill was a pain but had to come out to get the last pieces of trim off.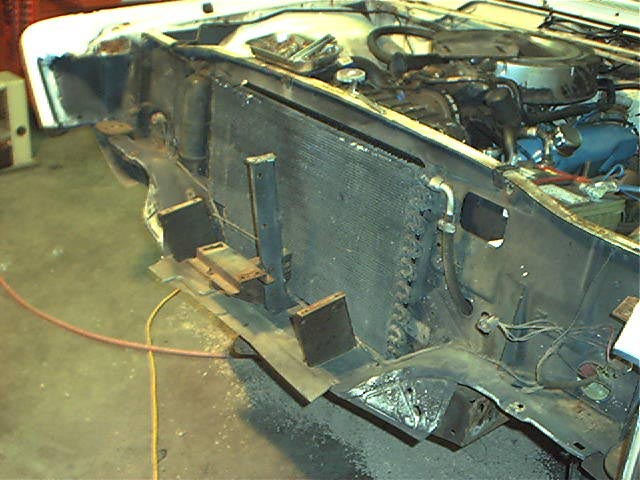
Some 'best practices' I've picked up over the years. Use a sharpie
marker and write what each piece of trim is on the inside. You'll be glad
you did when you start putting it back together. This one is 'Left Front
Top' 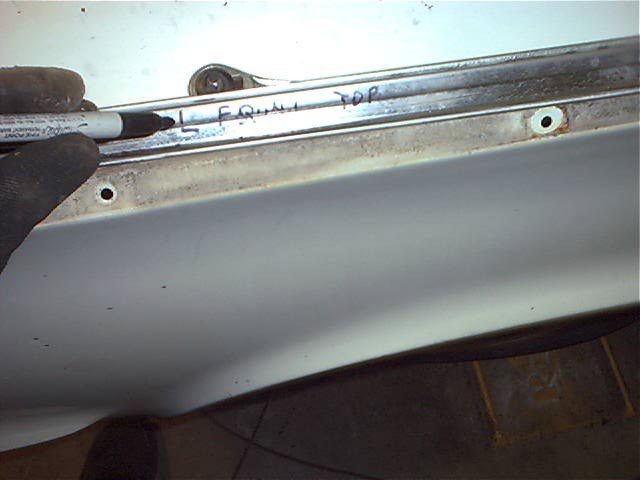
The little magnetic parts trays you can get for a few bucks at harbor freight
or other import tool places are worth their weight in gold. This one has
all the front fender bolts in it. 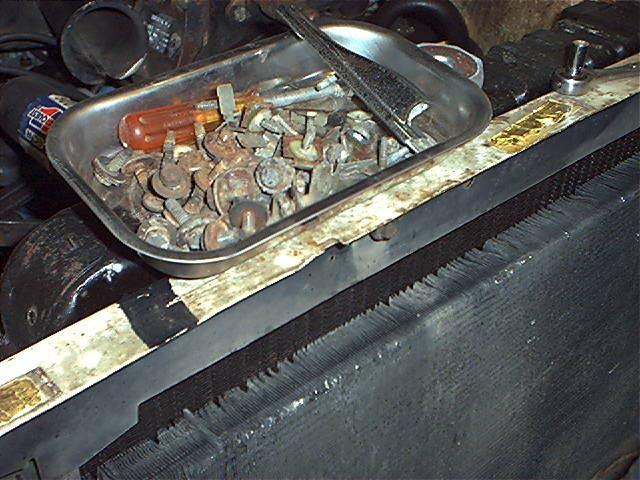
When I finish, I'll transfer it to a 'zip lock' type bag and write on the bag
what is in it. 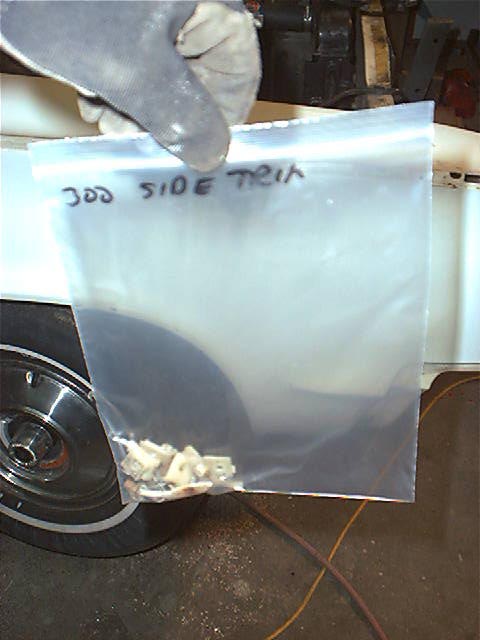
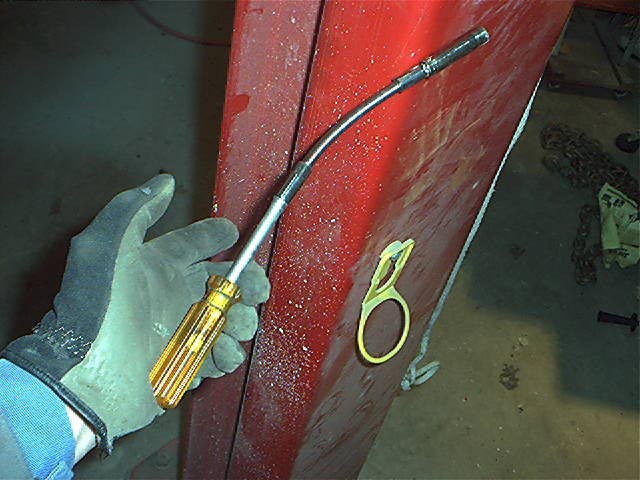
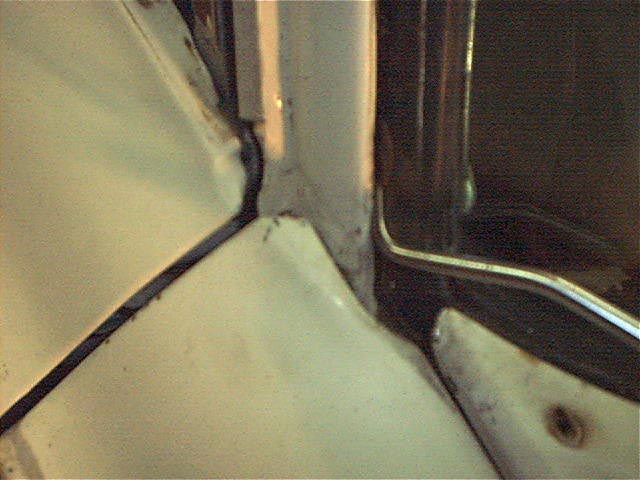
Every Mopar I've worked on has windshield clips the same. Behind the
rubber is a clip every 8 inches or so that rides in front of the lip in the
trim. If you take a tool and gently pry it away from the trim, the trim
can slip out. I've tried most every tool known and like this one
best. It is a modified cotter key puller that I've grown flatter. 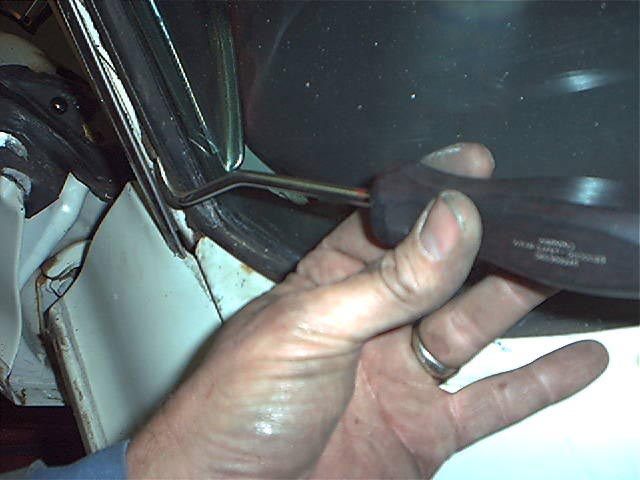
 Just
one word of caution. Lots of people have broken windshields taking trim
off. BE CAREFUL! You should not have to pry on the glass. I
just slide a thin paint scraper behind the trim until I hit the clip, insert the
tool and pull down while twisting the tool outward. This USUALLY
pops the trim out. Sometimes you have to cuss a while first.
Just
one word of caution. Lots of people have broken windshields taking trim
off. BE CAREFUL! You should not have to pry on the glass. I
just slide a thin paint scraper behind the trim until I hit the clip, insert the
tool and pull down while twisting the tool outward. This USUALLY
pops the trim out. Sometimes you have to cuss a while first.
Another 4 hours today, that's 14 to strip the car. Next step is to start body work but before that the car needs a VERY through wash with a coarse bristle brush and lots of soapy water. If you just start sanding over all the dirt and grime, you just end up pushing that into the paint or metal and it WILL cause you problems later on.
However, timing is everything and washing a car outside when it's sleeting and 33 degrees ain't gonna happen and it's not going to warm up for a couple three days so it might be next week before I get back to work. Dang! It's kind of like checking anti freeze. The must be some sort of natural law that says you can't check antifreeze until it's 33 degrees, dark, and raining. At least that's when I always end up checking it. Same with this. Why did I wait until it was freezing to start this project? Oh well. Maybe I'll do the next one in August just to even things out :)
This page was last updated October 1, 2003. Send us your feedback, and come join the Imperial Mailing List - Online Car Club
