
Imperial Home Page -> Repair -> Body & Paint -> Paint & Body 101 -> Part 3
Part 3 - Rust repair and body work
Sunday 19 January, 2003
That is, I pulled the decklid and sanded it off completly. There is some rust on the inner lip so I went at it with a wire brush in a 4 1/2 inch grinder ( Found them on sale while at thanksgiving in Illinois for 5 bucks each. Bought 4 so I don't have to change tools. Got one with a wire wheel, one with flap disk, one with grinder, and one with cuttoff wheel). After that I did the rust killer trick then etched all the painted surface with the rust stuff.
The trunk had a plastic mat that had turned to tiny plastic chunks. I
cleaned it out and painted the rusty bottom with Corolless from Eastwood. 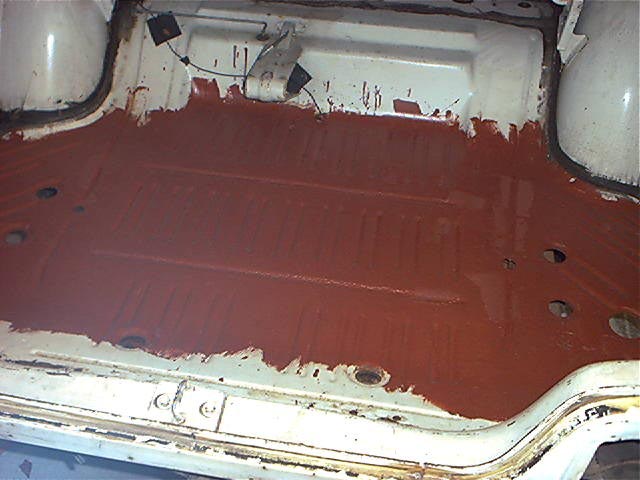
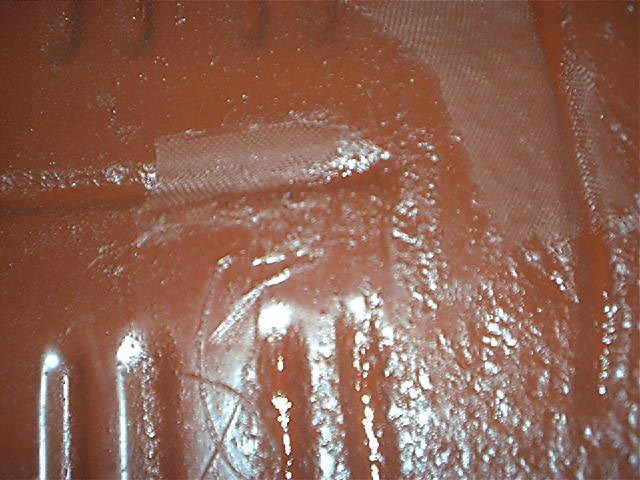 There were a few pinholes that I covered with fiberglas mat and just put another
coat of paint over them. POR 15 is better for this approach but I'm out and have
good luck with Corolless. Also it is very difficult to paint over POR but
Corolless requires not special effort.
There were a few pinholes that I covered with fiberglas mat and just put another
coat of paint over them. POR 15 is better for this approach but I'm out and have
good luck with Corolless. Also it is very difficult to paint over POR but
Corolless requires not special effort.
About 2 hours effort.
Tuesday January 21, 2003
Rainy day and the temp is dropping. Spent about 4 hours in the shop. Robert Soule is coming over tomorrow to help and learn.
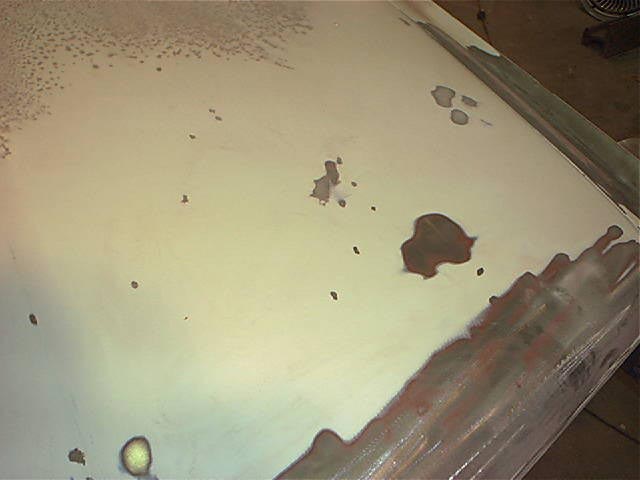
 First thing I did was take a DA (Dual Action) air sander and strip the know bad
areas to bare metal. I started on the hood and front fenders. The
dark spots (not the red primer) are rust that will have to be killed or it will
come back through the paint. This car is a 120K mile original and has a
bunch of road rash. Under each paint chip appears to be a little spot of
rust.
First thing I did was take a DA (Dual Action) air sander and strip the know bad
areas to bare metal. I started on the hood and front fenders. The
dark spots (not the red primer) are rust that will have to be killed or it will
come back through the paint. This car is a 120K mile original and has a
bunch of road rash. Under each paint chip appears to be a little spot of
rust.
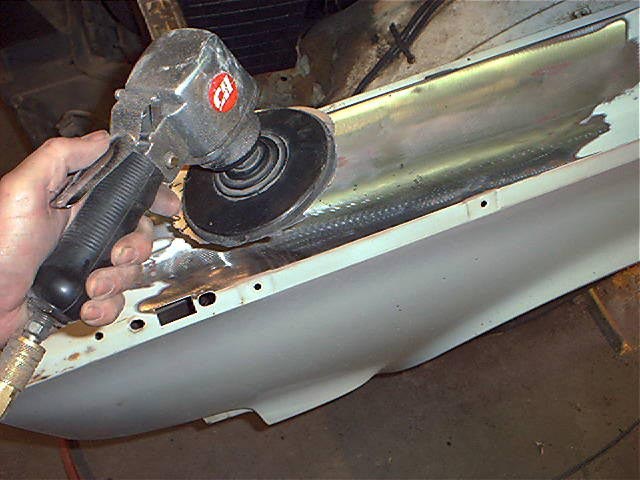
 The easiest way for me to dig out the rock chips down to bare metal was with a
die grinder with a flap wheel like this
The easiest way for me to dig out the rock chips down to bare metal was with a
die grinder with a flap wheel like this 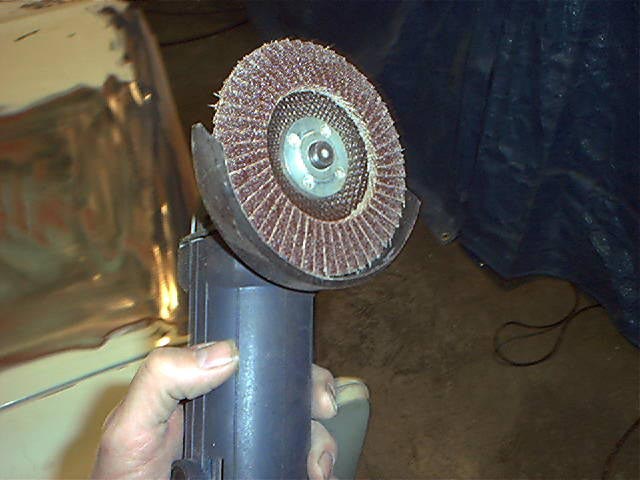 or just a grinding wheel.
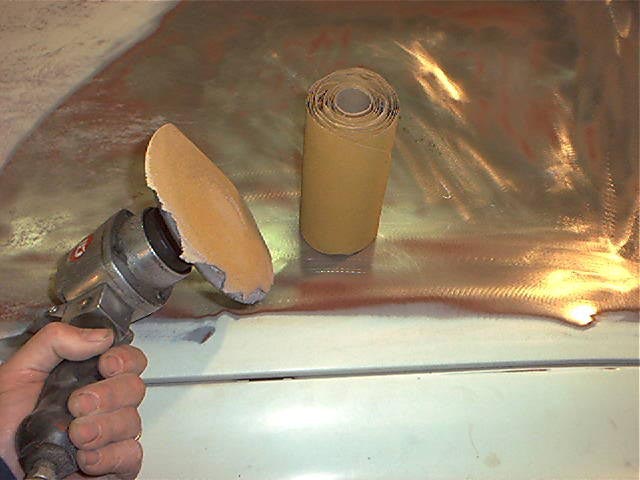
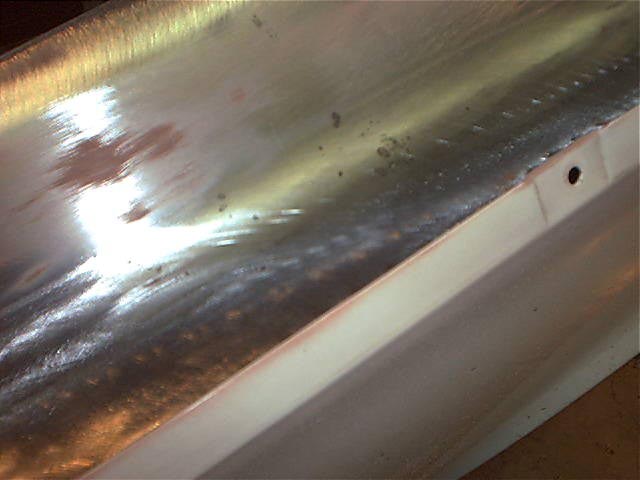
  This is a good shot of what I'm dealing with. The big spot at the top has
been ground down and you can see the black spot of rust in the center.
Down lower on the panel you can see a couple dings that still need to be
addressed.
This is a good shot of what I'm dealing with. The big spot at the top has
been ground down and you can see the black spot of rust in the center.
Down lower on the panel you can see a couple dings that still need to be
addressed.  The hood had some problems in the front and had some bad repaint work on the
right front that I just sanded off. The front edge had so many dings I
just took it to bare metal.
The hood had some problems in the front and had some bad repaint work on the
right front that I just sanded off. The front edge had so many dings I
just took it to bare metal. 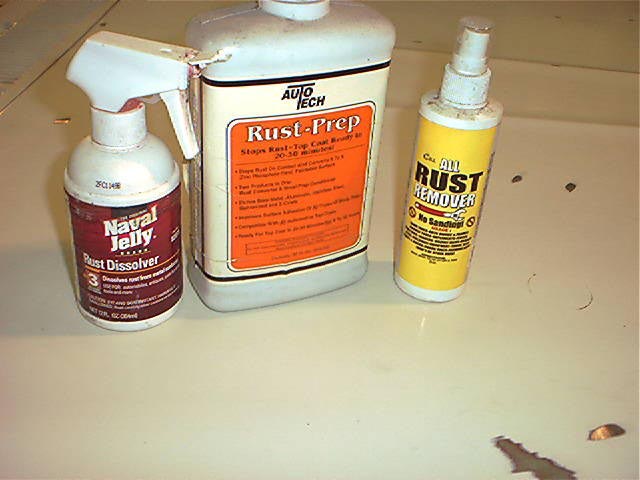 Here are some of the rust killers I use. Rust Prep is like Rust Mort and
I normally use Rust Mort for flat panels but couldn't find my bottle. I
cleaned the shop a couple weeks back and can't find anything! The naval
jelly is good to spray on verticle panels as it will stay in place pretty well.
Make sure you don't get you nose too close to this stuff and wear rubber
gloves. I've burned my smeller before. The primary ingredient in all
these is phosphoric acid or something similar. If you get it on your skin,
you will know it.
Here are some of the rust killers I use. Rust Prep is like Rust Mort and
I normally use Rust Mort for flat panels but couldn't find my bottle. I
cleaned the shop a couple weeks back and can't find anything! The naval
jelly is good to spray on verticle panels as it will stay in place pretty well.
Make sure you don't get you nose too close to this stuff and wear rubber
gloves. I've burned my smeller before. The primary ingredient in all
these is phosphoric acid or something similar. If you get it on your skin,
you will know it.
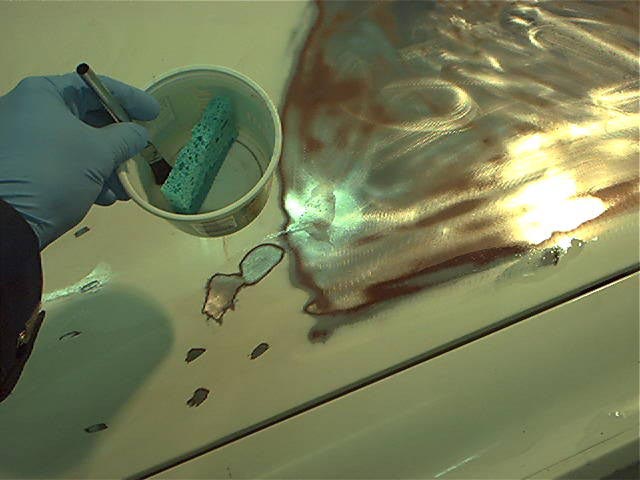 I used a disposable brush to dab some of the killer on each rust spot after I'd
ground it down. THEN I wiped the whole panel down (painted area and all)
with a wet rust killer soaked sponge. This has two goals, to kill
any small rust spots I missed, and to etch the remaining paint so primer will
grip better. This particulary product says to wipe off with a damp towel
to remove salts prior to painting.
I used a disposable brush to dab some of the killer on each rust spot after I'd
ground it down. THEN I wiped the whole panel down (painted area and all)
with a wet rust killer soaked sponge. This has two goals, to kill
any small rust spots I missed, and to etch the remaining paint so primer will
grip better. This particulary product says to wipe off with a damp towel
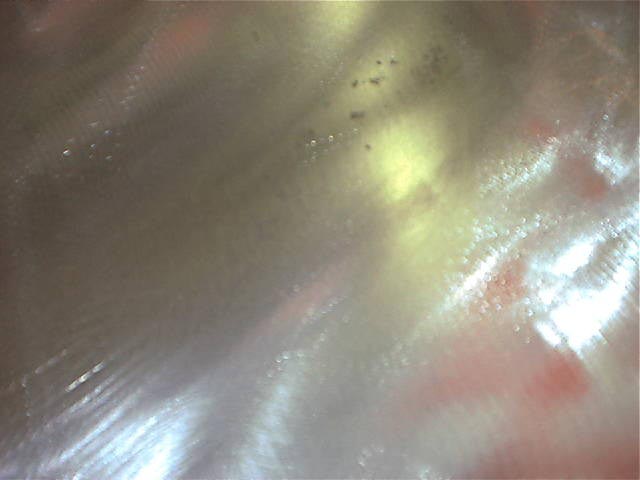
to remove salts prior to painting.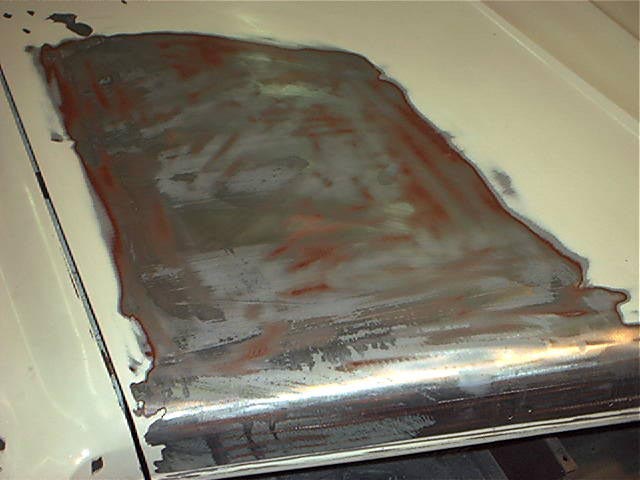 This is what it looks like after the stuff has set. See how dull it got?
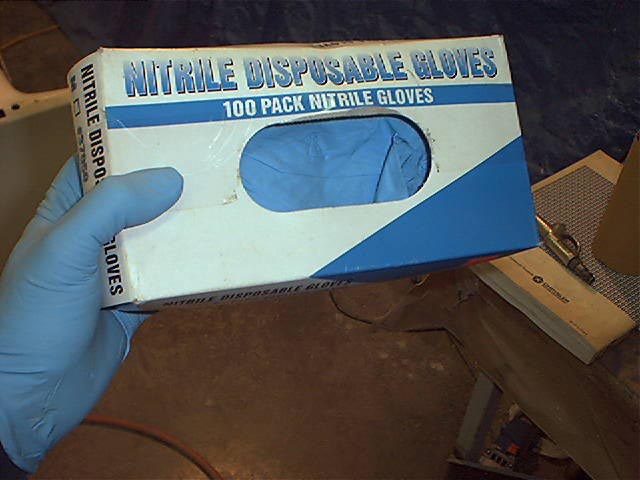 I've had mixed results with rubber gloves. Found these Nitrile gloves at
Harbor Freight and REALLY like them. They are very tough and usually one
pair lasts the day, they have good feel so I can pick up things, and keep my
hands clean and therefore my wife happy. Strongly recommend them.
I've had mixed results with rubber gloves. Found these Nitrile gloves at
Harbor Freight and REALLY like them. They are very tough and usually one
pair lasts the day, they have good feel so I can pick up things, and keep my
hands clean and therefore my wife happy. Strongly recommend them.
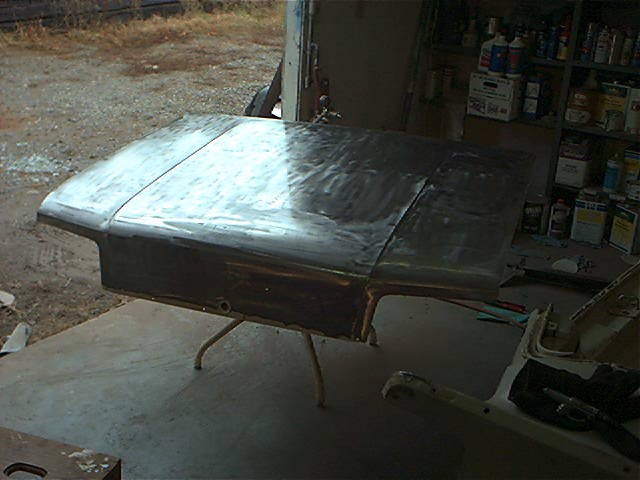 The
decklid was such a mess of chips that I pulled it off and just sanded it
down. I'll turn it over, kill the rust on the inside and paint it the new
color when I paint the inside of the trunk. Then it will go back on the
car so the exterior can be painted with the car.
The
decklid was such a mess of chips that I pulled it off and just sanded it
down. I'll turn it over, kill the rust on the inside and paint it the new
color when I paint the inside of the trunk. Then it will go back on the
car so the exterior can be painted with the car.
Time for this was 4 hours.
This page was last updated October 1, 2003. Send us your feedback, and come join the Imperial Mailing List - Online Car Club
