
Imperial Home Page -> Repair -> Body & Paint -> Paint & Body 101 -> Part 4
More Rust repair and body work
Wednesday 22 January, 2003
Wednesday was cold but clear. Robert should be about mid day for the rest of the week.. Spent about 4 hours getting ready to get ready and doing things that Robert has already seen. He wanted me to wait on cancer and dent repair so he could watch.
In the meantime, I worked on the back side of the decklid. Some rust in the fold was wirebrushed and treated with killer prior to wiping down the whole panel.
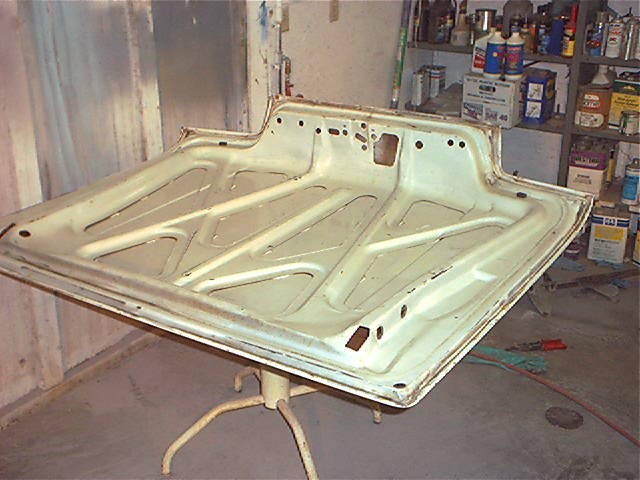 Some rust in the trunk channel was also handled with the wire brush and rust
killer.
Some rust in the trunk channel was also handled with the wire brush and rust
killer.
 I
then sprayed the inside of the trunk and the decklid with Urethane in the new
color. Looks pretty good.
I
then sprayed the inside of the trunk and the decklid with Urethane in the new
color. Looks pretty good.
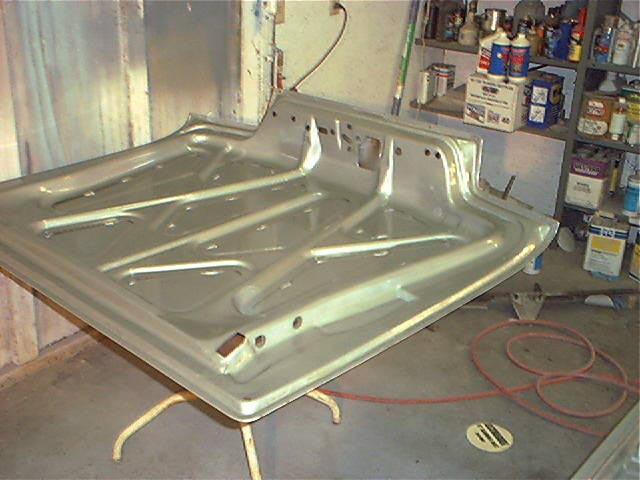 While I had the decklid off, I painted it with the Urethane that will be the
material used for all the jambs, engine compartment, trunk, etc.
Basecoat/Clear on the exterior. It's hard to see the color in this photo
but it looks pretty good!
While I had the decklid off, I painted it with the Urethane that will be the
material used for all the jambs, engine compartment, trunk, etc.
Basecoat/Clear on the exterior. It's hard to see the color in this photo
but it looks pretty good!
Every spot of rust was ground down to bare metal and then dabbed with rust
killer. This is the roof in process. Leprosy! 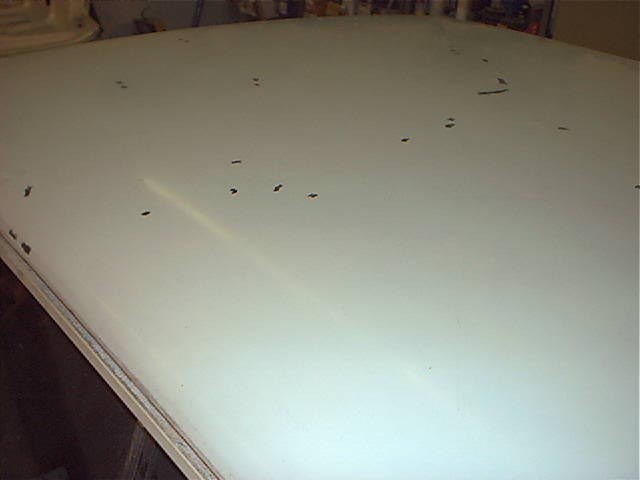
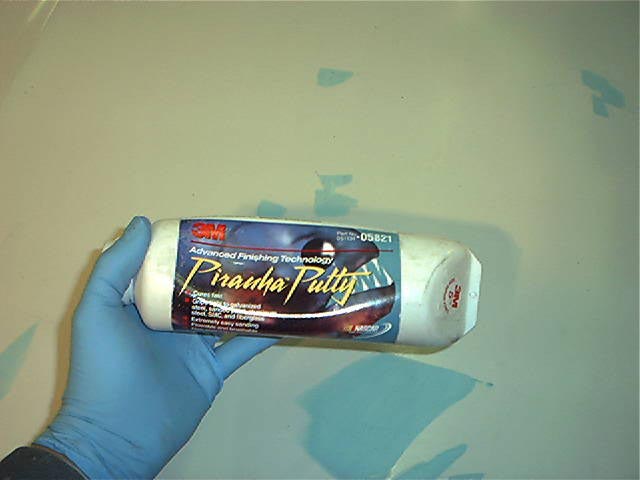 This is a new product and I LOVE it. It is a urethane putty for filling
door dings etc. I will use it to bring the spots I ground out back up to
paint level. The old version of this was lacquer based and would outgas
for 30 days. This causes non-porous paints like Urethanes and Clears to
lift. Been there, done that, never again. This stuff sets in 20
minutes and is DONE! No outgassing.
This is a new product and I LOVE it. It is a urethane putty for filling
door dings etc. I will use it to bring the spots I ground out back up to
paint level. The old version of this was lacquer based and would outgas
for 30 days. This causes non-porous paints like Urethanes and Clears to
lift. Been there, done that, never again. This stuff sets in 20
minutes and is DONE! No outgassing.
 I cut a spreader into 1" wide pieces so I could spread small areas.
Make sure you mix the hardener in completely.
I cut a spreader into 1" wide pieces so I could spread small areas.
Make sure you mix the hardener in completely.
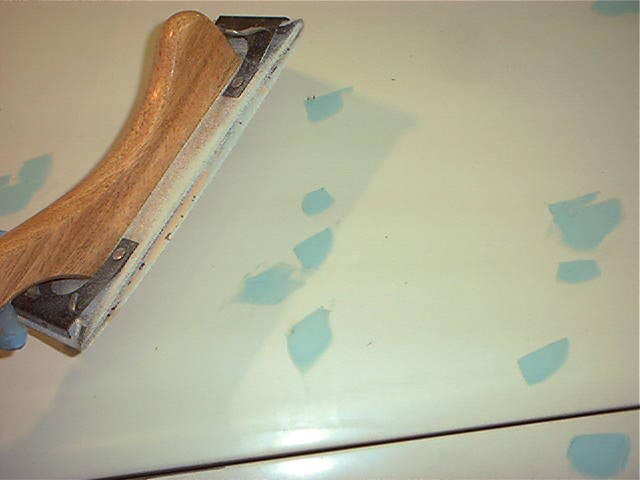 Lots of ways to sand it down. This a board sander. After a few
minutes it looks like this.
Lots of ways to sand it down. This a board sander. After a few
minutes it looks like this.

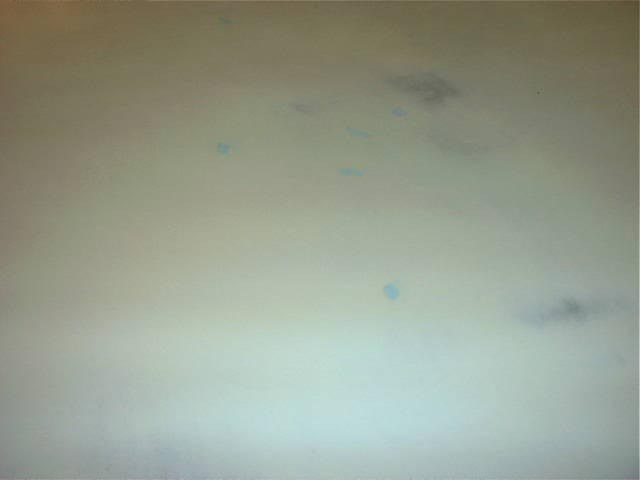 The only blue spots should be in the holes you ground. Anything else will
be ABOVE the surface of the paint and you will see it in the primer or topcoat.
You want to spread the sanding over the broad area. Otherwise you will
make a low spot that will show up later.
The only blue spots should be in the holes you ground. Anything else will
be ABOVE the surface of the paint and you will see it in the primer or topcoat.
You want to spread the sanding over the broad area. Otherwise you will
make a low spot that will show up later.
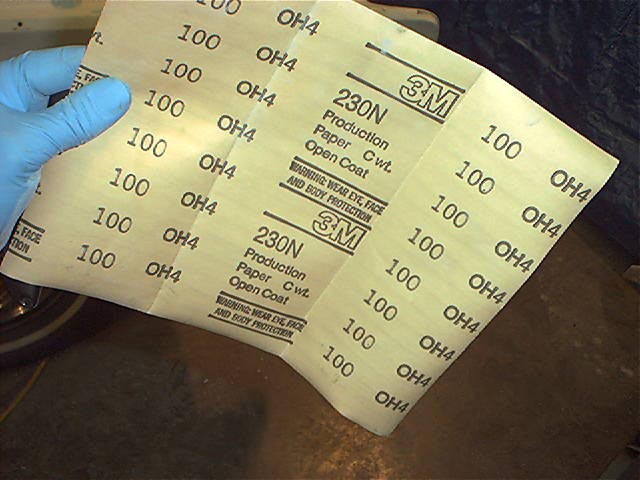 A
tip for cutting sandpaper. Lots of tools require 1/3 sheets. Fold
into 3 equal pieces and cut FROM THE BACK with a sharp utility knife. If
you cut from the front, you will dull your knife in a heartbeat. I lay it
on a piece of scrap wood and cut down the fold line.
A
tip for cutting sandpaper. Lots of tools require 1/3 sheets. Fold
into 3 equal pieces and cut FROM THE BACK with a sharp utility knife. If
you cut from the front, you will dull your knife in a heartbeat. I lay it
on a piece of scrap wood and cut down the fold line.
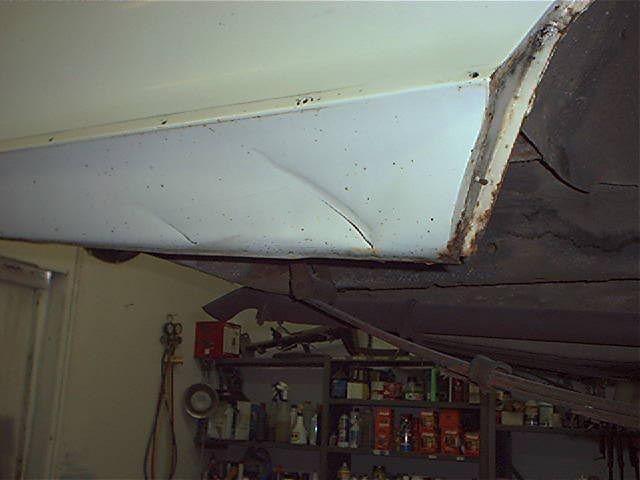
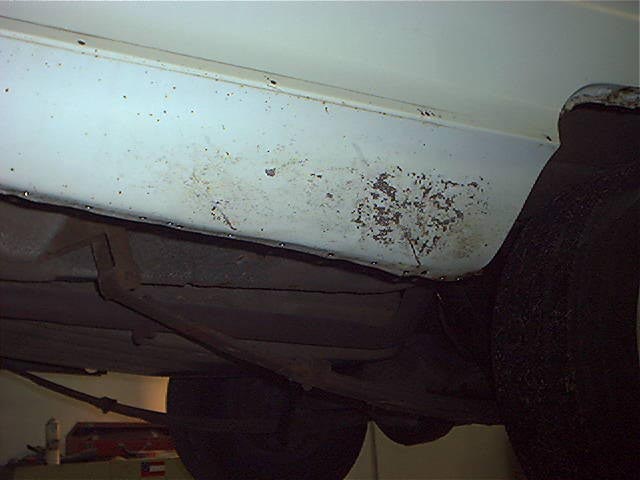
 This is one of the two major body work problems. Someone backed over
something and crunched in the right rear quarter about 2 inches. Even the
inner fender panel is pushed in although it doesn't show in the photo.
This is one of the two major body work problems. Someone backed over
something and crunched in the right rear quarter about 2 inches. Even the
inner fender panel is pushed in although it doesn't show in the photo.
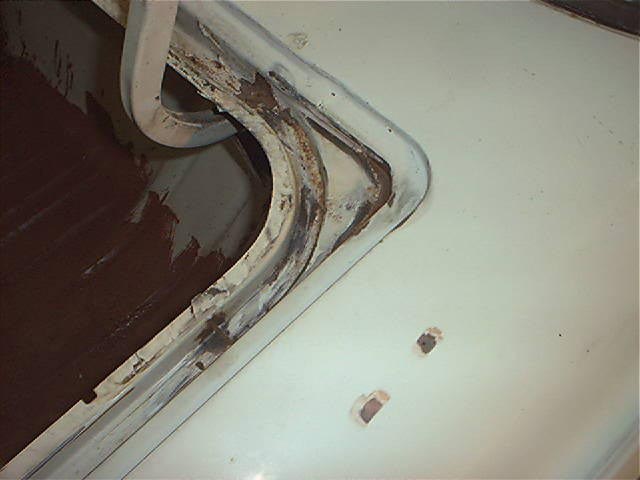
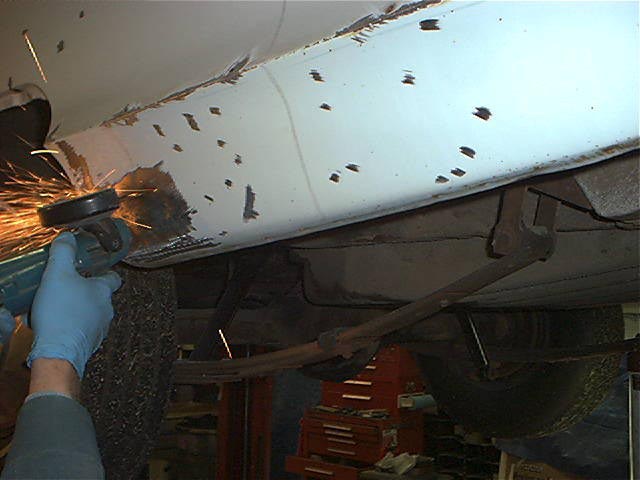
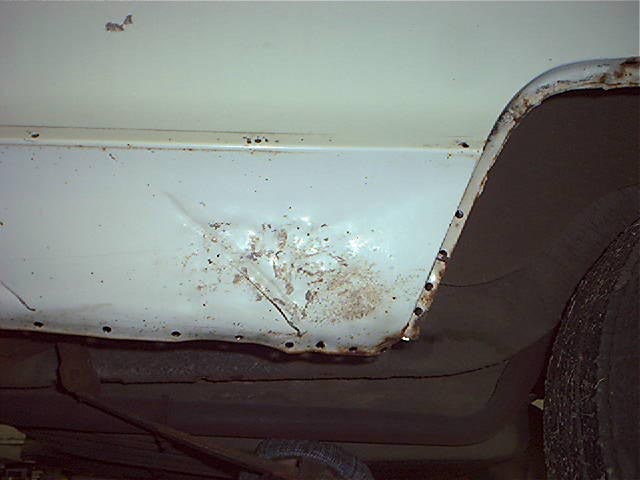
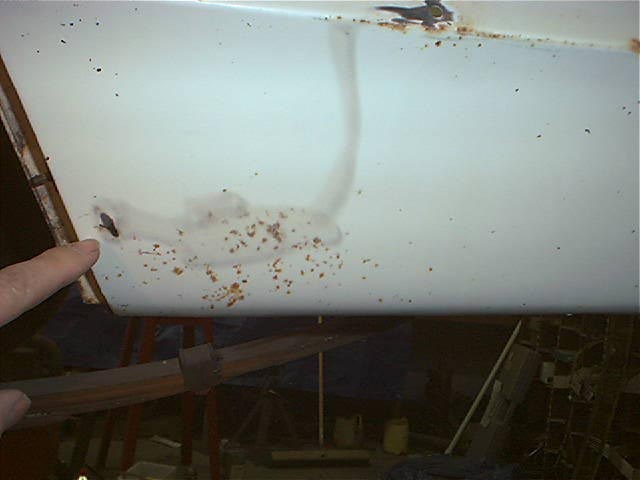 The other side has it's own problem, CANCER. That black spot by my finger is a
hole and most the rust spots are also. Only one way to fix rust right, cut
it out and weld in new metal. The grinder with a cutoff saw took care of
that and left this hole.
The other side has it's own problem, CANCER. That black spot by my finger is a
hole and most the rust spots are also. Only one way to fix rust right, cut
it out and weld in new metal. The grinder with a cutoff saw took care of
that and left this hole.
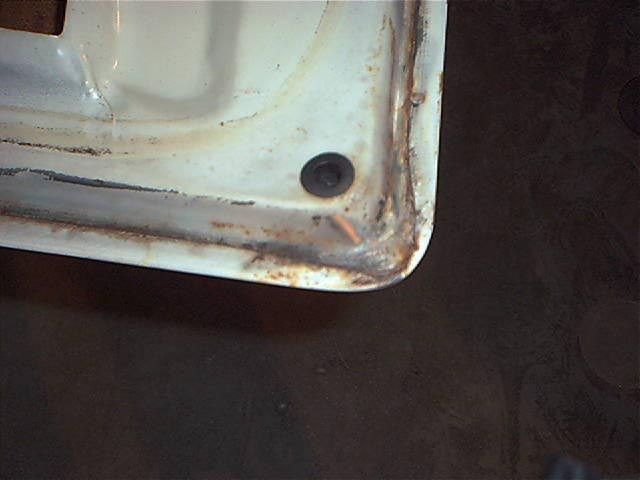
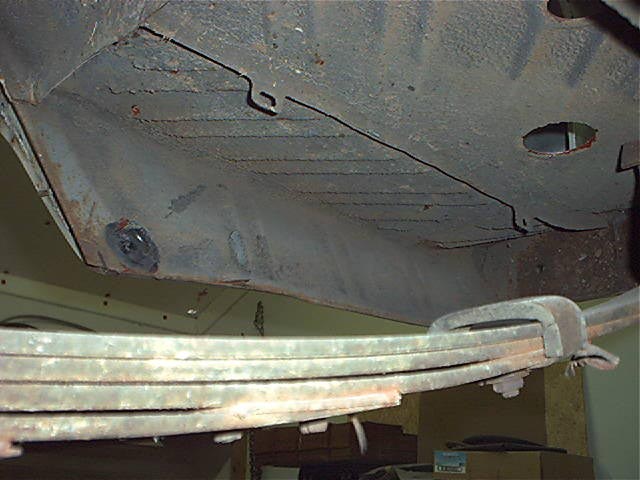
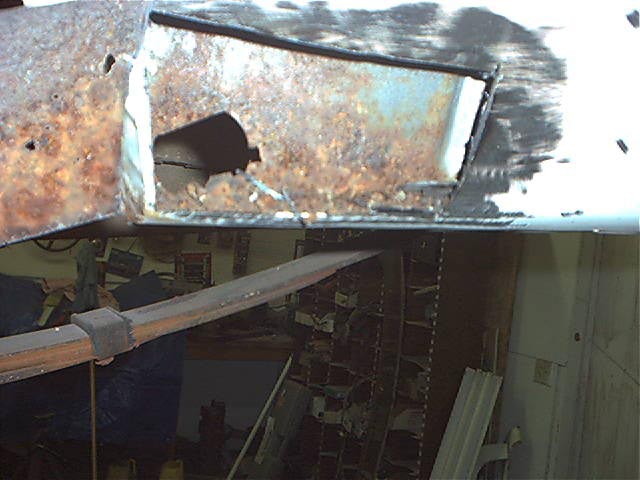 The reason for the cancer was obvious when the piece was removed. Crap
fell out for 10 minutes. Mainly rust and pieces of the petrified rubber
mat. The pat had plugged the drain hole ( you can see it in the
photo. There is a rubber plug with a vent for drainage) and allowed
moisture to be trapped. Pretty common problem.
The reason for the cancer was obvious when the piece was removed. Crap
fell out for 10 minutes. Mainly rust and pieces of the petrified rubber
mat. The pat had plugged the drain hole ( you can see it in the
photo. There is a rubber plug with a vent for drainage) and allowed
moisture to be trapped. Pretty common problem.
 On the dent we decided I needed to get to the backside of the panel to work the
dent out. Since the inner rocker was in the way it needed to move.
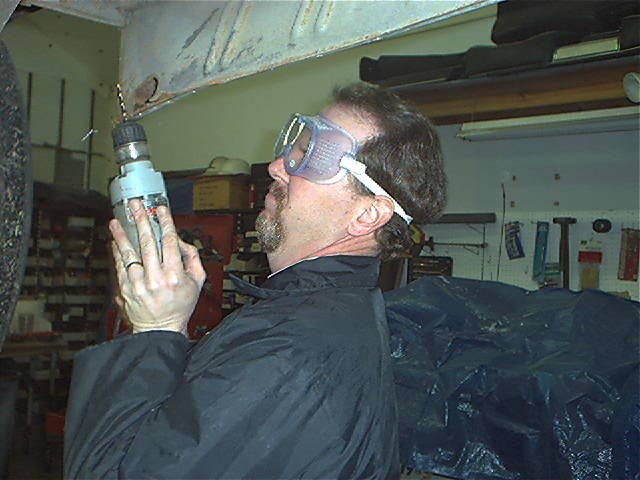
Robert FINALLY got in about 3pm and was immediately put to work drilling out the
spot welds. Note the safety glasses.
On the dent we decided I needed to get to the backside of the panel to work the
dent out. Since the inner rocker was in the way it needed to move.
Robert FINALLY got in about 3pm and was immediately put to work drilling out the
spot welds. Note the safety glasses.
 Then we pushed the inner panel up out of the way.
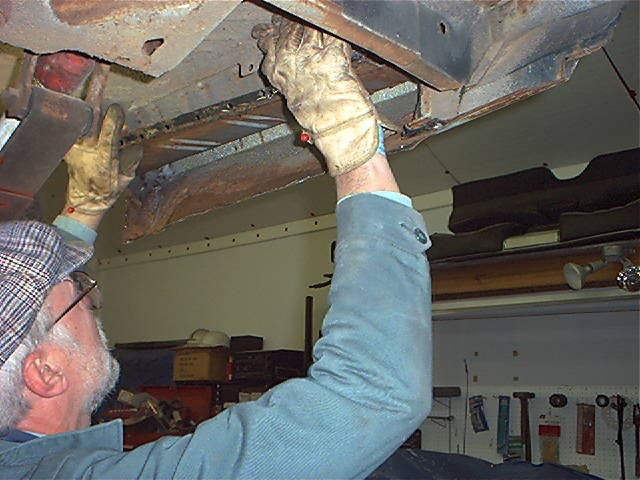
 The dents were pushed back out CAREFULLY with hammers and dollies. On some
of the area I could not get enough leverage so I used a pneumatic rivet gun (air
hammer on steroids) with a custom made die in it. The whole process took
about an hour.
The dents were pushed back out CAREFULLY with hammers and dollies. On some
of the area I could not get enough leverage so I used a pneumatic rivet gun (air
hammer on steroids) with a custom made die in it. The whole process took
about an hour.
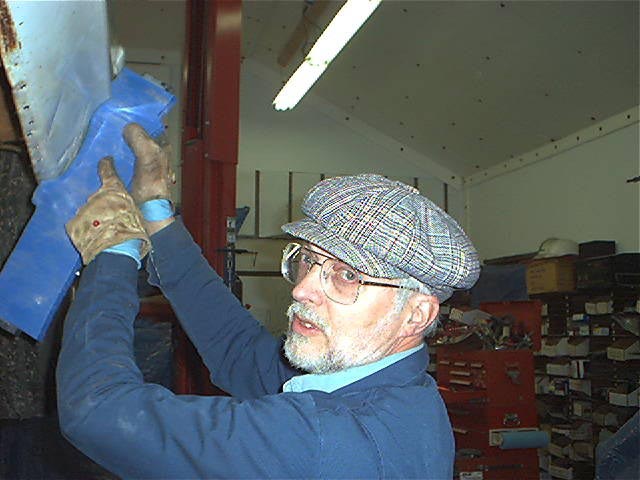 The thing I am holding is a contour gauge. I got it from Eastwood several
years ago and it's really handy for comparing surfaces. Both sides have
holes where the trim was attached that I used for reference points. I put
the guage on the good side and pressed the plastic in until it matched the
contour. When carried over to the bad side, I could see what needed to be
done. Here you can see that there is a gap between the panel and the guage
which means I need to raise the metal a little more.
The thing I am holding is a contour gauge. I got it from Eastwood several
years ago and it's really handy for comparing surfaces. Both sides have
holes where the trim was attached that I used for reference points. I put
the guage on the good side and pressed the plastic in until it matched the
contour. When carried over to the bad side, I could see what needed to be
done. Here you can see that there is a gap between the panel and the guage
which means I need to raise the metal a little more.
 Kind of hard to tell but this is pretty straight and will only need a skim coat
of filler.
Kind of hard to tell but this is pretty straight and will only need a skim coat
of filler. 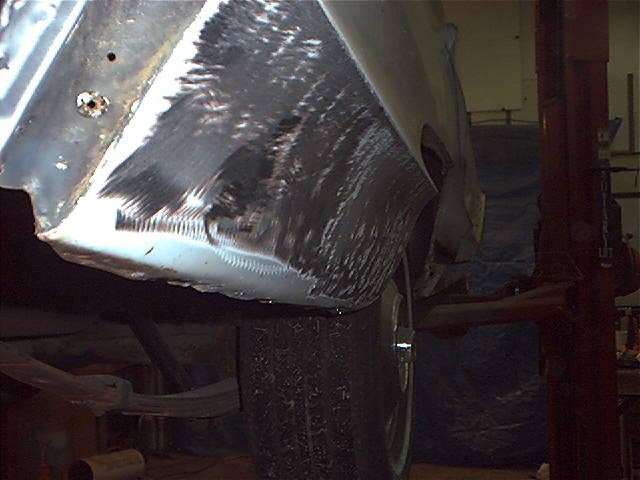 So we sanded it down to metal wiped down with rust killer and called it a night.
Time today was 14 hours ( Counting Robert as a helper at 1/2 time)
This page was last updated October 1, 2003. Send us your feedback, and come join the Imperial Mailing List - Online Car Club
