
Imperial Home Page -> Repair -> Body & Paint -> Paint & Body 101 -> Part 7
Engine detail and block sanding
Jan 30, 2003
I was determined to finish the engine compartment and get the car started on Friday and with about 8 hours of effort made it.
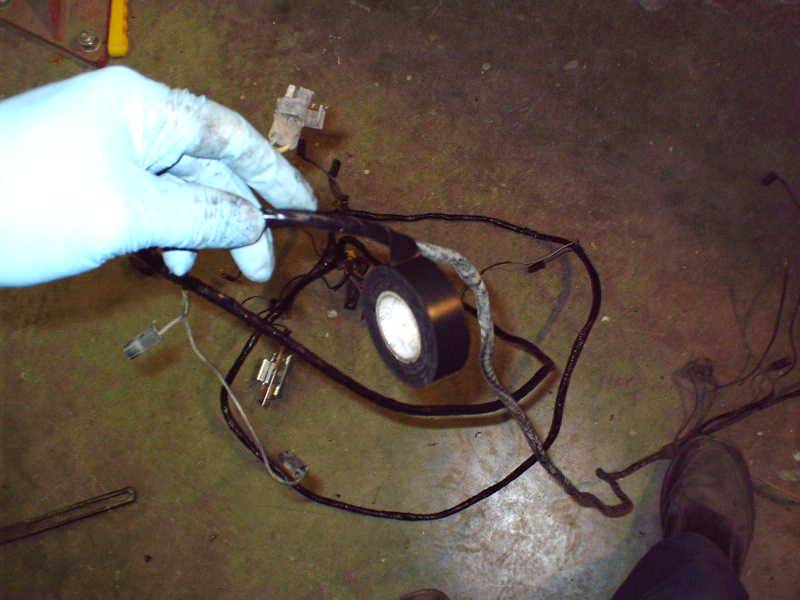 While I had the wiring harness out, I re-wrapped it with electrical tape.
Took half a roll!
While I had the wiring harness out, I re-wrapped it with electrical tape.
Took half a roll!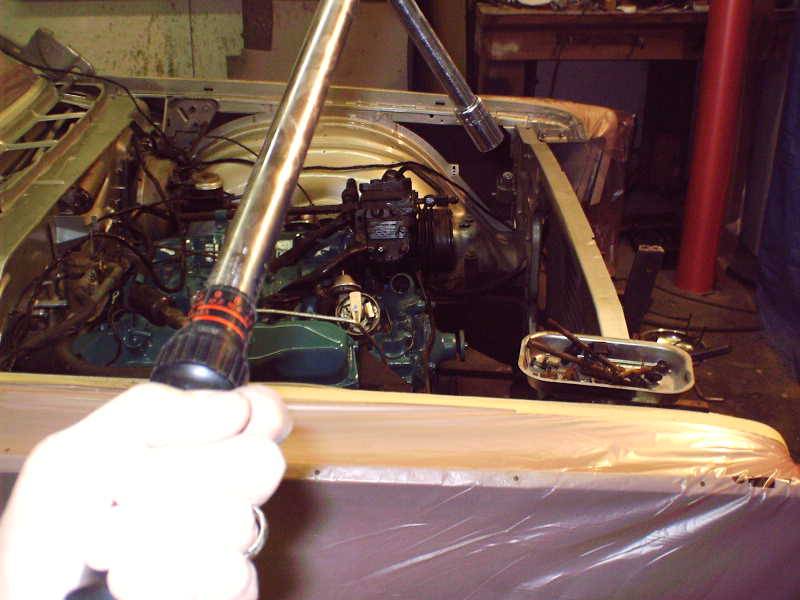 A lot of the engine accessories are bolted through intake manifold bolts so
these had to be re-torqued with a torque wrench. This is a Craftsman click
type wrench which I prefer to the beam style.
A lot of the engine accessories are bolted through intake manifold bolts so
these had to be re-torqued with a torque wrench. This is a Craftsman click
type wrench which I prefer to the beam style.
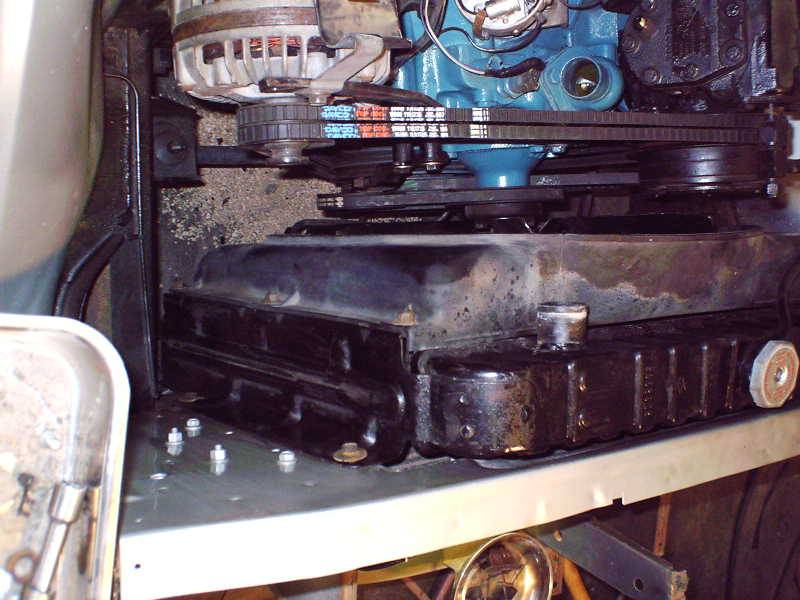 While I was at it, I straightened out all the pulleys so the belts run true.
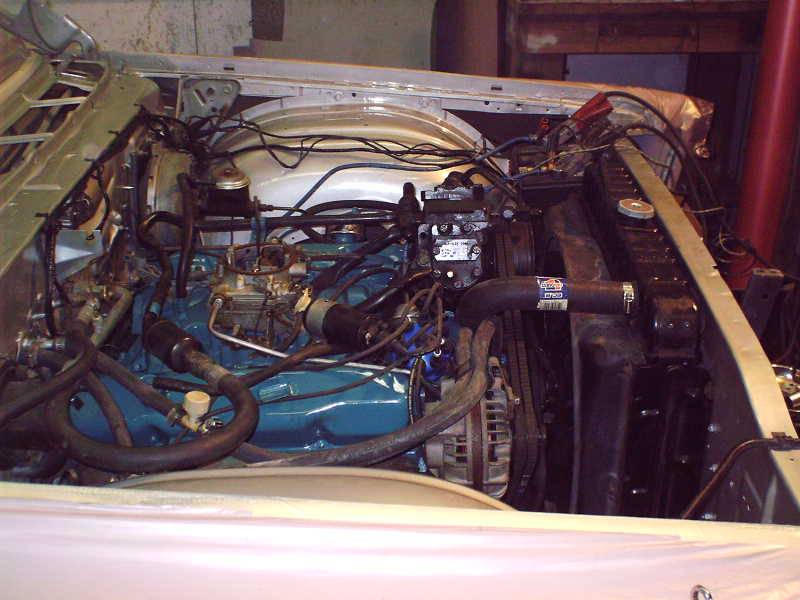 About 4pm it was time for a 'smoke test'. crank, crank, crank.
nothing. Check the timing since I had the distributor out. Humm only
out a tad. Set it at 10 degrees. Crank, crank, crank. What the
heck? Got fire, timings right, pump the accelerator and see gas jet
out. Got gas, got air, got spark. Should run! Where is the
starting fluid. Oh, wait, why is the choke still opened. Duh, I
forgot to put the choke linkage back under the carb. Dumb! Once that
was fixed she fired right up and ran as sweet as ever.
About 4pm it was time for a 'smoke test'. crank, crank, crank.
nothing. Check the timing since I had the distributor out. Humm only
out a tad. Set it at 10 degrees. Crank, crank, crank. What the
heck? Got fire, timings right, pump the accelerator and see gas jet
out. Got gas, got air, got spark. Should run! Where is the
starting fluid. Oh, wait, why is the choke still opened. Duh, I
forgot to put the choke linkage back under the carb. Dumb! Once that
was fixed she fired right up and ran as sweet as ever.
8 hours on Friday.
Feb 3, 2003
Well, I guess I've put it off as long as I can so I'll start blocking the primer. Unfun but VERY important.
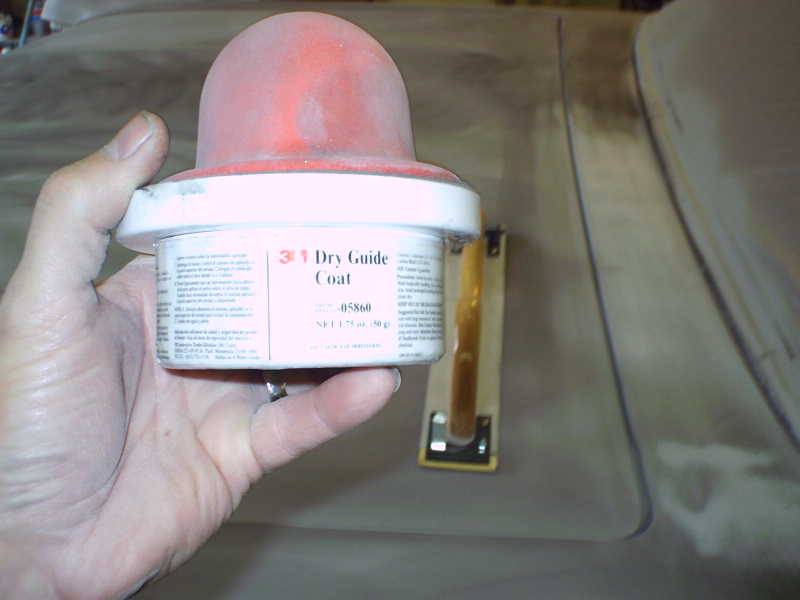 Using a new guide coat product. This is 3M's new dry product. It goes on
with a sponge pad and darkens the whole panel where you rub it. As you
sand the high spots go back to standard sanded primer color and the low spots
stay dark. My primary goal with this pass is to level the paint surface
and identify any spots that still need work. I'll then spray a final coat
of primer and block with 600 grit prior to color.
Using a new guide coat product. This is 3M's new dry product. It goes on
with a sponge pad and darkens the whole panel where you rub it. As you
sand the high spots go back to standard sanded primer color and the low spots
stay dark. My primary goal with this pass is to level the paint surface
and identify any spots that still need work. I'll then spray a final coat
of primer and block with 600 grit prior to color.
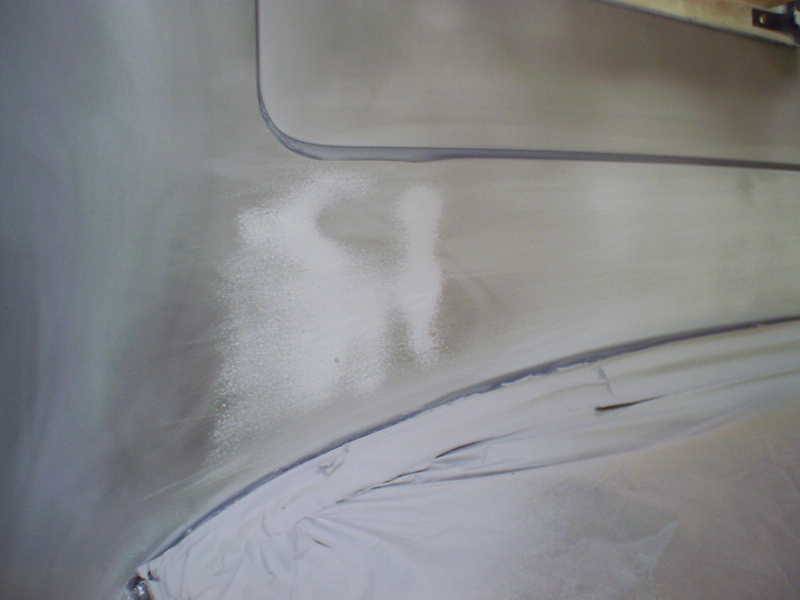 Immediately
the fender/roof seam was leaded in at the factory shows up as a problem.
Immediately
the fender/roof seam was leaded in at the factory shows up as a problem. 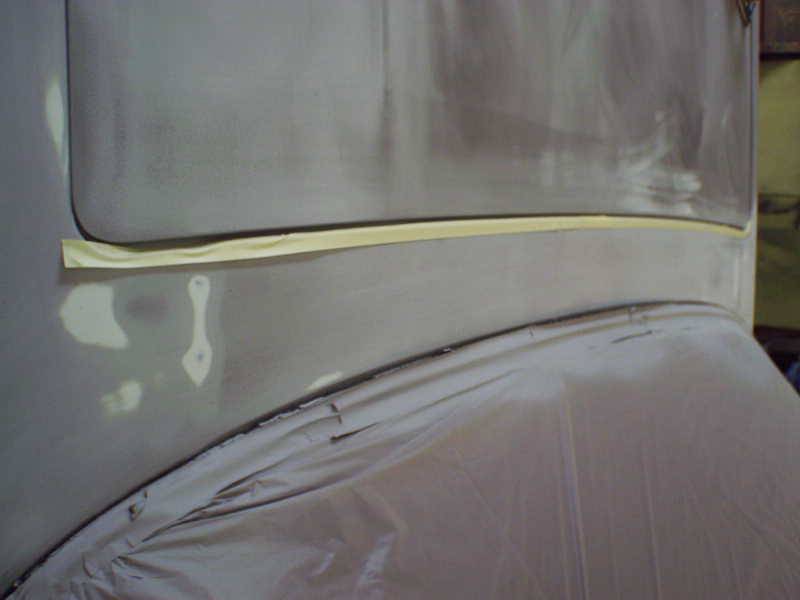
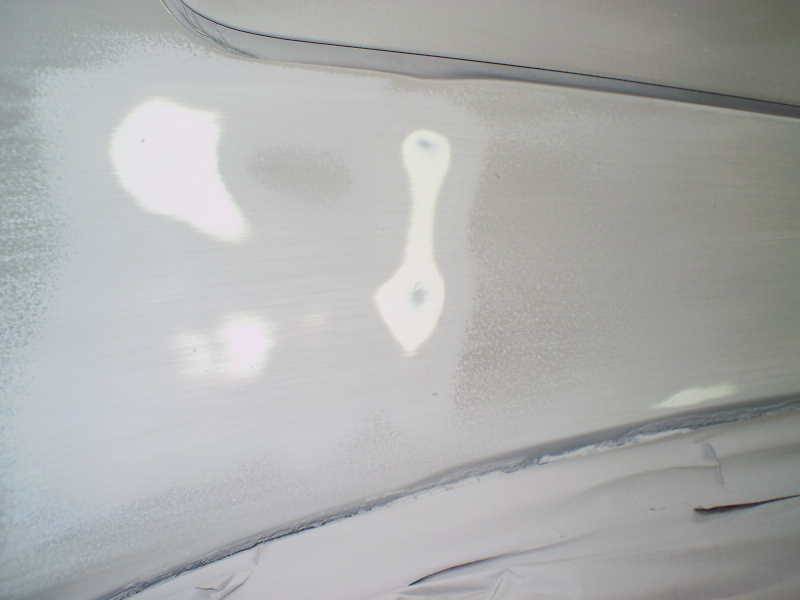 Here is a close up view of the right side seam. Lots of work. Two
big highs with lows in the middle. The two spots in the upper high are
actually metal. The other side is identical.
Here is a close up view of the right side seam. Lots of work. Two
big highs with lows in the middle. The two spots in the upper high are
actually metal. The other side is identical.
Did some other stuff today and only put about 3 hours on the car. Got the trunk and top blocked.
Feb 4, 2003
More sanding on tap for today. Hope to finish. Couple tricks to share.
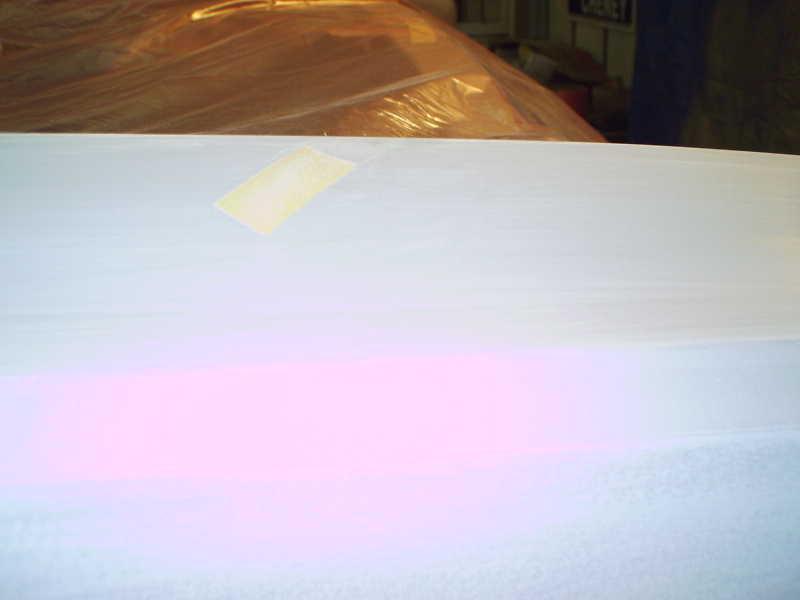 Make SURE you mark your problem areas. I always think that I'll remember
them but never do and end up seeing it when the color is on. I use a piece
of masking tape (look at the top of the panel above the glare) and put it on as
soon as I see the problem while I'm still sanding.
Make SURE you mark your problem areas. I always think that I'll remember
them but never do and end up seeing it when the color is on. I use a piece
of masking tape (look at the top of the panel above the glare) and put it on as
soon as I see the problem while I'm still sanding. 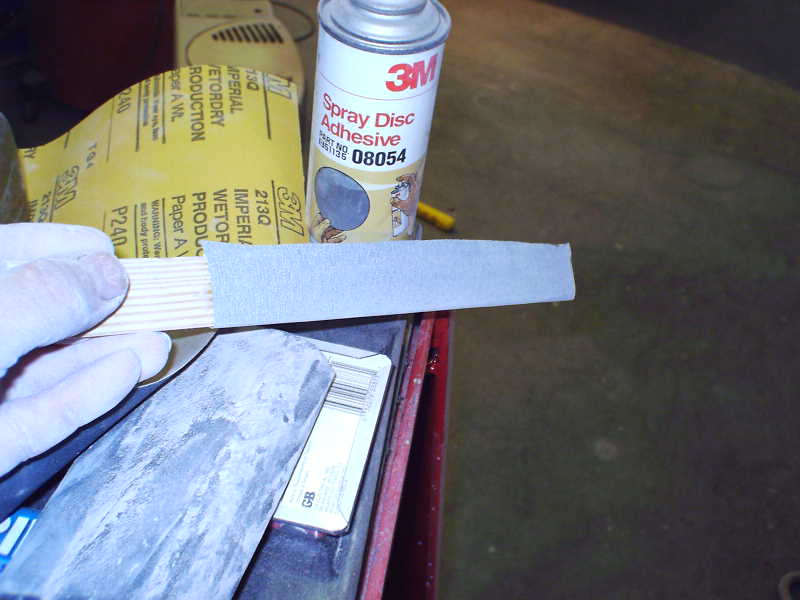 For detail work, you can use spray adhesive and glue sandpaper to a paint
stick. The paint stick bends a little and works really well for easing
around contours.
For detail work, you can use spray adhesive and glue sandpaper to a paint
stick. The paint stick bends a little and works really well for easing
around contours. 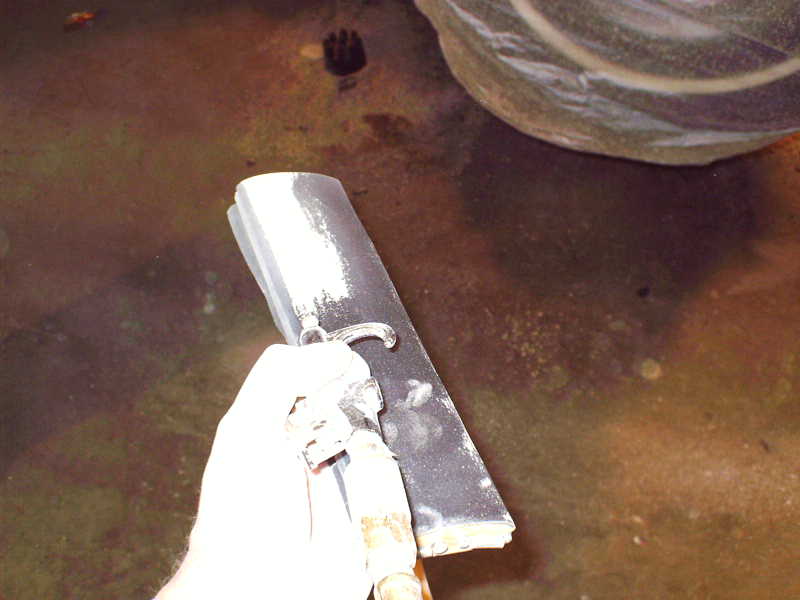 This urethane primer loads up the sandpaper pretty quick. An air gun will
blow it off and you get good paper again.
This urethane primer loads up the sandpaper pretty quick. An air gun will
blow it off and you get good paper again.
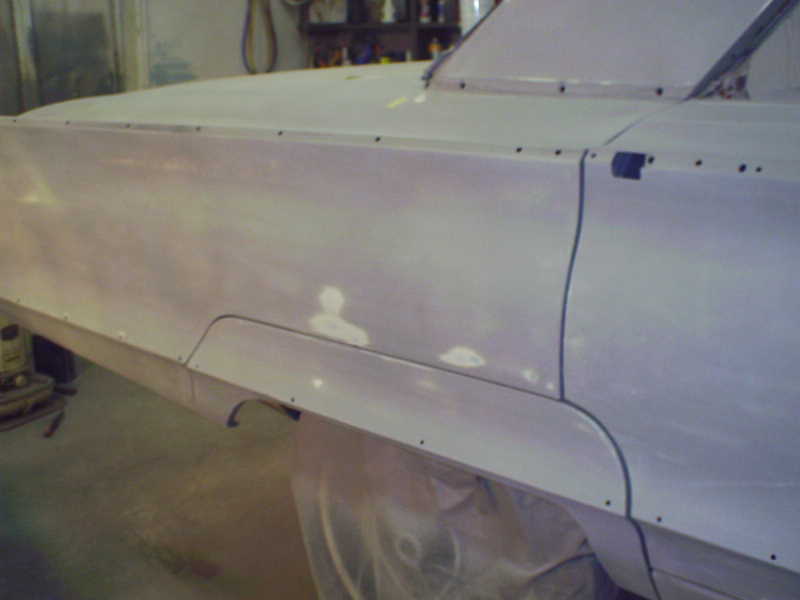 Believe it or not, this panel is VERY straight...now!
Didn't get finished today. Still have about 1/2 of the left side but just ran out of steam. Tomorrow I hope to finish, back it out for a bath, clean out the shop (dusty, dusty work), and apply more primer.
This page was last updated October 1, 2003. Send us your feedback, and come join the Imperial Mailing List - Online Car Club
