
Imperial Home Page -> Imperials by Year
-> 1957 -> Kerry's
Restoration
-> part 22
part 22 of ?? -January 5, 1999 -FINS
Well, I'm committed. When Cortez arrived in the New World, he burned his ships so the crew could not go back to Spain. Then he burned the New World but that's a different saga. I have taken a decision to customize Katherine. Nothing too radical but enough that anyone who knows 57s would know and most other people would not. Sometimes I suspect I could tell people it was a 39 Huppmobile and they would just nod and say "cool".
To make things official (and because I wanted to), I decided to move from rust repair to other stuff and chose the fins as the starting place. I bought a half dozen pieces of 1/2 inch electrical conduit (EMT) at my The Home Depot (stock has gone up 101% in the past 12 months...wish I'd bought more). Conduit is widely used for stuff like this and I will also use it to rebuild the wheel arch on the drivers side.
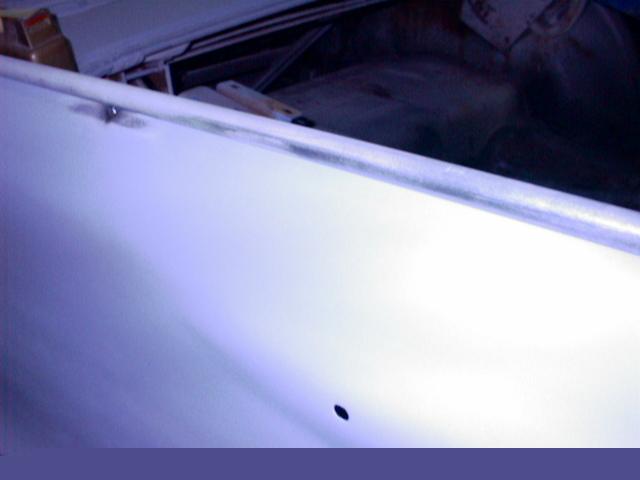
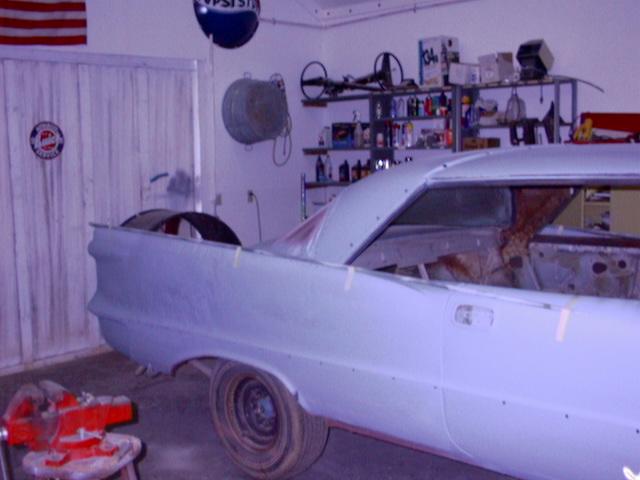
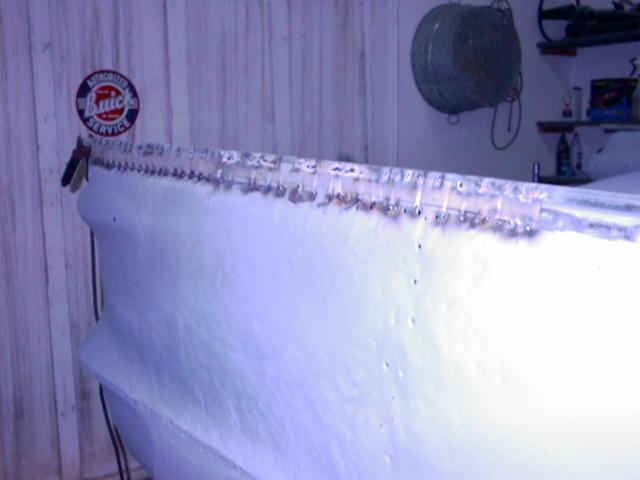
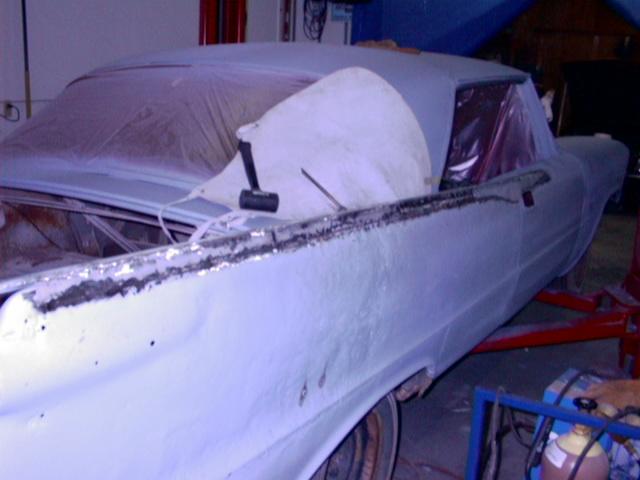
For the fins, I laid a 10 foot section on the peak of the fin and held it in place with some masking tape. This took about 3 days of looking, positioning, comparing one side to the other, etc. I decided to allow the fin to curve in on the front door. The fin is 3/4 inch higher and follows the ridge in the original fins until the begin to taper off, then it does a gentle arc to about 2" from the window in the middle of the door. I'll have to cut the fin and finish the insides at the door opening, for not I just ran it straight so it would line up when it was all done.
Once I was happy with the fit, I tacked them to the fender with my Mig.

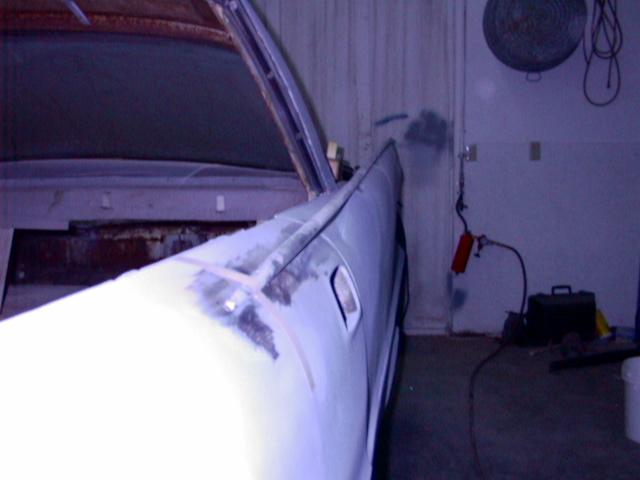
At the rear, the conduit is even with the taillight housing. I'm going to build a peak and make the entire end a gentle arch from bumper to tip.
Couple of things. 1) Conduit is galvanized and needs to be sanded off. Mig welding works best with clean shiny metal. 2) Welding and grinding gives off some pretty nasty fumes. Ventilate! I don't ventilate as much as I should in the winter when I have my heater on and the fumes burn my eyes pretty bad. I am using 26 gauge paint grip and cut it with straight sheers as shown below. If you are going to work sheet metal you need all the tools in this photo. A good set of straight sheers, and a set of aviation snip, sometimes called "reds" and "greens" because the handle colors indicate which direction they are designed to cut. Reds cut to the left and greens to the right.
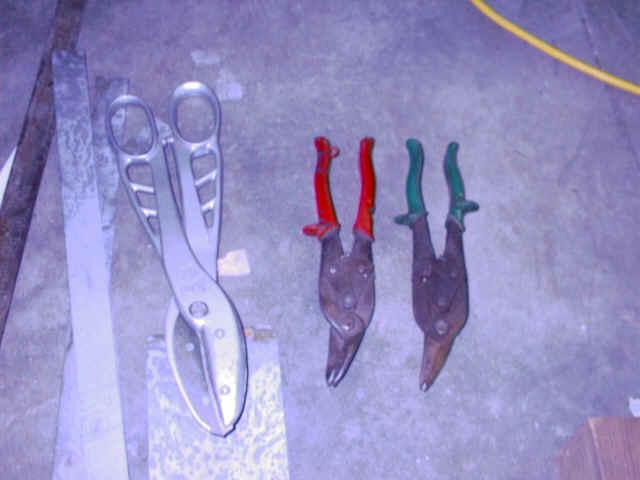
I chose 26 gauge instead of 20 gauge because it is so much easier to work. It is somewhat more difficult to weld because it burns through easier but what I am doing is not structural.
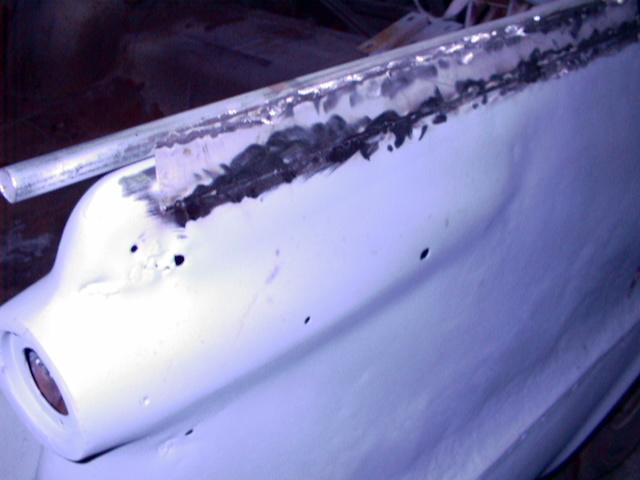
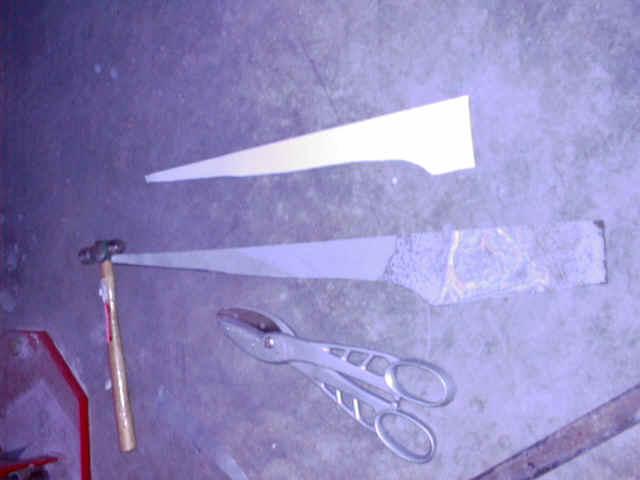
The back part of the fin uses straight filler pieces about 1 1/4 wide but where the old fin tapers down, the shape gets weird. I could have filled it with fiberglass based bondo (kitty hair) but it would have been thicker than I like to use. Besides, I like to weld.
I use poster board for a template and then cut the sheet metal. Sheet metal is expensive and you don't really want to waste it. 26 Gauge is pretty easy to cut. 20 Gauge is a bitch! It takes all I have and my grip is considerably better than most because I was a sheet metal guy for a couple years during college. Working hand sheers every day will give you a set of forearms you would not believe. Can you say Popeye?
Here are some other detail shots.
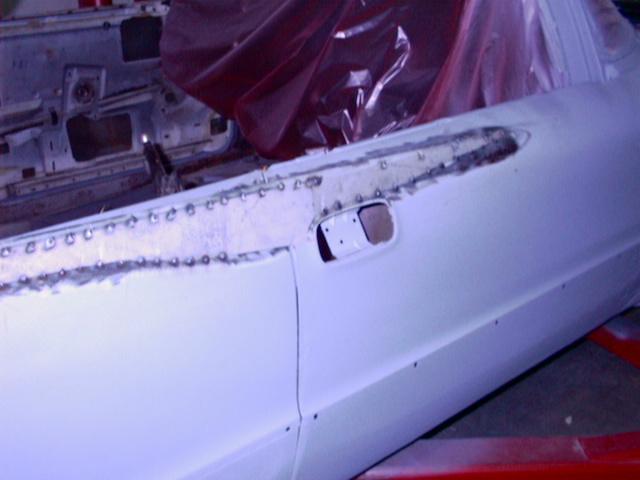

After the fillers are tacked about every inch or so. (start in the middle and work out or one end and work toward the other. DO NOT START ON THE ENDS. It will guarantee you a high "lump" in the middle which you will have to cut out.) An air cuttoff tool is also very handy for this type of work. You can be less exact on the measurement, tack one side down and use the cuttoff tool to put the other end where you want it. Be sure and leave enough room for a skim coat of filler to smooth thing out.
One other thing to watch out when welding is the wire splatter which can get on your glass and make a pit. You definitely do NOT want that! Several months ago I spotted a leather welding apron in the Harbor Freight catalog for just a few bucks. I ordered a bunch of other stuff and it also. It turns out to be pretty stiff for an apron but guess what? It is PERFECT to cover the windows. I just lay it on the glass and tape it down. Works GREAT and won't catch fire (easily).
One other thing. Several months ago there was a thread about Harbor Freight and their tools. I agree their stuff is cheap and I would not recommend high precision or strength tools. However, I bought a cheap 4 1/2 inch grinder for 29 bucks and a 14 inch cuttoff saw for 40 as well as some other stuff. These things are great. The small grinder runs rings around my 4 inch Makida that cost me 90 bucks and doesn't thermal trip every few minutes of hard work like the Makida does. Just use your brain and don't trust safety to cheap tools.
More later.
KerryP
This page was last updated October 19, 2003. Send us your feedback, and come join the Imperial Mailing List - Online Car Club
