
Imperial Home Page -> Imperials by Year
-> 1957 -> Kerry's
Restoration
-> part 23
part 23 of ?? --January 9, 1999 -Wheel Arch & Quarter Panel
Lots of stuff going on at work. Woke up at 3:30 Saturday morning, looked at the clock, brain rolled over a few times, fired, and steadied down to a fast idle. I know that I will never get back to sleep so I grabbed my work clothes and tiptoed out of the bedroom.
When the weather allows, I prefer to wear coveralls of some type so I can take them off at the back door and not have to worry about getting stuff on the furniture. Today is my 28th anniversary and I did not stay happily married by being stupid. Besides it's warmer and when I'm welding, it gives me one more layer of protection from splatter burns.
Its' 35 degrees moving to a high at noon of 25. I drop the tarps over my lift room door and fire up the heater. To get more ventilation, I put the back end of the torpedo heater in the main room and let it draw cleaner air in from there, heat it and put the hot air in with me. I put a chair over the heater to keep the plastic tarp from covering up the air intake. When the room warms up, I open the outside sliding door a foot to get some ventilation. Works pretty good but my nose is still a little raw from the acid in the stop rust. My pipe smoke now burns my nose so no pipe until it heals a little I guess.
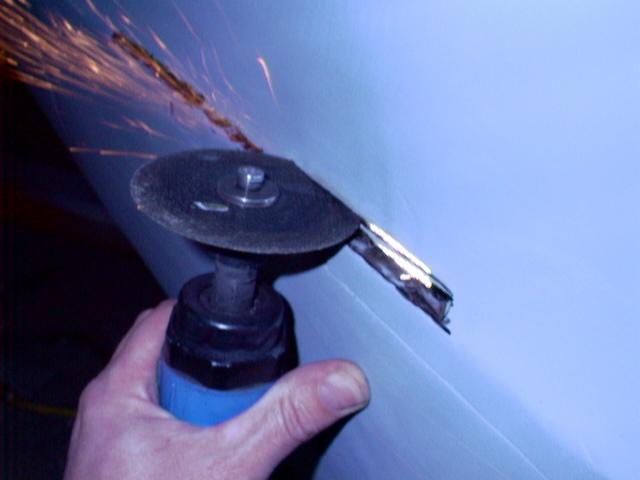
Both fins are now tacked with the inserts in place. Periodically over the past week, I come out for an hour or so, and weld them in solid then grind the welds smooth. It's dull, boring work and the grinding really gives off fumes. Caution again, wear safety glasses!!!!! Also be sure to skip around when both welding and grinding. You WILL warp some metal if you get too much heat in one spot. Trust me on this!
Because the welder was already on the drivers side, I decided to work on the rust repair. There are numerous pin holes just above the trim line in the middle of the panel as you can see in the photos from previous chapters. Some are singles, and one long strip is continuous for about a foot. Using an air cutoff tool, I cut out the long strip.
I next cut a strip of 26 gauge about 3/4 inch wide and little longer than the hole, bent it to match the curve in the fender and worked it down inside the fender into the hole. Obviously, I took all the window glass and hardware out (a long time back). To hold it in place while I tacked it, I use a large magnet. Works great! Skipping around, I weld it solid.
A skim coat of filler and it will be perfect. The inside of the fenders are pretty rusty and I am going to have to do something about that. I will probably soak them in POR 15 or Corrolless after I finish the welding.
PINKY'S PINHOLE FILLING TECHNIQUE
I don't know if I read this trick somewhere or just discovered it but whatever it's much faster than cutting out each pinhole and welding in a patch panel. Simply set your MIG on the lowest setting and try to weld in the hole. Any metal which is not sound simply vaporizes as soon as the hot wire hits it. Eventually you will get some weldment (Welding speak for the pool of molten metal built up by the filler wire (or rod)) to stick. Using a series of short "spot" welds, build the pool up until it fills the hole.
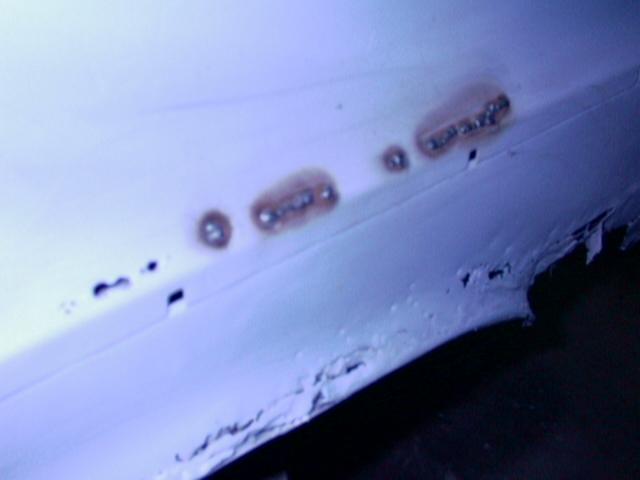
In this photo, you can see some I've done and to the left some yet to do. It took about 5 minutes to do all these. An added benefit is that it is much less grinding (boring). I checked inside the trunk to make sure that there were no places which were in imminent danger of rusting through. The POR15 will take care of that.
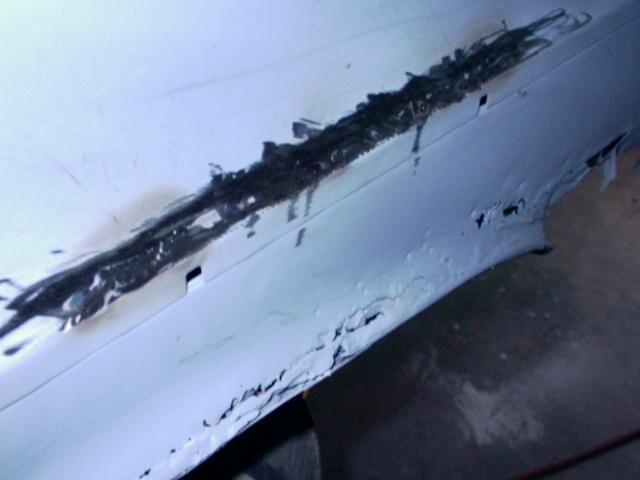
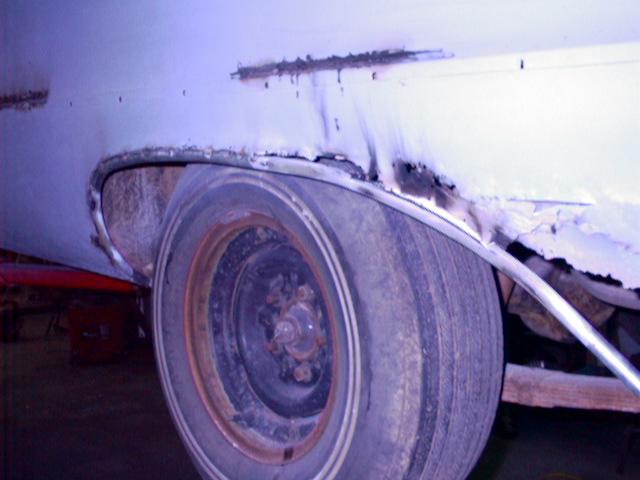
Next it was time to tackle the wheel arch. In the jpg about the longthin patch panel a few back, you can see the top of the wheel arch. It's just about all gone and the rear quarter panel is gone, literally.
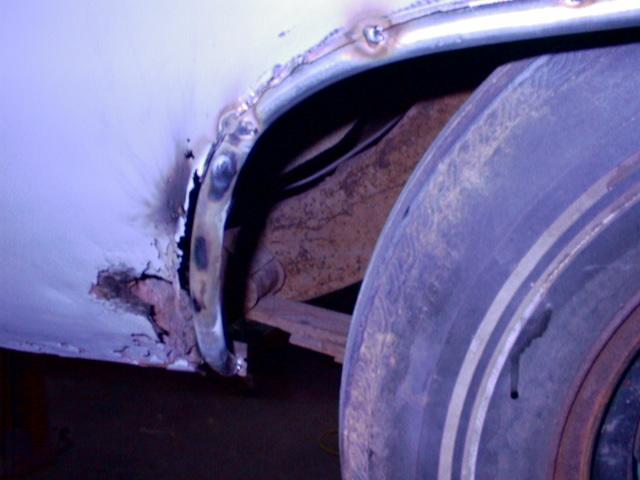
I took a piece of the 1/2 inch conduit and through trail and error, bent it to match what is left of the wheel arch lip. I borrowed a 1/2 inch conduit bender from my car nut neighbor Bo. It works well for straight curves but you have to do something else for the compound curves. Doing the best I can with the bender and brute force, I cut off the old lip leaving as much sheet metal as I could, and tacked the new conduit arch in its' place. By the way, the gas tank is out of the car. Welding and cutting torches are not compatible with gas tanks or fumes. I should have added another must have tool to the list:
TORCH: A handy device for making things burst into unintended flames. Also handy for burning holes in new leather welding gloves.
The easiest thing is to try and get the conduit suspended more or less stable. Next take a couple of pairs of vice grips and clamp them on either end of where you need the compound bend. Then take the torch and proceed to get the metal cherry red. You will want to heat the entire radius you want to bend. You will just have to determine when it is hot enough by trial and error. Once it will "move", quickly shut off the torch, grab the vice grips and gently bend it to the desired shape. Repeat this process until you have the contour you need. I visually compared this side to the other about 15 times before I was satisfied.
CAUTION, you can overheat the conduit and melt it. You can also set other stuff aflame. Be smart. A shop full of tools and Imperials is a terrible thing to waste. Oh yeah, be sure and have a GOOD fire extinguisher handy. Handy does not mean, locked in a cabinet in another room. When you are finished with the torch, shut off the tanks. Refills have gotten expensive and the gas will go away when you leave the tanks on. Trust me!
I had enough conduit to make a hard bend at the bottom rear of the wheel arch to form the bottom of the quarter panel. When this was finished and tacked down the whole thing became stable. I took a piece of scrap iron and tacked the front end to something stable, I think it was the inner rocker panel. I'll cut it free after I have the outer skin finished. This also keeps it from moving around from heat distortion. Once the new wheel arch is I can cut out to good metal for the patch
You can see from the photos above that a large piece just behind the center of the arch is completely gone. I cut a piece of 26 gauge big enough to fit. With about 3/8 inch overlap at the top and holding the patch firmly in place with one hand, I marked the bottom of the patch by running a marker under the conduit on the back of the patch. Vice grips make handy additional hands. You will want to have a bunch. I probably have 20 or so and at any given time, I can usually find 4-5 without looking too long. I also buy them from Harbor Freight or other cheap tool outlets. The cheap ones seem to work as well as my "real" Vice Grip brand vice grips and if I have to modify or weld them I don't shed any tears.
If you are thinking you could never do this kind of stuff because you don't have the tools, take heart. It can be done with much less stuff. You can gas weld. You can use a hacksaw. I know because I did. Keep the faith and keep working at it. By the time you are old like Dick B. and me, you will have more stuff than you have room for...or can find when you need it. "Let me see, where did I put that special tool I bought just to do this....oh shi-, I don't have time to look, hand me that hammer..." Back to work.
The patch panel was flanged using an air flanger.
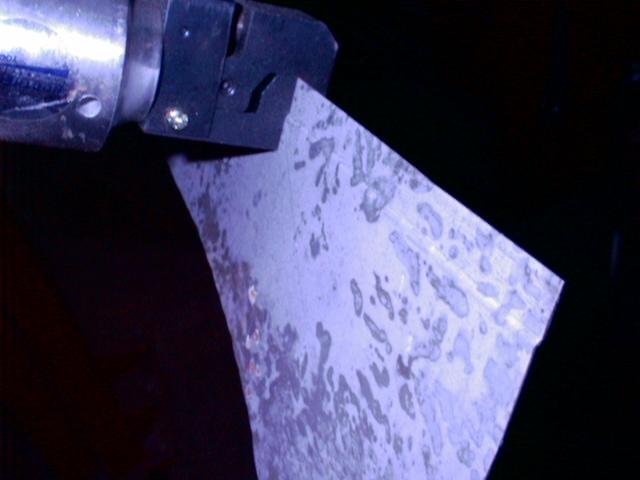
This is a neat tool you can get from the discount places for less than 50 bucks. It puts a step flange on the edge of the panel so you can slip the flange behind the original metal, weld in the bottom of the flange and not have to grind all the weld off to get it smooth. Pretty slick and very quick. It also punches 1/4 inch holes for rosette welding. You can get a pair of vice grip thinges which do the same thing but slower. You can also make a set pretty easy.
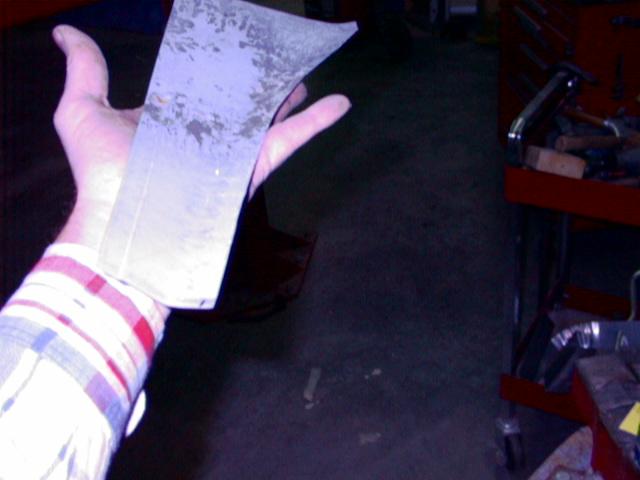
A few chapters back I showed you the panel beaters bag and plastic teardrop mallet I use to beat curves in metal. I used this to put the desired curve where the fender flares out over the arch. This puts a compound curve in the metal and I used my stretcher tool to straighten it out. This is the finished result after about 5 minutes of effort.
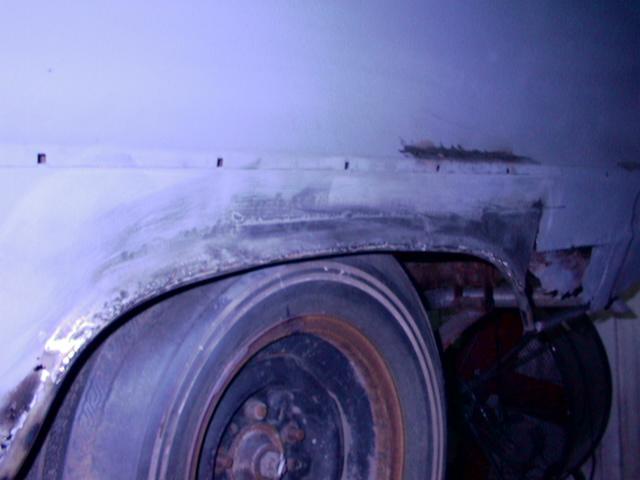
This was held in place and the upper section tacked. I tacked the bottom in place and then used the cutoff tool to trim to fit. The 57 has a sharp edge and I am going to let the sheet metal of the patch become that new edge in the middle of the round conduit. The inner wheel well is rotted and I have trimmed off the rotten bottom 1/2 inch. I'll patch it in later. The arch will not have the perfect cross section but no one will notice unless they are judging in a show. Hey, it's a custom anyway.
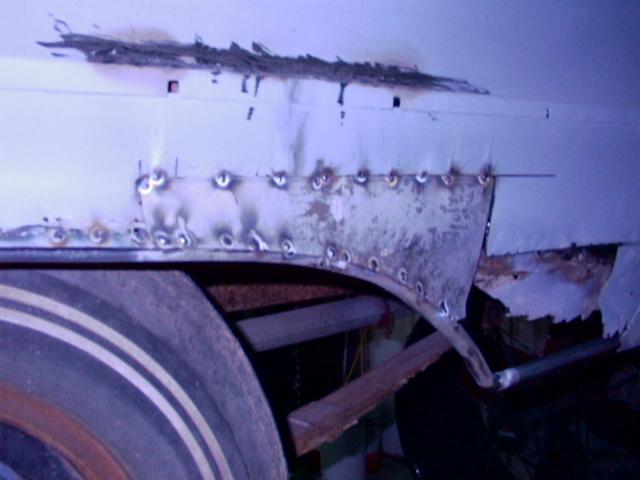
Repeating the process across the top was easier because it was a straight section. Skipping around, I welded it solid and ground them down. The front downslope was pretty solid so I did not have to replace it. This is what it looks like after about 6 hours of work.
I should not really call what I do work. As Mark Twain said "The difference between work and plan is that you don't HAVE to play." Truer words were never spoken. If you don't enjoy this type of stuff don't do it. My buddy Bo, hates body work but loves engines. I prefer this to building engines. We probably should trade work.
Now all that is left is to repeat the process until the fender is finished. Same exact process.
Keep the faith. This is slow work.
KerryP
This page was last updated October 19, 2003. Send us your feedback, and come join the Imperial Mailing List - Online Car Club
