
Imperial Home Page -> Imperials by Year
-> 1957 -> Kerry's
Restoration
-> part 25
part 25 Early February, 1999...Its Filler time!
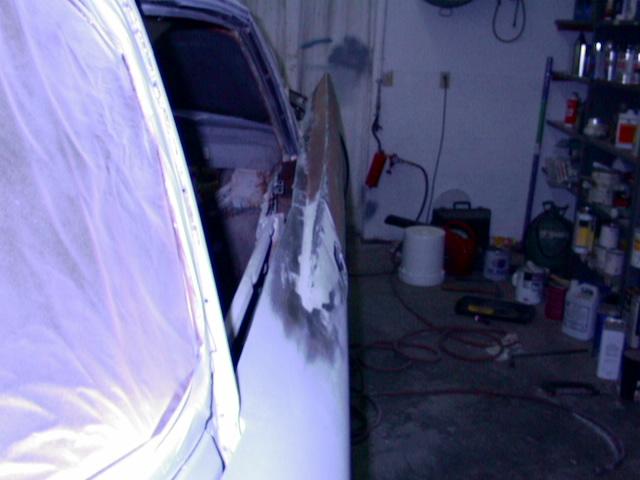
I now have finished all the welding on the fins and cut the doors out. I took my air grinder with a cutting disk and simply cut through the metal at the door jamb. I then trimmed it back and cut some filler pieces. Once these were welded in it looked like this:

The fin end was similar. I added some pieces and gently cut, hammered, and welded it to the shape I wanted. The overall result is pretty nice when you look at how the entire fin curves up and back.

Now is the time to start filling. On the passenger side, there are some serious low spots so I am going to have to use more filler than I would prefer. I decided to start with some fiberglass reinforced filler, aka "kitty hair". This stuff is tough.

On the drivers side I just used plain old filler. I call it bondo but that is a trade name for the original plastic filler. It used to be crap but you can still buy it and it's probably as good as what I use. WalMart carries it in gallons. I use something called Dynalite. You can get different colors of catalyst. I normally use red but sometimes blue when I want to see the contrast. It's not the best (at 13 bucks a gallon) but the best, something called rage (at 26 bucks) is probabaly not that much better. Most of your filler winds up on the floor, walls, tools, hair, clothes, and inside every conceivable orifice as dust anyway. Dick Benjamin recommended a leaf blower as a shop cleaner and IT WORKS GREAT! I just open the door, turn my big fan on, and blow everything down with the leaf blower. MUCH better than an air nozzle.
I also knocked off the high spots on the kitty hair with a straight line air sander with 80 grit paper and applied filler over the top after blowing it off and wiping it down with a tack rag. Adhesion of filler and bondo dust are mutually exclusive, that is, if your panel is dusty, the bondo won't stick.


What you can see here is how the bondo is spread. Use small batches and don't go too thick. If you do it will not cure. When I was grinding all the deep stuff off the car there were spots where it was not hard and it had probably been on the car 15-20 years.
One of my biggest fears with this project is how the heck to get that LOOOONNGGG 8 foot fin straight enough for paint. Previous cars have always been somewhat of a disapointment because while they looked pretty good when painted, they were never "perfect", you know. Not too many people could tell, but I could and that was enough. A ripple that you can't see in dull primer will look like a wart on a toad in glossy paint, especially dark colors.
What I needed is a long sanding board and some long sandpaper. The longest I could find was my straight line air sander but it was 14" and even with that over 8' you can easily get waves. I decided to make one. While at Walmart, I noticed a 60X12 inch sheet of 100 grit, cut your own sandpaper. Taking a 2 inch strip off the long side, I stapled it to a 58 inch 1X4. Actually it was 1 1/4X4 because it had been a pressure treated deck board. This worked good.p

I also picked up some CHEAP black primer. Walmart $1.99. Make sure it is lacquer. Enamel will not dry soon enough and will gum up the sandpaper.

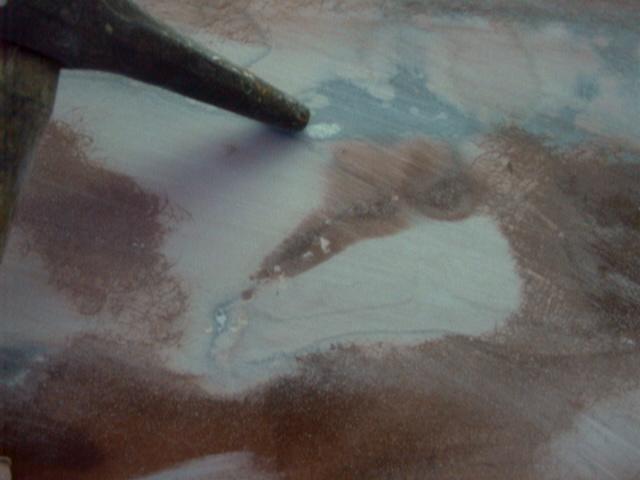
The purpose of this is to show low spots. The technique is to fairly lightly spray all the area.

I then took my long sander and applied some elbow grease. The result is pretty dramatic.

What you have to do is sand down the high spots and bring up the low spots with more filler. Also you will run into spots where the metal is high. When this happens you have two choices, add more filler or lower the metal. I chose to bump the metal down and apply a little filler over the 'new' low spot.


About this time, that old 5/4 piece of pressure treated pine began to get heavy and awkward so I decided to (in the old hot rod tradition) drill some lightening holes. Using a hole saw, I cut some holes and cut out between them with a saber saw. There is still plenty of strentht but it not only is lighter but it is much easier to handle because now I have somewhere to grab.

After a day or two of this, I finally got this panel pretty darn straight. At least it is as good as my hand can feel. I will need to get some real primer on it before I can finesse it further. The dark you see in the photo is where filler was added. Each filler batch has slightly different colors due to the different amounts of catalyst added. Time to move to other areas.

Stay tuned
Kerry
This page was last updated October 19, 2003. Send us your feedback, and come join the Imperial Mailing List - Online Car Club
