1. It Ain't Easy Bein' Green 2. Hot Wheels 3. Details, Details 4. Sound Blaster 5. Road Test 7. 2010 Snowball Rally 8. Engine Woe/Getting Even Chapter 4, Sound Blaster
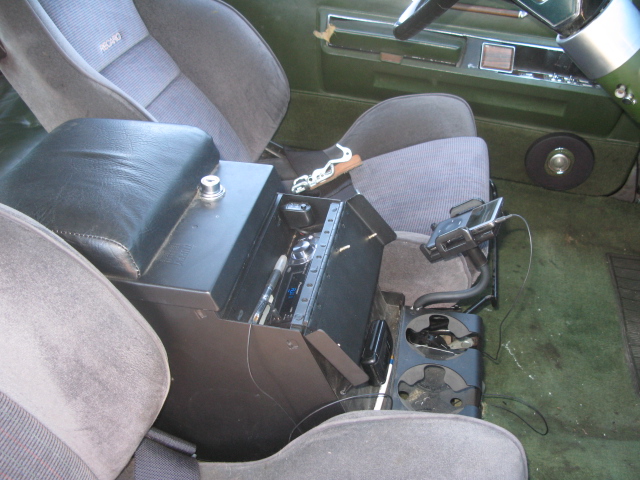
1. New Sound System: There is a center console that is marketed to people with Jeeps who need secure, lockable space for their open vehicles.
April 2009
I installed this box to house my stereo head unit so that I wouldn't have to cut up the dash, so that it was within reach (I moved the seat back 4 inches, putting the dash out of easy reach). The hinged lid (which I adorned with a spare 196o grille emblem) flips forward and out of the way when you push the lockable chrome button and lift the lid with the arm rest slightly.
Closed:
Open:
This allows access to the head unit. The lid fits loosely enough that I can drape the USB cable out for charging, or use the AUX audio jack on the faceplate to connect the iPod that I have on a seperate arm. The arm is affixed to the cup holders that are at the bottom front.
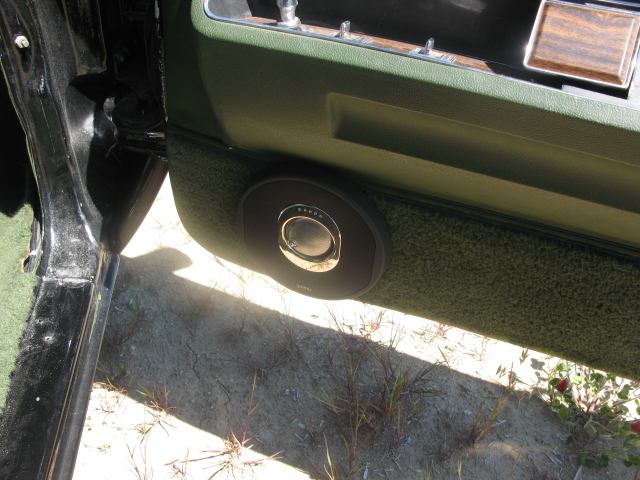
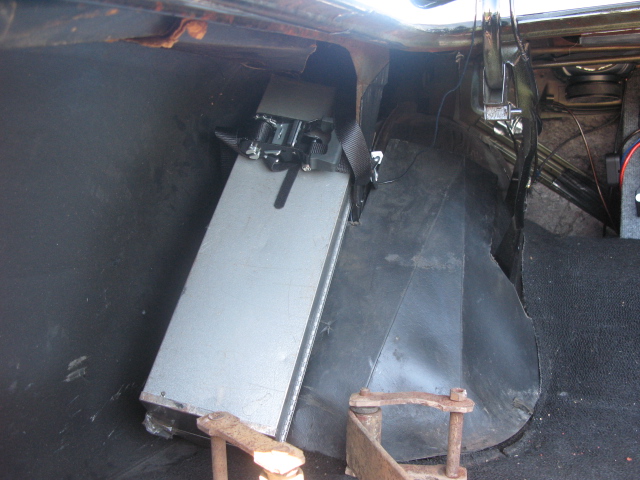
There are two 5/25" speakers in the front doors: Two 6x9 speakers live in the rear parcel shelf, and a 10" sub in the trunk. The gear was all new except the Boston sub, which was a $60 score on Craigslist. (It pays to be patient and persistent there!)
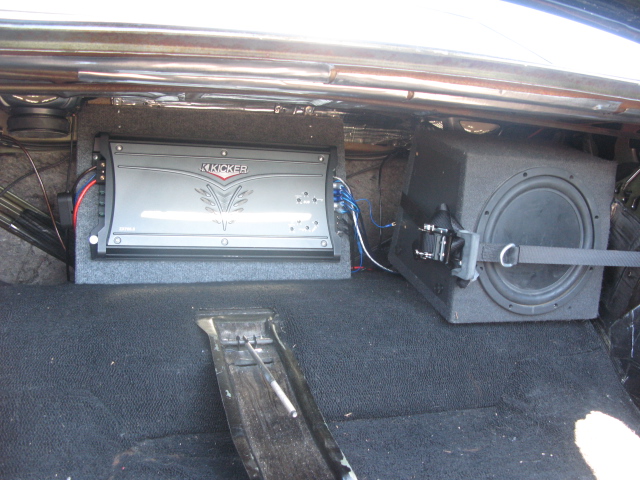
I used a black wratchet tie strap to keep the subwoofer planted - I didn't see a way to secure it to its perch without some serious engineering, so settled for some cheap engineering instead and am plenty happy with it. The positioning left plenty of room for the full-size spare (same as the other 4 wheels - BIG) to the left of the sub. The actual wheel is absent in this photo:
The package contained two straps, so I inverted the domed top of my tool box and laid it up against the inner fender and cinched that down too (it had been floating around the trunk during hard cornering):
System was wired and installed by me after getting some ridiculous quotes (one person said 40 hours or so, I did it in 8).
Feeling like I was about to get gouged spurred the cheapskate in me, and I had temporarily forgotten to consider that wiring instructions and general know-how are all over the web, which was a big help when I couldn't figure out what the red and yellow wire was supposed to do for me.
System came out great, has good bass that is dialed down and just a little punchy. I listen to my music with the windows UP most of the time, but it sounds clear and clean even with the glass down on the freeway.
--------------------
2. Acoustical Treatment. Prior to paint, I had the seats and carpeting out. I researched sound deadening material, and found someone who put up a very convincing comparison of the various sound deadeners on the market. His conclusion was that the BXT material from RaaM Audio was 1/2 the price and nearly as effective as the mass-marketed stuff. You can review and order the material here: http://www.raamaudio.com/cgi-bin/index.cgi?p=pr
You can see a very definitive and well written explanation of why you might want to go this route here: http://www.sounddeadenershowdown.com/ -- note that there are navigation links to the chapters in the upper right corner.
Anything that is a 90% solution for 50% of the cost seems like a deal to me, and since I have a background in consumer and commercial audio, I knew that I'd appreciate the difference, so spent several hundred dollars with these people on two rolls of BXT and one of the MLC.
BXT is essentially a super thick aluminum foil that holds it's shape, with a thick membrane of rubber material on one side. Cut to fit with a utility knife, peel off the waxy paper from the rubber side, and lay it wherever there are reverberant, unreinforced stretches of sheetmetal in the car.
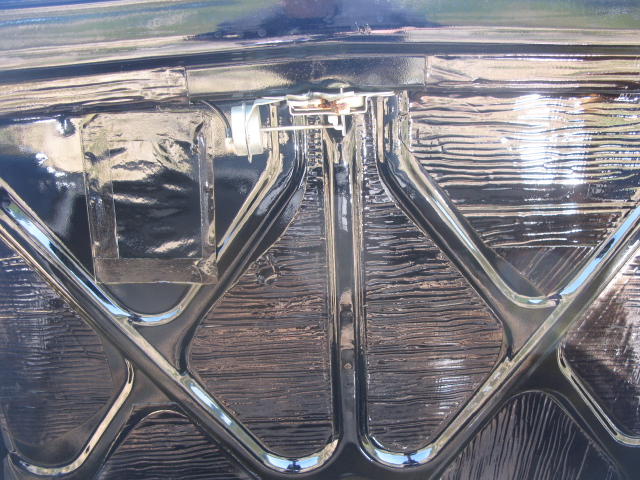
This would include the inner and outer door skins, the entire trunk, including the inside of the rear decklid:
I installed it before paint, and had them shoot the interior of the trunk, so it is now black (despite the shine in the photo reflecting the flash). Had I left it in there without paint, it probably would have looked sort of strange. To add good measure to the job that I did in the trunk, I put down two coats of spray can rubberized undercoating to increase the anti-vibration and sound deadening qualities.
Results are a car that is nearly as quiet as a modern automobile, and a very lively sound stage that reflects the sound back with low absorption. The sound is essentially energy waves in the air, and a thicker cabin with deadened walls makes a huge difference, especially in an older car with large areas of unreinforced, prone-to-vibration panels (or a newer car with thinner sheetmetal).
The MLC is a rubber sheet that I hung between the door panels and the inner door skin, as well as under the back seat for additional sealing and damping of vibration.
---------------------
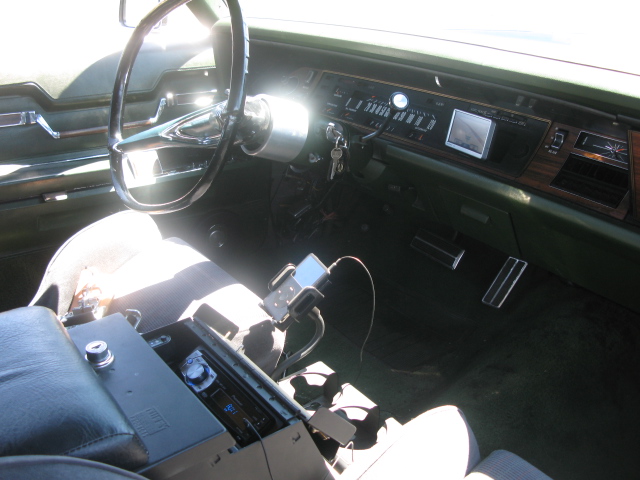
I recently took the car to a new address, and used my Garmin to navigate there. I was surprised to find that when I leaned the navigator up against the radio, that it still got signal and worked, even under that giant overhang of a dash!
I quickly abandoned the idea of installing the NOS aftermarket 8-Track radio/player that I had. I really wanted it in pretty badly after scoring an 8-track cassette that was labeled with STAR WARS. I took the player to the local big box electronics store and coaxed the tech there to test it once he figured out what it was - he'd never seen one.
Unfortunately for the tape, I missed the fine print that indicated that it was a MOOG synthesizer movement, and not the original sound track. MOOG made some serious sounds, but this one didn't make the short list, and it wasn't the "Music to blast off to" that I had hoped, so that went out the window.
I painted some sheet metal, poked two holes in it, and held it in with a 6" piece of angle iron that was bolted in through the holes for the radio knobs. The local hardware store had the delightful black plastic covers for $0.32 each, so that was a done deal.
The Navi unit is wired to the ACC outlet, and turns itself off when the car is turned off. Delightful!